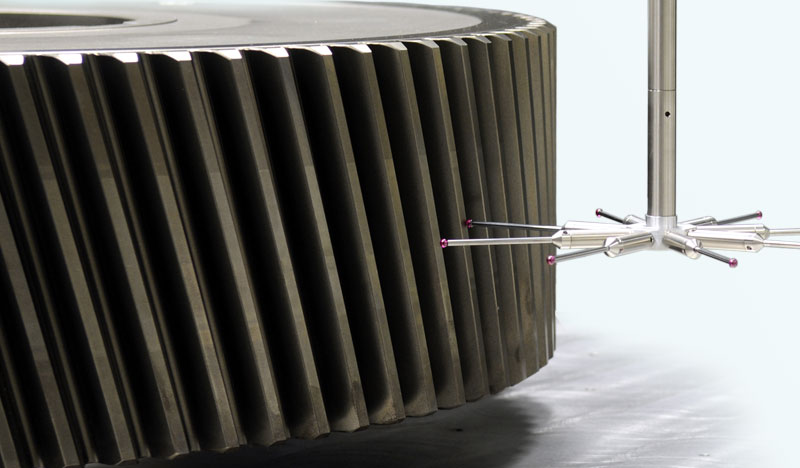
Gears have always been a highly specialized area of inspection. With dedicated calculations specific to gear geometry, even the best of the bench inspectors were usually not able to work with the details of gear geometry mathematics. Traditionally, dedicated gear inspection hardware, which is extremely expensive, was the only way to identify manufacturing issues. Being able to automate gear inspection using a
CMM, a more flexible and relatively low-cost piece of equipment, brings the ability to do gear inspection to almost any shop that needs it. The other benefit is that many shops own an automatic CMM anyway, which means that gear inspection brings a new capability to an existing tool. Brown & Sharpe Global CMMs are well suited to running the
PC-DMIS Gear software module. Certain types of gears can also be measured using an automatic vision inspection system, such as Hexagon Metrology's
Optiv line of vision systems, also equipped with PC-DMIS and the gear module.
There are several types of gears that PC-DMIS’ Gear Inspection Software can work with. These include straight spur gears, helical spur gear, straight bevel gears, and spiral bevel gears. Each has their own unique definitions, dedicated algorithms, inspection requirements, and report graphics. PC-DMIS inspection software can handle them all. Similar to conventional machined parts, the gear can be fixtured, aligned, and inspected on the CMM worktable. It can be inspected with conventional touch probe, more advanced analog scanning probes, and even potentially with optical probes for certain types of gears. This allows for it to be inspected without requiring expensive fixtures, hardware, or sensors.
The gear software has a straightforward front end user interface that facilitates data entry to key in the specific characteristics of the gear, such as tooth quantity, pitch diameter, helix angle, etc. Once this is done, and after a short alignment procedure, the gear can be automatically inspected and the report produced in a matter of minutes. This software can handle partial gear geometry, and even skip teeth in case of a damaged gear. Much like the core package, PC-DMIS Gear makes gear inspection available to more shops at a fraction of the cost previously associated with gear inspection.
Find more information about
PC-DMIS Gear.
Find more information about
CMMs suitable for gear inspection.
Find more information about
Vision Systems suitable for gear inspection.
