Efficient engine block measurement
Multi-tactile measurement of geometries and roughness
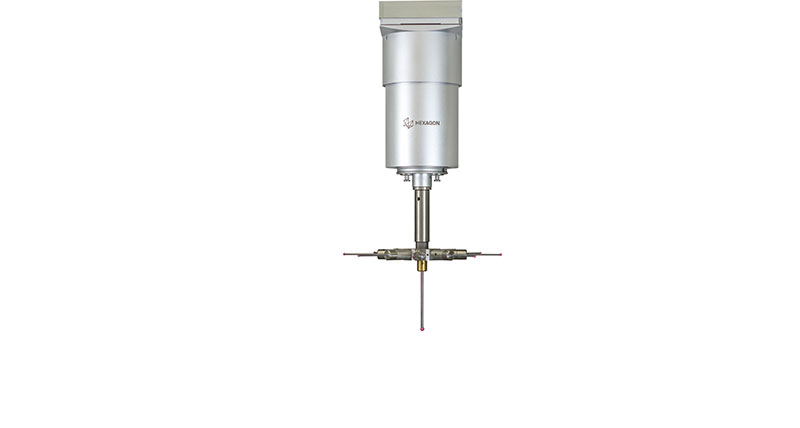
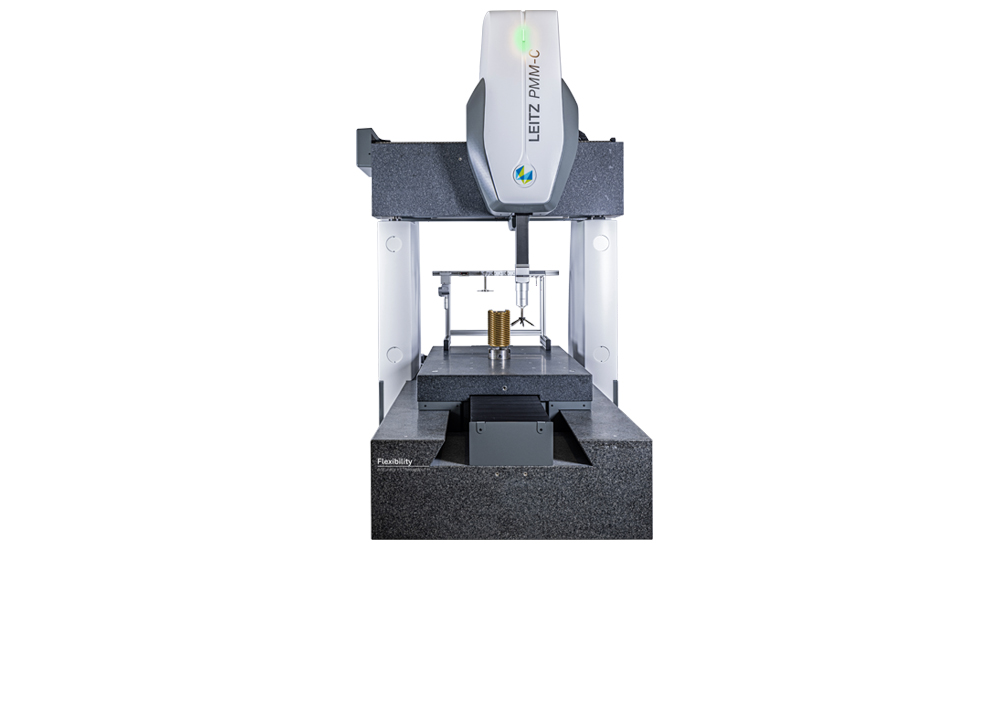
Engine block measurement requires a high-precision measuring system, which is why the Leitz PMM-C Flexibility and the HP-S-X5-HD fixed sensor system are commonly used for this task.
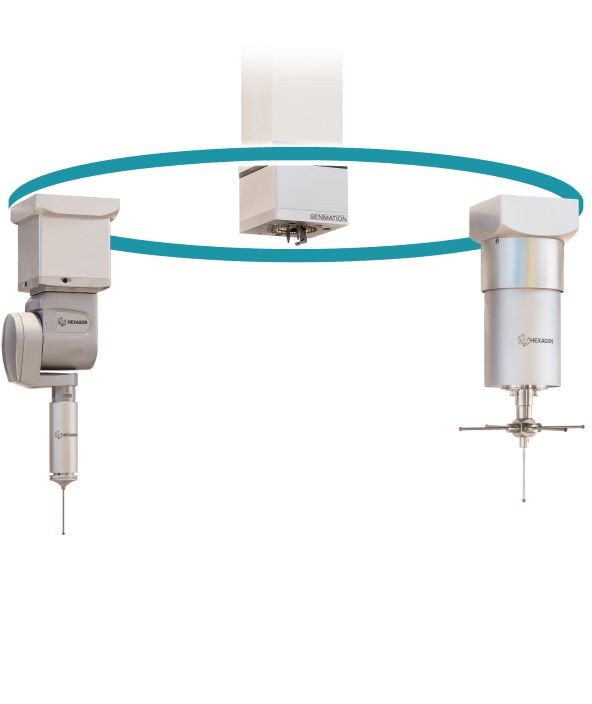
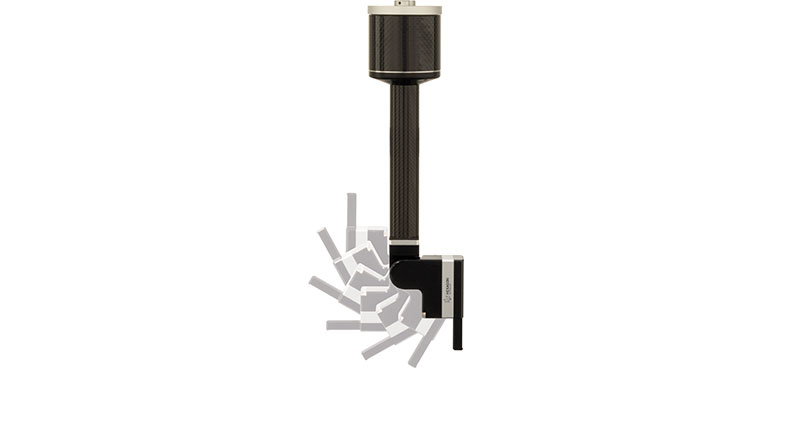
If the measurement processes are to be accelerated, a rotating-indexing joint can be used to save valuable measuring time. The SENMATION sensor interface offers the option of viewing the measuring task from a variety of different perspectives.
Uncompromising precision with tight tolerances
When an engine block undergoes the final operations of the production process, the requirements for subsequent measurements are very high. Alignment is carried out with the HP-S-X5-HD scanning probe a fixed sensor system. This is followed by the measurement of sealing surfaces, cylinder bores and the crankshaft channel. These elements have very tight tolerances and leave no room for compromises in accuracy.
Flexible implementation of sensor systems for efficient measurement
Close observation shows that there is potential to reduce measuring time during the measurement process. Elements such as connecting threads, which exhibit larger tolerances and require more complex sensor configurations due to their arrangement on the engine block, can be measured quicker with the HH-AS8-T2.5 rotating-indexing system with HP-S-X1H. Traversal for mechanical changing is eliminated, thus reducing the changing time.
Geometry and roughness measurement in a single process
With SENMATION, changes from the fixed sensor system to the rotating-indexing system are fully integrated into the measurement process. Changeover takes less than 45 seconds, and the sensors do not need to be calibrated again thanks to the innovative sensor interface. Roughness measurement can also be included in the automated measurement process. The PROFILER R is picked up with the HP-S-X5-HD by the sensor changer, and the measurement is carried out.
Reduction in measuring time thanks to application-oriented sensor use
Thanks to the use of SENMATION, the right sensor can automatically be used within a measurement process for any measuring task. This reduces measuring time and can, depending on the measuring task, increase throughput considerably without compromising the required accuracy.