From sampling to 100% inspection
EWIKON Heisskanalsysteme GmbH - Germany
Would you like to know more?
Through injection moulding processes, plastic moulded parts can be produced economically and in large quantities. Melted plastic is injected under high pressure into the mould cavities of a tool.
By means of electrical heating, hot-runner systems keep the polymer melt flowing on its way to the cavities. EWIKON Heisskanalsysteme GmbH, based in Frankenberg in Hesse, specialises in innovative hot-runner system solutions. The multi-tip nozzles of the hot-runner specialist gives a maintenance friendly solution for injection moulders and mould makers for direct-side injection of several parts simultaneously.
To ensure the quality of the tip inserts, EWIKON uses production metrology solutions from Hexagon Manufacturing Intelligence.
The HPS III-MH multi-tip nozzles could not be manufactured repeatably to this level of accuracy without the measuring technology from Hexagon.The EWIKON multi-tip nozzles have proven their worth in a variety of applications in medical, packaging and electrical engineering. In the direct-side injection of moulded parts, the dimensional accuracy of the tip inserts in the nozzle-body is paramount for ensuring reliable process control and quality of moulded parts.
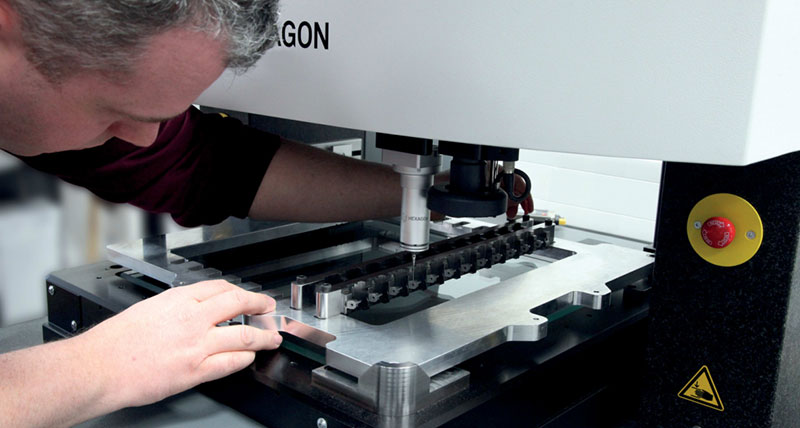
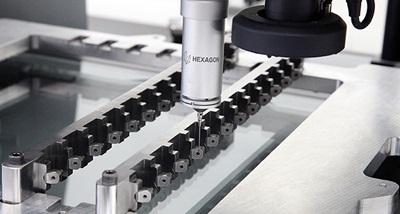 The task of measuring tip inserts is extremely complex and requires the combined use of optical and tactile measurement methods. In the first measurement cycle the position of the nozzle tip is measured optically, whilst its dimensional references on the sealing surface to the nozzle body are assessed by means of a tactile scan. The diameter of the nozzle cylinder is also measured with a tactile scan to ensure a secure press-fit with the sealing sleeve.
After assembly of the sealing sleeve, the distance to a defined contact surface is checked in a second measurement cycle, to ensure that the component has not been compressed during assembly. Compliance with tight tolerances ensures the connection is secure and leak-free in the transition area to the mould insert of the injection mould.
EWIKON realised at an early stage that the high product quality of the multi-tip nozzles could only be ensured by a powerful measuring technology. Accuracy, measurement speed and flexibility are the most important criteria of the EWIKON requirements profile.
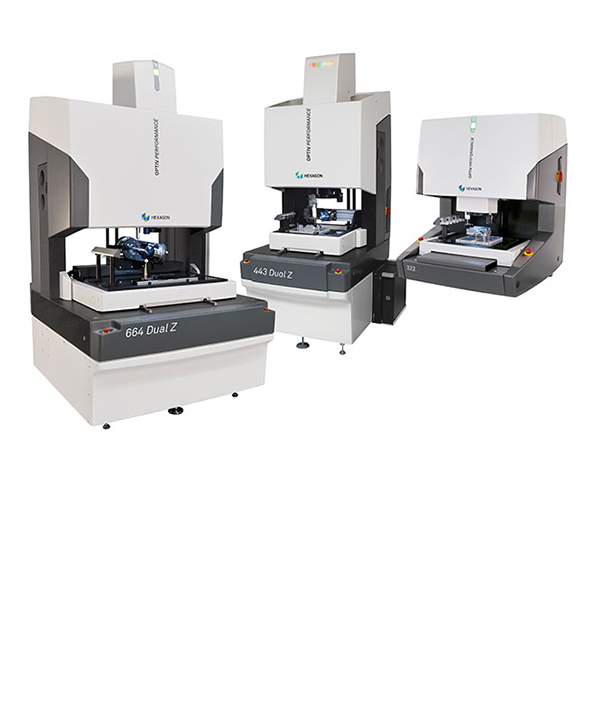
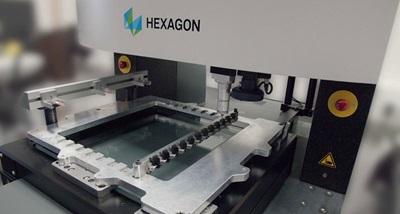
In order to measure the heat-conducting tips produced by the milling process, an Optiv Performance multisensor CMM from Hexagon was purchased in 2013.
Heinrich Peich, Head of Quality Assurance at EWIKON, has worked with the metrological solution from the beginning, and considers that the solution meets his requirements. “The HPS III-MH multi-tip nozzles could not be manufactured repeatably to this level of accuracy without the measuring technology from Hexagon.”
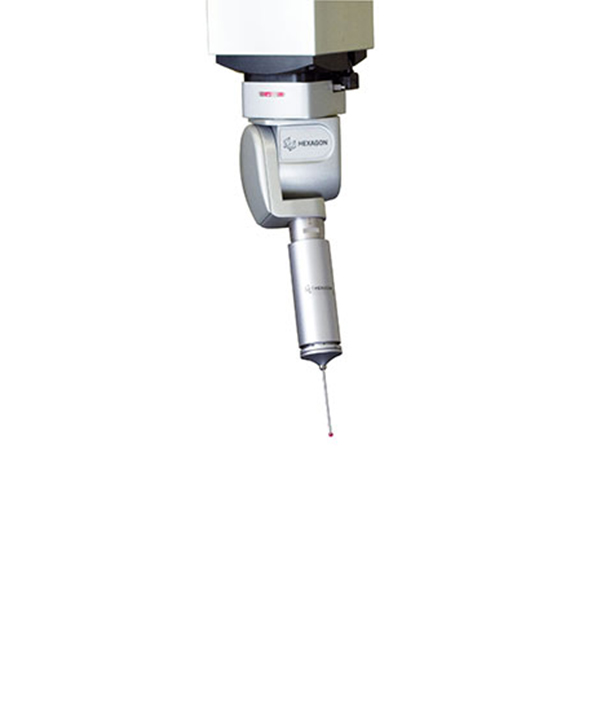
The Optiv Performance measuring machine features a torsion-resistant granite structure and supports multisensor measurements with the non-contact vision sensor and the HP-S-X1 high-resolution scanning probe, which provide the optimum setup for the verification of tolerances in the hundredths of a millimetre range.
In addition to this functionality, EWIKON uses the noncontact vision sensor of the Optiv Performance CMM for the non-dimensional testing of the heat conductor tips. As they are processed for workpieces with special demands, the nozzle tips are subjected to abrasive surfaces such as glassfibre- reinforced plastics. The sensor therefore proves to be extremely useful in wear analysis and assessment.
By evaluating the recorded measurement data with the PC‑DMIS CAD++ software, error trends are identified early. The measurement data is fed back into a quality-control loop to stabilise the manufacturing processes of the heat conductor tips and contributes to the continuous improvement of the product.
Previously used measuring methods, such as profile projectors, were not able to meet the high expectations of efficiency and cost-effectiveness of the inspection process. So these measurements were only carried out as manual sampling inspections and were not repeatable due to operator-related influences.
Solution-focused orientation for shared success
“The Hexagon solution now enables us to carry out a 100% inspection with complete traceability of each individual tip insert via its serial number,” continues Heinrich Peich. The development of a prismatic fixture for the reproducible clamping of up to 96 tip inserts on the measuring machine was an essential requirement.
The assessment of these time savings has shown an economic profitability on our initial investment after just one year. In combination with an intelligently optimised measurement strategy, only one probe changing process per cycle is required, reducing the measurement time per tip-insert from three minutes to less than one minute.
 “With our large output of parts, the assessment of these time savings has shown an economic profitability on our initial investment after just one year,” says Heinrich Peich. The quality manager is convinced that this improvement in inspection performance is not least the result of the close cooperation with the application engineering and design departments at Hexagon.
A lasting competitive advantage is ensured only if quality and productivity are continually improved, the successful partnership, which began in 2012 at a major trade fair for quality assurance, will soon be continued. Plans to optimise approaches, such as the identification of individual tip inserts via a QR code that can be processed directly by the vision sensor of the measuring machine, are already being discussed.
