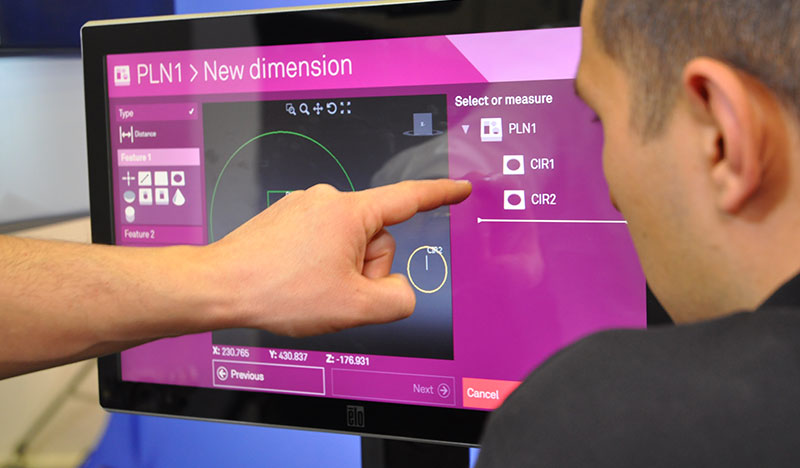
PC-DMIS for bridge and gantry CMMs
PC-DMIS CMM - Transforming CMM metrology
Product enquiry
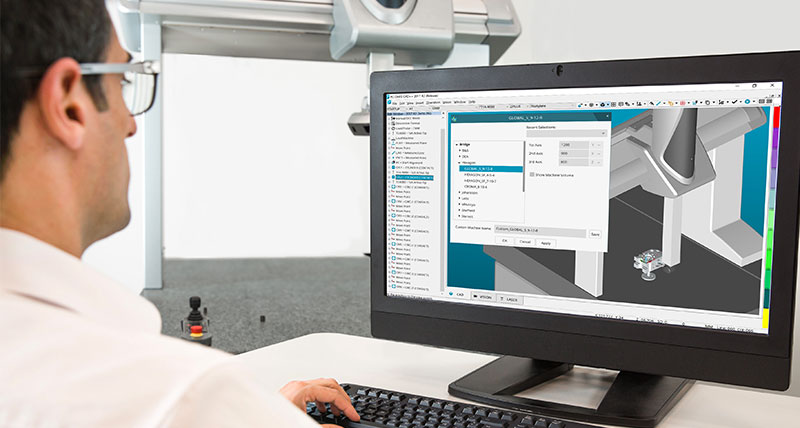
PC-DMIS CMM is the world's leading Coordinate Measurement Machine (CMM) Software with over 70,000 seats in place worldwide. Use its powerful capabilities to measure everything from simple prismatic parts to the most complex aerospace and automotive components.
PC-DMIS Pro
The baseline PC-DMIS CMM package is ideal if you don't need to integrate CAD into your inspection process.
PC-DMIS CAD
Create inspection programs and evaluate measurement results taking full advantage of the CAD model data.
PC-DMIS CAD++
PC-DMIS CMM leads the way in revolutionizing CMM measurement. It was the first CMM software to:
- Use CAD models in the inspection process.
- Directly link CAD systems and measurement software through its Direct CAD interface (DCI) technology.
- Implement a full set of sheet metal measurement routines tailored for the automotive industry.
- Digitally simulate measurement in an offline virtual CMM environment.
- Easily align complex, contoured parts using our breakthrough iterative alignment technology.
PC-DMIS is standard equipment on all Hexagon Manufacturing Intelligence CMMs including those under the brand names Brown and Sharpe, C.E. Johansson, DEA, Hexagon Metrology Asia Pacific, Leitz, Poli, Romer, Romer Cimcore, Sheffield and Tesa.
PC-DMIS is available as a retrofit package for most other CMM manufacturers allowing users of non-Hexagon Manufacturing Intelligence CMMs to take advantage of PC-DMIS technology. Hexagon Manufacturing Intelligence Services, Hexagon Manufacturing Intelligence's aftermarket group, has a number of options for upgrading existing equipment ranging from a software retrofit to a complete machine rebuild. We know you have varying requirements and believe you should not have to pay for unwanted features.
Therefore, PC-DMIS CMM comes in three basic configurations with optional modules available to fine-tune to meet specific needs. PC-DMIS is also available in an off-line version for virtual programming. In high volume shops where CMM time is a precious commodity, you need to maximize the time machines spend measuring parts. Now, CMM programmers do most of their part programming off-line and CMMs spend most of their time measuring parts.
PC-DMIS Pro
 No CAD Necessary
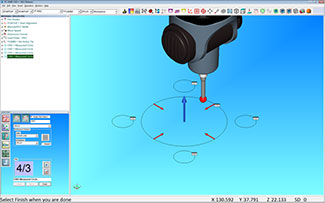
PC-DMIS Pro is advanced CMM software without CAD. If you don't use CAD files in inspecting your parts, this software is ideal. PC-DMIS Pro supplies a full-featured metrology software system to take advantage of the most advanced measurement, analytical and reporting capabilities without needing to purchase a set of CAD capabilities.
Simplify Setup
PC-DMIS Pro features a set of powerful "Quick Start" routines that make fast work of routine operations. The software makes qualifying probes and aligning parts easy. Probe and Go technology makes creating programs on-line as simple as taking points and letting PC-DMIS figure out what is being measured. With tools like these, you'll use your CMM to measure parts not preparing to measure them.
Full Featured
PC-DMIS Pro is not a "stripped down" version of PC-DMIS. It is the full featured PC-DMIS product in every way, with the exception of CAD import. It features a robust, COM-based architecture, an intuitive and configurable Graphical User Interface (GUI), a complete set of powerful measurement routines, and a full set of reporting functions. Plus, it has full PTB and NIST certification.
Wizardry
PC-DMIS Pro uses powerful Wizards to simplify tough jobs. Figuring out the best way to measure a part or to dimension features can be hard work so a set of pre-defined routines make some of the most complex jobs easy. With the Wizards, you can work your way through some of the thorniest metrology problems with a few mouse clicks.
Always Upgradeable
Also, upgrade your software as your needs change. If you have to use CAD in the inspection process, the upgrade is a simple. PC-DMIS Pro is CAD ready, and the only change needed is a simple modification to the portlock program. Best of all, all existing part programs are fully compatible with the new software.
PC-DMIS CAD
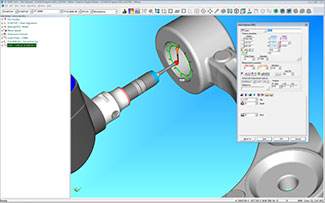
PC-DMIS CAD extracts part data directly from the models. Inspection routines are simplified and error-proofed by pointing and clicking on those models of the parts. This virtually eliminates mistakes related to bad data entry or misinterpreting hard copy blueprints.
PC-DMIS adapts CAD capabilities to inspection. This doesn't mean that PC-DMIS CAD is a CAD system - it's a powerful metrology software that fits CAD to the job of inspecting and evaluating parts.
The software lets you graphically test and debug your inspection routines before they run on the machine. PC-DMIS CAD animates probe paths and lets you edit them on the fly, it includes accurate kinematic modeling of most CMMs, and, when working with solid models, it automatically detects probe collisions with parts and fixtures.
PC-DMIS CAD supports multiple protocols for linking to CAD. It can be neutral like IGES or STEP or it can be CAD system native like UG or CATIA or something in between like DMIS. Whatever the format, PC-DMIS CAD has a solution to handle it.
Built into the baseline packages are pre and post processors supporting widely recognized standard formats like IGES, STEP and DMIS. Translators tailored to specific CAD systems like UG and CATIA are available as options. For the most demanding applications, there are Direct CAD Interfaces (DCIs). DCIs link directly to the CAD database and let customers work directly with their models from PC-DMIS with no translation. No other metrology software comes close to giving users this kind of versatility and flexibility in linking to CAD.
PC-DMIS CAD++
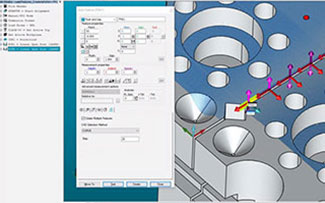 PC-DMIS CAD++ supports the latest technologies and the most demanding applications. Measurement technology is rapidly changing - new devices, applications and techniques are constantly affecting how manufacturers measure and evaluate their parts. Additionally, some industries have their own unique requirements defining what types of features they measure, how they measure them and how they evaluate them.
PC-DMIS CAD++ handles difficult scanning tasks and supports sophisticated scanning devices. Emerging technologies in probing and servo wrists are changing the way you can measure parts. Not long ago,it was hard enough to collect and evaluate the results of a few touches on a feature. Now possible to scan that same feature and generate tens of thousands of points giving a much better representation of what it actually looks like.
To do that software must adapt by being able to calibrate the probing system, control its motion and handle large amounts of data. PC-DMIS CAD++ does it all. By working closely with hardware manufacturers and making good use of its software engineering resources, PC-DMIS CAD++ seamlessly integrates support for a wide range of scanning devices and techniques. It also keeps pace with the technology to support you as your requirements evolve.
PC-DMIS CAD++ also brings non-contact sensors into the CMM mainstream. Lasers, cameras and similar devices are beginning to revolutionize the way are measured and results are evaluated. Where high speed scanning generates tens of thousands of points, non-contact probes generate points in the millions. PC-DMIS CAD++ lets you interface to laser scanning probes and optical devices to evaluate the results of your scans.
Another feature is the ability of PC-DMIS CAD++ to make short work of complex sheet metal measurements. Makers of sheet metal parts, in particular automotive manufacturers,face a unique set of measurement requirements. Their parts are hard to measure and they have to deal with esoteric types of features and dimensions. To meet these challenges, the software includes a comprehensive library of sheet metal specific routines. Measuring and reporting on features like square slots and corner points is a simple matter of filling out a form. PC-DMIS CAD++ also has the ability to find required features when they're not exactly where they're supposed to be (a common issue in sheet metal inspections).
PC-DMIS CAD++ lets you use manual CMMs in some of the most demanding applications even though they may be mechanically simpler than DCC machines. Often it's thought that their capabilities are limited, but many of these limitations are not due to the machines but rather the software. With PC-DMIS CAD++, the software enhances the hardware instead of limiting it.
-
Collateral
