Aero engine vane inspection
Dimensional measurement solutions for the quality assurance of aircraft engine vanes
Contact us

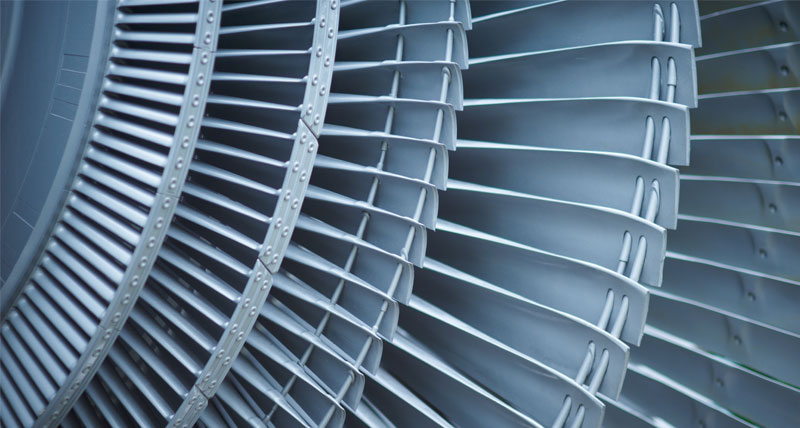
Occurring at various stages in a turbofan, engine vanes are crucial for redirecting air at the optimum angle to maximise power and energy efficiency.
To optimise airflow, it’s essential that the engine vane blade inclination and angle are measured with high accuracy. The spacing between each blade also needs to be precisely inspected. However, since the blades are attached to stationary outer and inner rings, part access can be tricky. Additionally, the large size of the engine vane requires a measuring solution with a generous measuring volume.
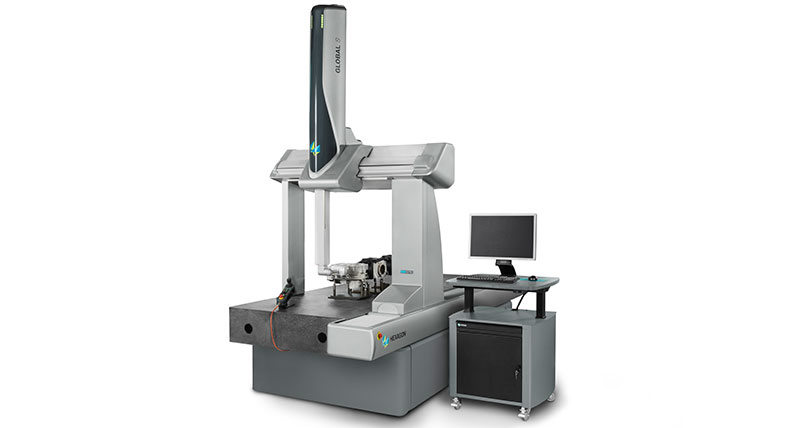
The ideal inspection solution needs to deliver the high accuracy required to measure blade profiles alongside the measuring dexterity to completely capture the circularly attached blades of a vane. Hexagon Manufacturing Intelligence offers 3D coordinate measuring machines (CMMs) with indexing probe heads capable of achieving an increased number of positions to accommodate for the complex trajectories of engine vanes, including blades spacing and inner/outer diameters.
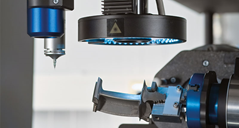
A wide range of sensors of various sizes can further increase part access. Reduced cycle times can be achieved by combining tactile scanning with optical measurement in a multisensor CMM configuration, enabling inspection of blade profile, thickness, and alignment in a single setup.
Hexagon’s specialised blade software offers user-friendly programming and automated measurement of critical engine vane characteristics such as the vanes spacings and inclinations.
Our solutions
Explore Hexagon solutions for aero engine vane measurement
Flexible CMM solutions
Blade-specific software
Case studies
See how Hexagon solutions are used in the aerospace industry


