High precision stroke for stroke
BRUDERER AG - Switzerland
Contact us

Leaving a lasting impression, and imprint, across multiple industries is the goal of BRUDERER AG in Frasnacht, Switzerland. The Leitz PMM-G Coordinate Measuring Machine supports the machine building company with high-precision measurements at automatic stamping presses manufactured with a high degree of precision.
Since 1943, BRUDERER has been producing high-performance automatic punching presses with a nominal force between 180 and 2,500 kN for the automotive, aerospace, telecommunications, electrical, watch-making and packaging industries, to name a few examples. “Our customers value speed, a high output rate and repeat accuracy, as well as a long machine service life,“ stressed Head of Production Remo Ackermann. BRUDERER meets these requirements through vertical integration of over 90 percent, among other things. This enables the company to guarantee their customers optimum quality, short delivery times and swift responsiveness should their needs change at short notice.
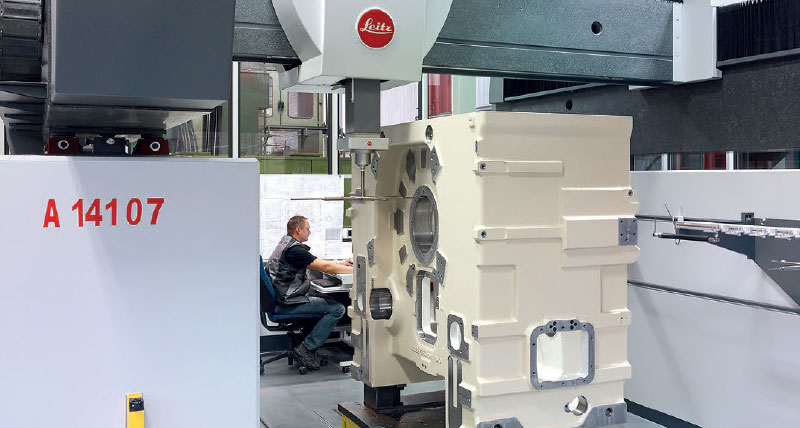
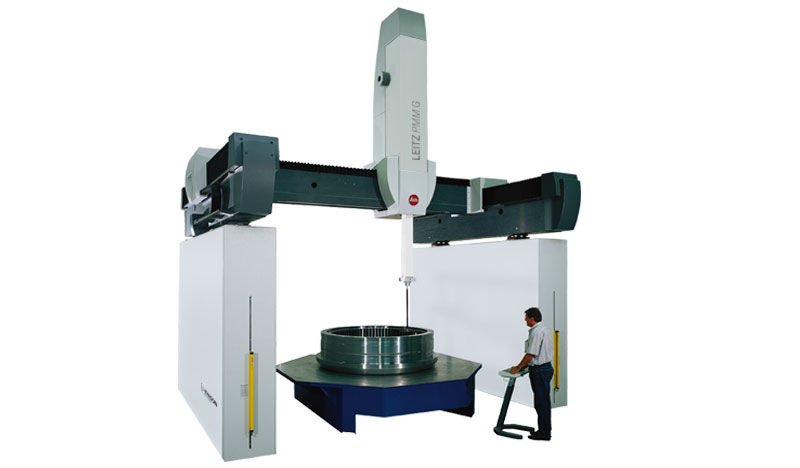
Precision as the top priority In addition to a high level of vertical integration, continuous quality checks and measurements guarantee BRUDERER‘s motto: “PRECISION – SWISS MADE.“ To carry out high-precision measurements of large components like the housing or ram of an automatic punching press, the company chose a Leitz PMM-G from Hexagon Metrology. It offers a measuring volume of 4 x 2 x 2 metres.
Intelligent design guarantees optimum measuring results “We chose the Leitz PMM-G because of its modern design and ingenious water-channel layout for temperature regulation,“ explained Jörg Schifferle, Head of the Horizontal Drilling Machine Division and the person responsible for measuring technology. The machine is based on a U-shaped reinforced concrete base body. Mass movements are minimal as a result.
Another reason for choosing the Leitz PMM-G is the fact that Hexagon Metrology is the sole contact partner, from planning through installation of the machine. “It was important to us that the measuring machine and software, the air-conditioned measuring room and the design behind them come from a single source,“ explained Ackermann.
The Leitz PMM-G had already convinced its future owners during construction. At the same time, BRUDERER installed a new production machine right next to the new measuring machine. More than 40 posts were anchored up to 15 metres deep into the ground for this new machine. “I would have wagered that it wouldn‘t be possible to carry out measurement during this construction work, but thanks to optimal bearing of the machine on a cushion of air, the vibrations had no effect on measurement quality whatsoever,“ said Ackermann.
More-precise quality control in less time High quality is BRUDERER‘s primary recipe for success.
The bearing holes drilled through the housing, for example, must be precisely flush in order for the eccentric shaft borne in the housing to guide with precision. The precision and service life of the machine is only guaranteed when shape and positional tolerances are complied with absolutely precisely. This is also the only way to keep wear to a minimum. With a punching precision in the micrometre range and a machine service life of 20 to 25 years, high-precision measurements of the machine components are indispensable, according to Remo Ackermann.
The Leitz PMM-G allows BRUDERER to save 50 – 70% of the previously required measuring time. “Previously, housings and rams were measured in three clamping positions and had to be rotated and turned several times during the measurement. This required a considerable amount of work considering the weight of the components. Now, the parts are simply placed on the conveyor system with the crane and pushed into the measuring room. The sensor of the Leitz PMM-G then measures all the measuring points at the push of a button in 30 to 60 minutes, depending on the complexity of the components,“ said Schifferle regarding the measuring process. In some cases, sensors up to 800 millimetres long weighing up to a kilogramme are required to measure housings. These sensors impress with their high measurement precision, considering their size.
A growing range of applications The PC-DIMS DataPage measurement software compares the actual value data obtained from the measurements to the CAD target data. The quality of the machine park and production are monitored using these results so that any imprecisions can be immediately detected and corrected. In addition to these process-accompanying checks, BRUDERER carries out initial sampling and final checks with the Leitz PMM-G, and not only on their own workpieces. BRUDERER utilises the Leitz PMM-G for the production of high-precision automatic punching presses and for contract manufacture as well.
