Non-contact measurement of gear racks
Optimising measurement cycle times using the HP-O Hybrid optical sensor
Contact us

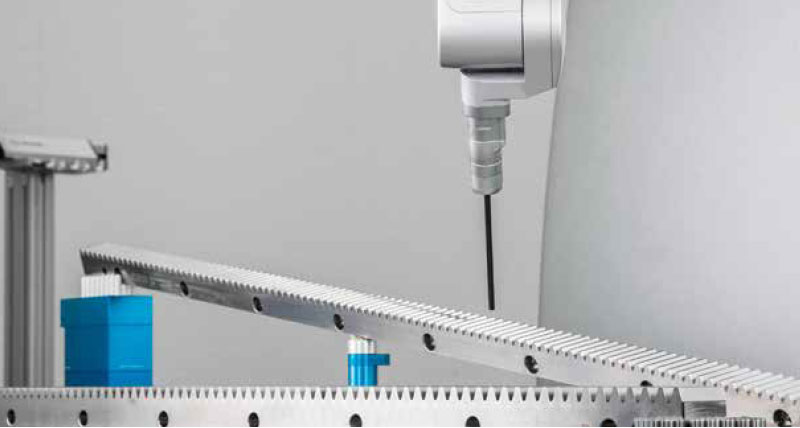
A gear rack is part of an assembly for converting rotational motion into linear motion. Typical applications are steering racks in cars and trucks as well as machine tool drives, transport systems, etc. The serial production of high-performance steering components like gear racks requires a fast and precise metrological solution to control the production process reliably.
Developments in manufacturing technology have been the driver for developments in metrology specific to this application. By combining a highly accurate coordinate measuring machine (CMM), interferometric and variable high-speed scanning (VHSS) technologies with dedicated metrology software, manufacturers are capable of reducing cycle times by up to 75%.
Racks are classified by the DIN / ASME standard on a scale of 1 to 12. A quality 1 rack is produced by grinding and used in top-end applications such as machine tool drives where precise positioning with zero backlash is important. A quality 12 rack is produced by milling and used in low-end applications such as lifting equipment where precision is less important.
To determine the geometry of a rack, there are three main features to capture: the tooth profile (straight or involute), flank profile (straight), and the pitch of the teeth. Conventional rack measurement is a combination of scanning four teeth (axially and radially) to determine the profile and flank and either centring or taking individual points in the tooth gaps to determine the pitch and runout to the part datums. The cycle time distribution is 20% for the four tooth scans and 80% for the pitch points.
Tactile inspection of racks is a mature technology based on conventional gear tester methodology. Inspection times are significantly longer than the cycle time, so tactile inspection is a solution for sample inspection, not production control.
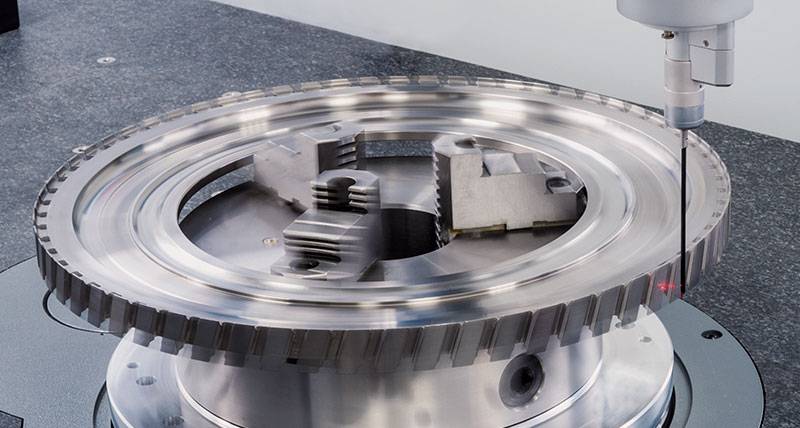
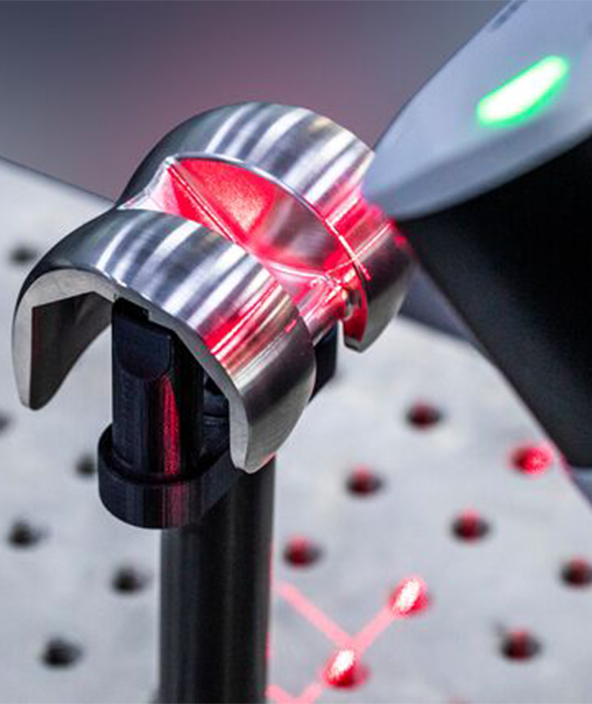
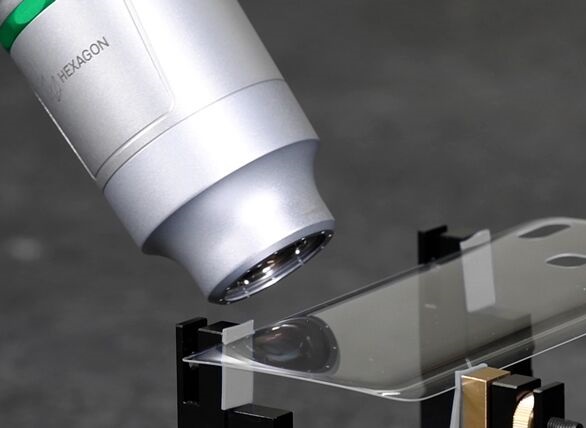
The HP-O Hybrid allows instant switches from tactile to optical measurement within the measuring program. An interferometric distance sensor with a resolution of 0.003 microns and a Ø0.011mm spot, it can measure shiny surfaces and is insensitive to changes in ambient light, optimal for capturing high-density data in a production environment.
The optical sensor is used to capture the axial profile by a single-axis move along the complete length of the rack. The pitch points are extracted from the scan. Compared to one point per second using tactile, the optical system can capture up to 1 000 points per second, eliminating pitch measurement, the time-consuming part of the process.
To fully utilise the potential of the HP-O Hybrid sensor, a CMM with appropriate accuracy and dynamics is required. The optical sensor can be used in single-point mode or continuous scanning mode. Unlike the tactile solution, only the surface points inside the focus range of the sensor are captured. Part features can be programmed and captured quickly, minimising the cycle time.
The combination of a Leitz Reference HP CMM, HP-O Hybrid sensor and VHSS technologies with QUINDOS metrology software paves the way to more precise metrology, that can keep in sync with production when used in conjunction with multi-position fixturing, pallet loaders and automation systems.
Developments in manufacturing technology have been the driver for developments in metrology specific to this application. By combining a highly accurate coordinate measuring machine (CMM), interferometric and variable high-speed scanning (VHSS) technologies with dedicated metrology software, manufacturers are capable of reducing cycle times by up to 75%.
Racks are classified by the DIN / ASME standard on a scale of 1 to 12. A quality 1 rack is produced by grinding and used in top-end applications such as machine tool drives where precise positioning with zero backlash is important. A quality 12 rack is produced by milling and used in low-end applications such as lifting equipment where precision is less important.
To determine the geometry of a rack, there are three main features to capture: the tooth profile (straight or involute), flank profile (straight), and the pitch of the teeth. Conventional rack measurement is a combination of scanning four teeth (axially and radially) to determine the profile and flank and either centring or taking individual points in the tooth gaps to determine the pitch and runout to the part datums. The cycle time distribution is 20% for the four tooth scans and 80% for the pitch points.
Tactile inspection of racks is a mature technology based on conventional gear tester methodology. Inspection times are significantly longer than the cycle time, so tactile inspection is a solution for sample inspection, not production control.
A flexible solution
The HP-O Hybrid optical sensor enables gear rack manufacturers to choose technology best suited to the application. Optical sensors offer speed and accuracy, while tactile sensors can access difficult-to-reach features. The tooth and flank profiles, for example, are captured using the tactile sensor in VHSS mode, whereas tactile metrology is very time-consuming and less detailed when capturing pitch points, making the optical sensor ideal.The HP-O Hybrid allows instant switches from tactile to optical measurement within the measuring program. An interferometric distance sensor with a resolution of 0.003 microns and a Ø0.011mm spot, it can measure shiny surfaces and is insensitive to changes in ambient light, optimal for capturing high-density data in a production environment.
The optical sensor is used to capture the axial profile by a single-axis move along the complete length of the rack. The pitch points are extracted from the scan. Compared to one point per second using tactile, the optical system can capture up to 1 000 points per second, eliminating pitch measurement, the time-consuming part of the process.
To fully utilise the potential of the HP-O Hybrid sensor, a CMM with appropriate accuracy and dynamics is required. The optical sensor can be used in single-point mode or continuous scanning mode. Unlike the tactile solution, only the surface points inside the focus range of the sensor are captured. Part features can be programmed and captured quickly, minimising the cycle time.
The combination of a Leitz Reference HP CMM, HP-O Hybrid sensor and VHSS technologies with QUINDOS metrology software paves the way to more precise metrology, that can keep in sync with production when used in conjunction with multi-position fixturing, pallet loaders and automation systems.


