From minutes to seconds - increasing tube measurement efficiency
Swedish sheet metal and tube processing business reduces tube measurement cycle times to less than ten seconds with non-contact inspection system TubeInspect P16 and BendingStudio software.
Contact us
Blomberg & Stensson AB, based in Katrineholm in Sweden, runs a flexible production centre where it manufactures everything from prototypes to full line production of small and medium-sized series. It also offers construction, powder coating and assembly.
 ‘We are a small, owner-led company with a lot of heart,’ says Stefan Edlund, CEO and co-owner. In 2010, the company revolutionised its tube production processes, opting for a photogrammetry inspection system that reduces measurement cycles and delivers insightful data to optimise the operation of their bending machine.
Blomberg & Stensson was founded in 1947 and has approximately 70 employees. Their customers are found in the Swedish automotive, energy, mining, agricultural and construction industries. In recent years the company has expanded and modernised in order to keep pace with the latest technological developments. As part of this work, the business has moved to larger, newly renovated premises where a continuous improvement process is ongoing.
‘Industry 4.0 is a continuous development and we need to be dynamic to follow the progress of technology. Our customers’ requirements will change and we must be ready,’ says Stefan. ‘We have to constantly develop and improve. The certification guidelines help us to do so. We manufacture tubes in lengths ranging from a few decimetres up to nearly six metres. We’re flexible, and our measuring equipment has to be as well.’
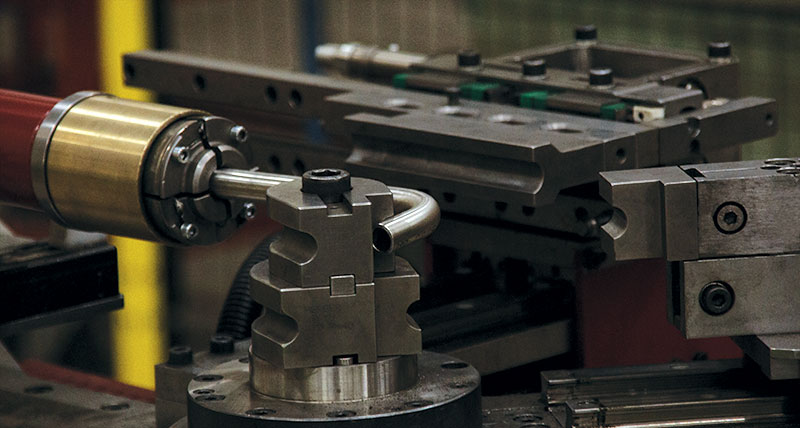
In Blomberg & Stensson’s 10 000-square-metre premises there is a large workshop that offers powder coating, blasting, welding, punching, laser cutting and waterjet cutting among other functions. The tube manufacturing department processes complete bent and assembled steel tubes of the highest quality. The tubes are cut, graded and bent, then cleaned and sealed ready for delivery.
The business specialises in medium-sized series of 1-to-200 tubes per batch. No mass production is conducted here – every series is produced upon request. Many hundreds of different items are run continuously, and new products are constantly being introduced. This makes Blomberg & Stensson a very flexible supplier, with the capacity to efficiently handle volumes with short lead times and at the highest quality. ‘We manufacture tubes in lengths ranging from a few decimetres up to nearly six metres. We are flexible, and our measuring equipment has to be as well,’ says Men To, who works as a group leader in the company’s pipe division.
From manual point measuring to 3D scanning
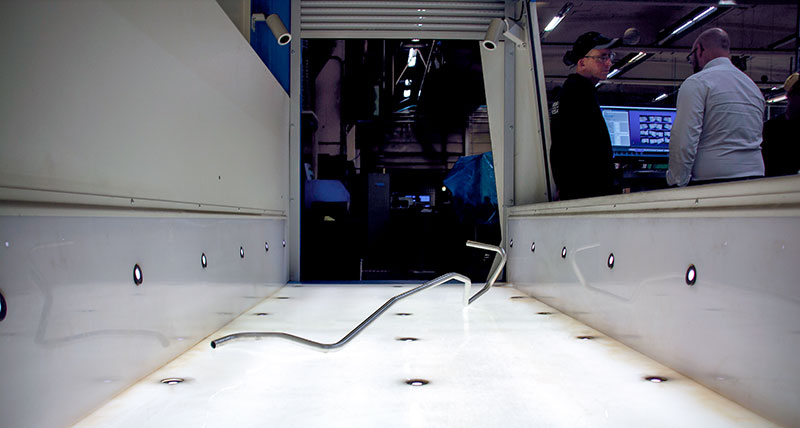
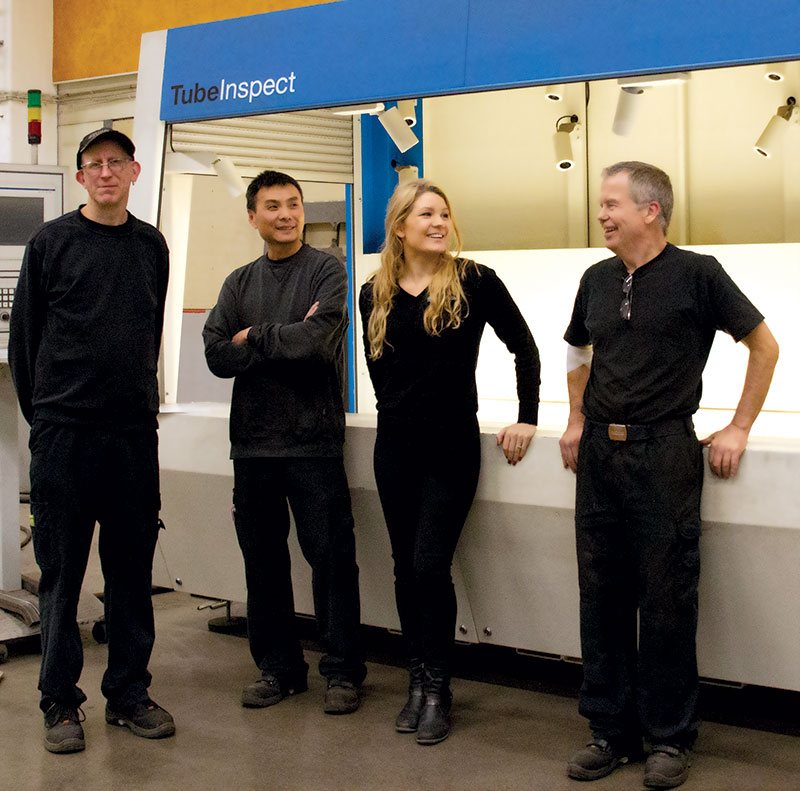
Before the TubeInspect measurement solution was installed, an older model of measuring arm with touch probe was used. “With the measuring arm we had to measure each section before and after every bend,’ says Jörgen Garmenfjäll, workshop engineer. ‘This was accurate but time consuming, as the tube needed to be fastened with a clamp and the measuring was done manually. For larger tubes we had to join multiple measurements.’In 2010, Blomberg & Stensson acquired Hexagon Manufacturing Intelligence’s 3D measuring system TubeInspect, becoming among the first companies in Sweden to use this technology. Now the measuring routine is performed quickly and easily by placing the tube in the TubeInspect measuring cell and starting the measuring program – the tube doesn’t even have to be moved.
TubeInspect P16 is a non-contact measuring system equipped with sixteen high-resolution cameras suitable for tubes with a diameter of 3-to-200 millimetres. It has a measuring volume of 2600 by 1250 by 700 millimetres, and with repositioning enables optimum 3D measurement of bent tubes up to any length required. Tube measurements can then be compared against a prototype or an imported CAD model.
Because of the tolerance spread, you need to fine-tune how you bend the pipe. This means that even if the pipe is within tolerance, the bending parameters may need to be adjusted. With TubeInspect, that correction is automatically sent from the measuring machine to the bending machine.”
When using the measuring arm the process took several minutes; with this 3D scanning solution it takes a few seconds regardless of the complexity of the tube. ‘Now we have a measuring process that is fast and smooth with an accuracy higher than our customers demand,’ says Jörgen.
TubeInspect, along with the BendingStudio software, is now used for all quality assurance in the department.
Optimising systems and processes
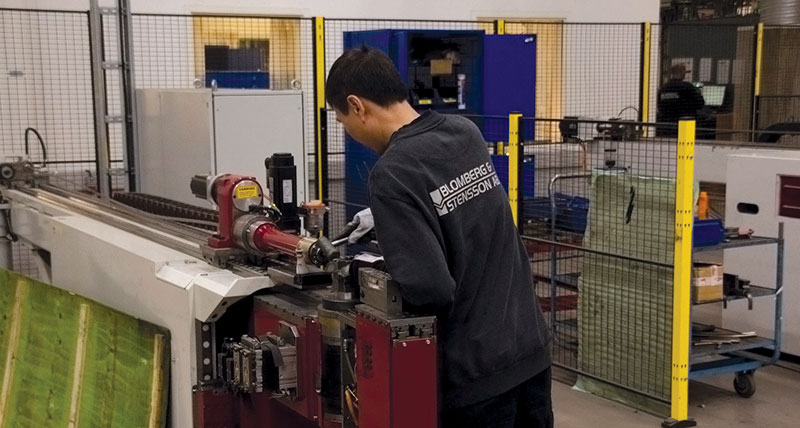
Using the BendingStudio software, data from the measurements can be utilised to modify the bending machines and ensure optimal tolerances. The BendingStudio software communicates directly with the bending machine after each measurement, which in turn compensates within tolerance to avoid waste, which contributes significantly to saving both time and money while enhancing production quality.‘Because of the tolerance spread, you need to fine-tune how you bend the pipe,’ explains CEO Stefan. ‘This means that even if the pipe is within tolerance, the bending parameters may need to be adjusted. With TubeInspect, that correction is automatically sent from the measuring machine to the bending machine.”
TubeInspect can handle all tube measurements and is now the only measuring instrument used in the tube processing department at Blomberg & Stensson. With an accuracy of 0.085 mm for sheath tolerance (1σ) and measurement time of less than 10 seconds, regardless of pipe type, it’s a solution that goes hand-in-hand with Blomberg & Stensson’s vision of flexibility and quality.

