Working to a new standard: ISO 10360-12 for arms
A new standard for certifying portable measuring arms
Contact us

With its 162 member countries and headquarters in Geneva, Switzerland, the International Organization for Standardization is the principal name when it comes to industrial certifications. The term ISO has by now become a shorthand for reliable certification in any number of sectors.
The ISO 10360 series of standards is defined for acceptance and reverification tests for coordinate measuring machines (CMMs). In October 2016, ISO 10360-12 was published. This document is specifically designed for certifying the accuracy of portable articulated measuring arms when measuring with a touch probe.
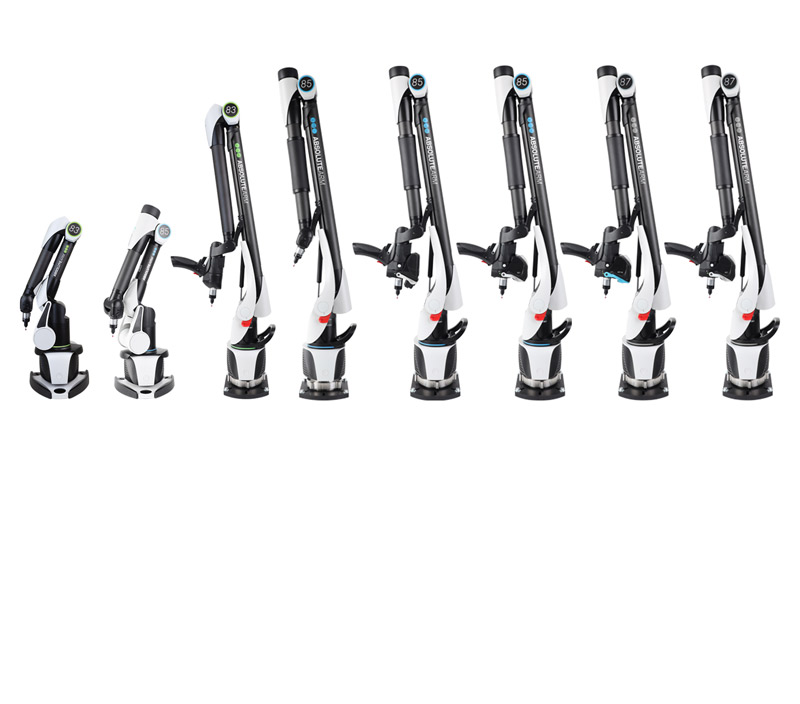
All new Absolute Arms will be supplied with certification to ISO 10360-12 as standard. This certification requires that a stringent series of tests be performed on every arm before it leaves the factory. You can find the full ISO 10360-12 accuracy specifications for every configuration of Absolute Arm in our product range brochure.
What does this mean for you?
 The ISO 10360-12 standard is a more complete certification than the B89.4.22 certification that was previously the industry standard. However, this also means it is a more complex certification that can be more challenging to understand.
The certification specifies four accuracy values, known as EUNI, PSIZE, PFORM and LDIA. Each of these values represents a different aspect of the contact measurement accuracy of a portable measuring arm.
The EUNI value is the maximum permissible error for unidirectional length measurements. It therefore most closely reflects most measurement needs.
The PSIZE value is the maximum permissible error for measuring the diameter of a sphere. It therefore reflects the accuracy of feature measurements.
PFORM
The PFORM value is the maximum permissible error for the form of a sphere. This is a value that defines the dispersion accuracy of the arm.
LDIA
The LDIA value is the maximum permissible error for the articulation location. It therefore represents the repeatability of the arm.
Analysing this certification has clear benefits for the user – it is now possible to more accurately rate which arm is better for a particular application by first defining which is the most important aspect of measurement for that application.
What about SPAT?
A Single Point Articulation Test, or SPAT, is defined in ISO 10360-12 Annex D. It is not a required value for this standard and is intended for very basic checks only – it doesn’t accurately reflect any aspect of real world measurement, because a conical seat is measured, which does not qualify as a certified artefact.
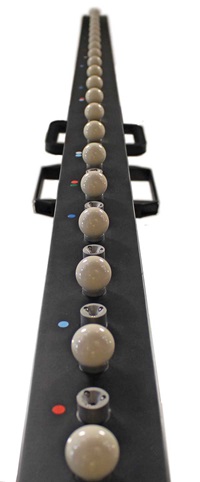
Every Absolute Arm ships with a fully certified artefact, which not only makes misleading SPAT checks unnecessary, but also means that you can always have a clear view of the performance of your arm.

