High-accuracy measurement of electric vehicle gears
Measurement and evaluation of gear parameters for the high-precision gears of the eMobility drivetrain
Contact us
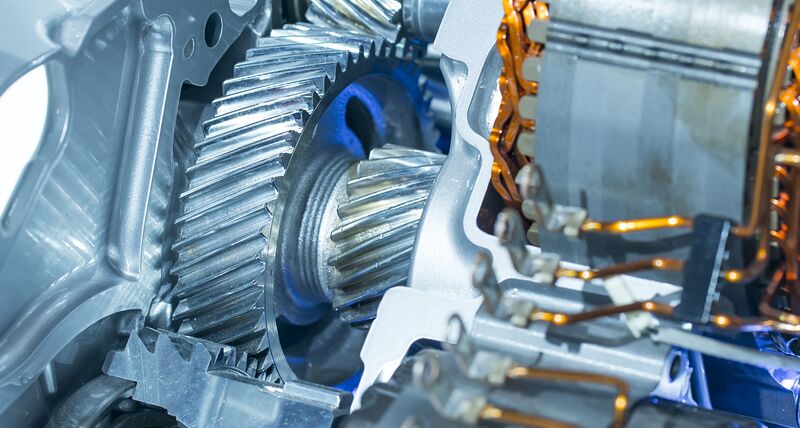
Although electric vehicle drivetrains typically use different operating principles to their combustion-engine counterparts, there remain many similarities in the design and manufacture of key components such as straight gears and helical gears. However, with the higher torque and rotational speeds enabled by electric motors, the tolerances required in drivetrain components are typically tighter in electric vehicles. The surface finish of gears also takes on a new importance because of the low noise levels of the electric motor.
With the tolerances of precision gears for electric vehicle drivetrains usually in the low micron range, a precision measurement solution such as an ultra-high accuracy coordinate measuring machine (CMM) is essential to fulfil the accuracy requirements. A metrology software specified for gear measurement is also required. Part accessibility is another critical factor in measurement system specification as the shape of the gear teeth can obstruct access, particularly at the root. Furthermore, measurements that help to understand noise emissions at very high rotational speeds become increasingly important to electric vehicle manufacturers. This can include roughness measurements on tooth flanks and even a performance simulation based on full surface measurement of the physical part as manufactured.
For verification of smaller electric drivetrain gears in production, several critical measurements of the gear teeth are required. Profile and helix lines are scanned and evaluated for form and position deviations. Another important evaluation includes pitch and run-out. For this, single points on every flank need to be measured. The tooth flank also needs to be captured in detail to evaluate any modifications that have been applied to the flank.
To achieve such a complex set of measurements, a rotary table is often used to position the gear for measurement. But it is also possible to carry out inspection without the use of a rotary table, with the CMM instead aligning the probe head to the gear. This method can also be support automated measurements of multiple gears on pallets, increasing measurement throughput. If the CMM is capable of additionally using a roughness sensor, roughness measurement can be integrated into the same the inspection program. This can reduce the inspection time as the gear does not need to be taken to another measurement system and reclamped. Laser line scanners may be used to capture the full surface of the gear. Using accurate measured data to inform acoustic simulations is also helpful in noise evaluation.
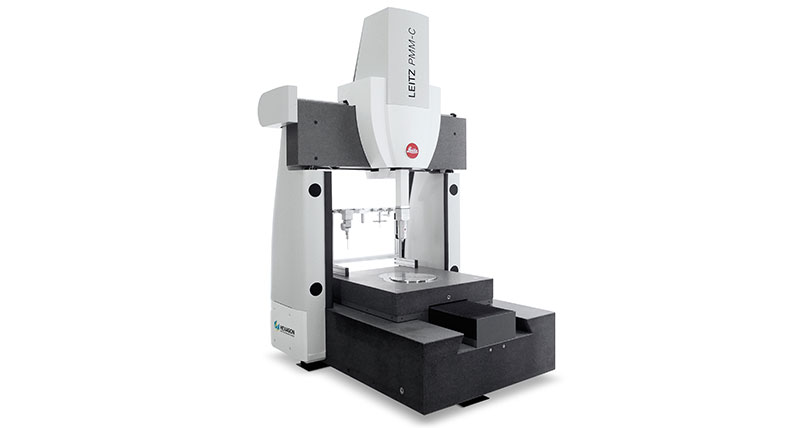
With sub-micron accuracy and high scanning performance, Hexagon’s ultra-high accuracy CMM range is ideally suited to the measurement of electric vehicle gears. The CMMs can be equipped with rotary tables but do not require them, and support a wide range of sensors and software designed for and proven in automotive drivetrain applications.
Our solutions
Explore Hexagon solutions for the measurement of electric vehicle gears
Ultra-high accuracy CMMs
Offering 4-axis scanning and automatic changes between tactile and optical sensors, the ultra-high accuracy Leitz PMM-C range is ideal for gear inspection.
Roughness measurement
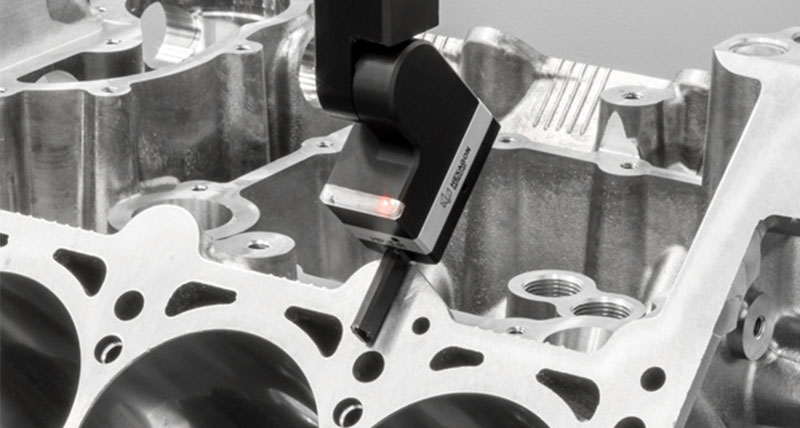
The PROFILER R roughness sensor enables accurate tactile surface measurement within the same part program for advanced gear inspection.
Gear measurement software
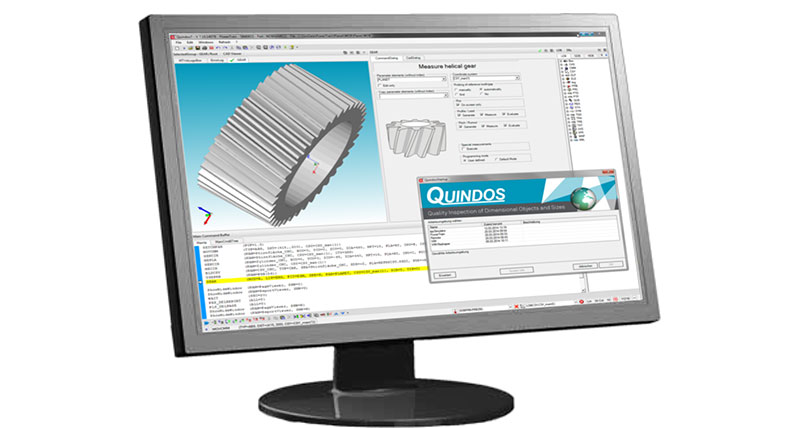
The automotive industry-proven QUINDOS metrology software provides a broad range of modules optimised for gear measurement.
Case studies
See how Hexagon solutions are used in automotive gear measurementGeared up for quality
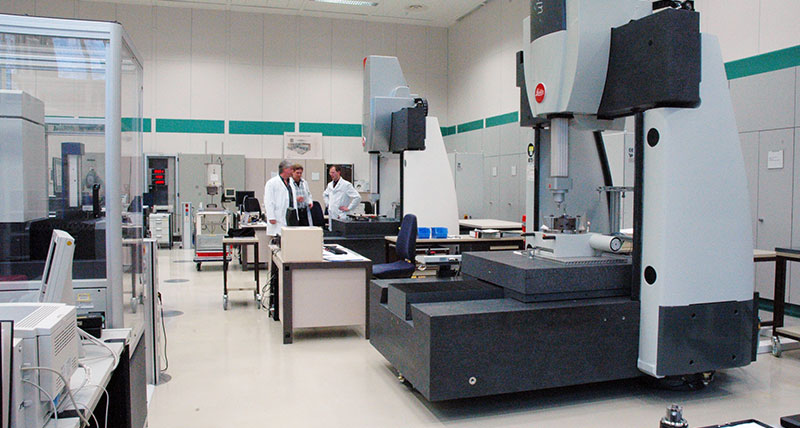
Read how the Robert Bosch calibration laboratory provides measurement services to automotive and other industries with the support of Hexagon solutions.
