GLOBAL Speed
High-throughput measurements of complete part surfaces with high measuring point density
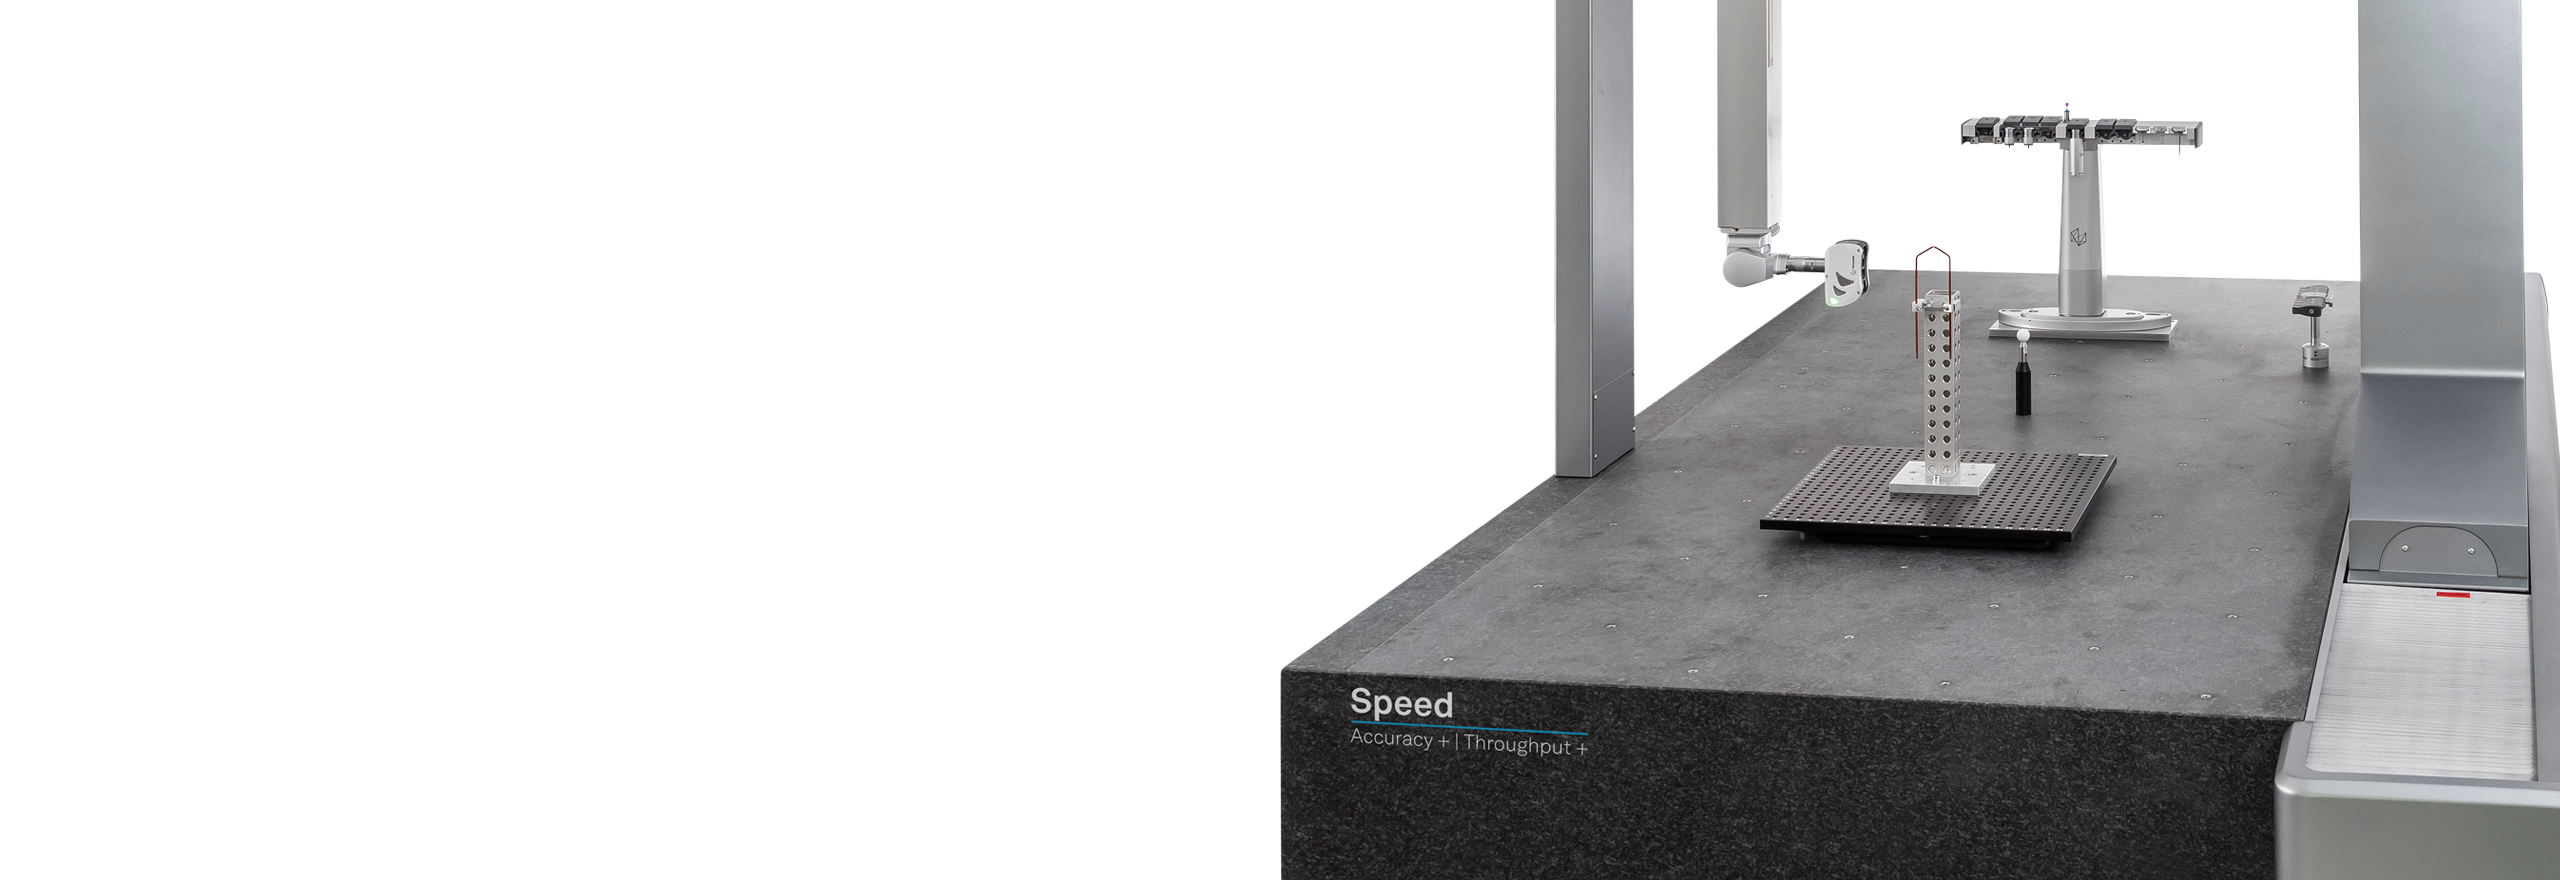
Need to shorten your measurement cycles without compromises?
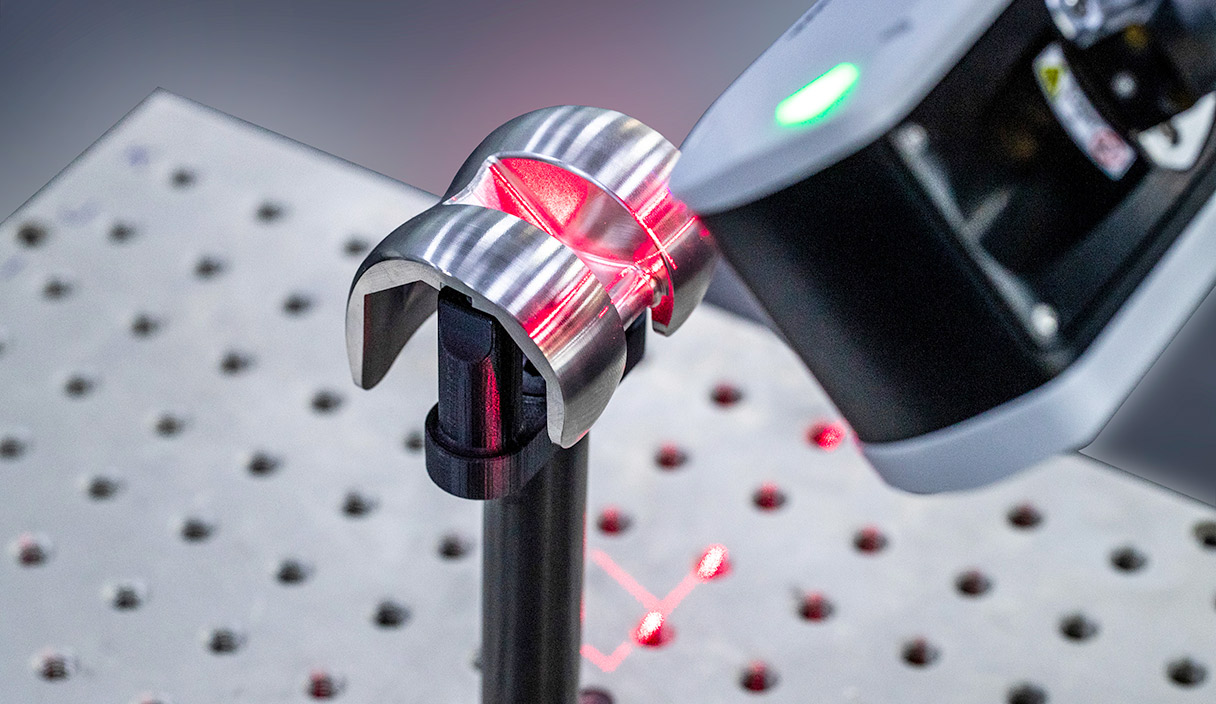
Automated 3D laser scanning digitises part surfaces with millions of highly accurate data points.
Would you like to know more?
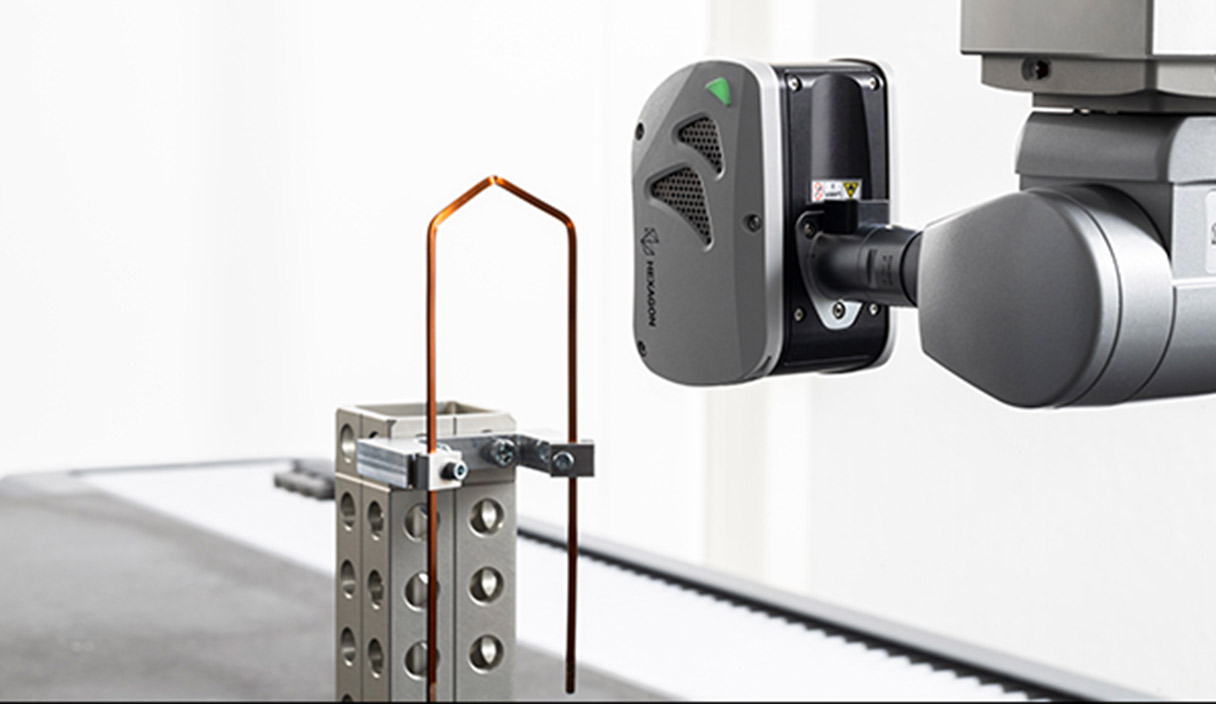
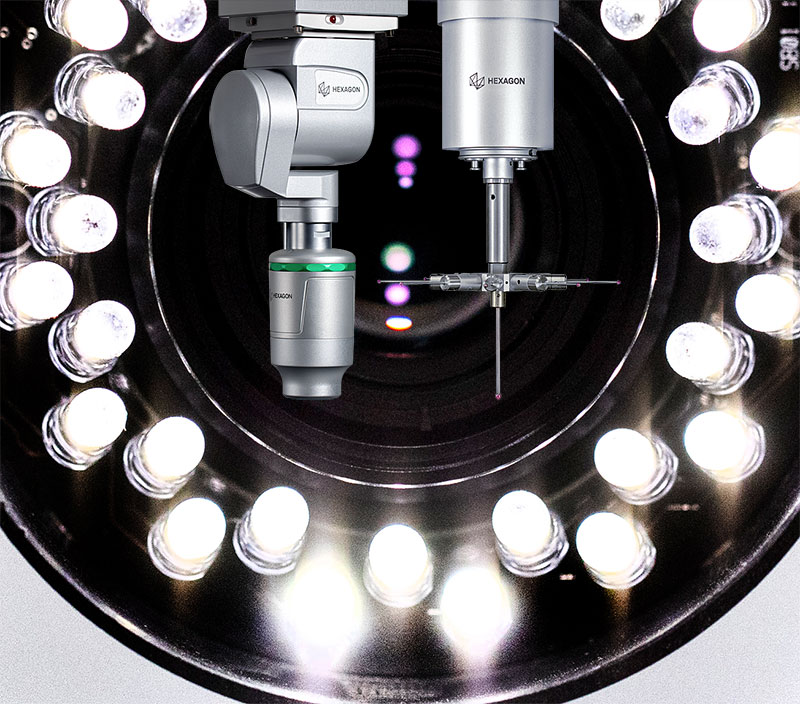
GLOBAL Speed is equipped with Hexagon’s cutting-edge laser scanning sensor as standard, combining unmatched speed, accuracy and flexibility to streamline the complete non-contact point cloud capture of freeform surfaces.
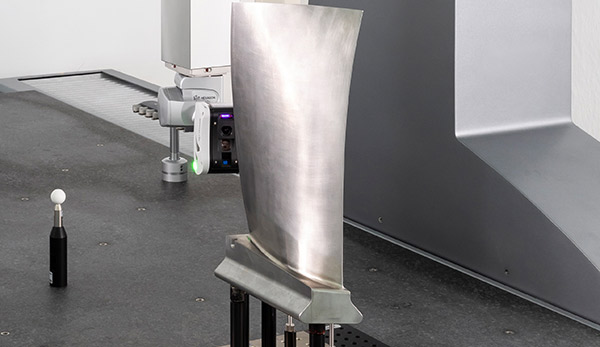
For applications ranging from complex-shaped housings to turbine blades, measuring entire part surfaces in point clouds without compromising throughput becomes a straightforward task thanks to the laser scanner’s ability to capture up to 600 000 points per second. Highly accurate data is then available for comparison with nominal CAD data or reverse engineering.
An indexing probe head ensures the sensor is always optimally aligned with the workpiece surface being measured, while an automatic sensor changer rack allows the fully-automatic exchange of the laser scanner with other tactile or optical sensors during the measurement routine.
Typical applications
Application challenges
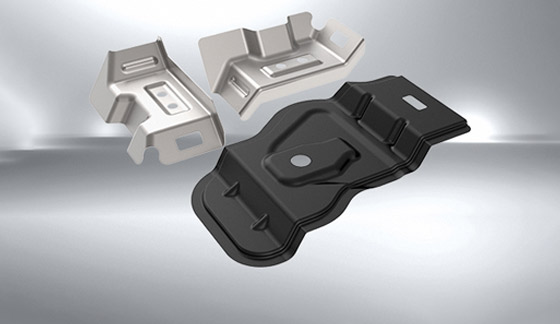
High-throughput capture of complete part surfaces in point clouds
- Freeform surfaces
- Multi-material surfaces
- Full surface form deviation analysis with actual to nominal comparison
- Reverse engineering
GLOBAL Speed benefits
- High-throughput full surface measurements
- 100% inspection of size and profile
- Streamlined tool development with fewer correction loops, faster process optimisation, reduced rejects and rework
How the GLOBAL Speed builds
Options tailored to individual application needs
Manufacturers can further tailor the capabilities of each base model GLOBAL Speed machine with options to meet their application needs best. A range of options can be selected during initial CMM configuration, and most can be set up later as upgrades to the in‑service machine.
The Global Speed model can be equipped with additional sensors to make it suitable for a larger field of applications:
HP-C camera sensor
Optical measurements of small features and sensitive or easily deformed components
Highly accurate optical sensor for almost all materials, including the most challenging surface finishes
HP-S-X1 scanning probe
Compact tactile probe for highly accurate scanning applications
MAC (Manual Application Changer) allows you to change probe heads quickly and easily with just a few manual steps. This simple process helps CMM owners stay flexible and quickly meet the needs of various or changing applications.
MAC is compatible with indexing probe heads and HP-S-X5-HD fixed probe heads.
The XT (extended temperature) option allows the GLOBAL Speed model to be used in less controlled temperature environments, enabling accurate and reliable measurements near the production line without needing a costly climate room.
Tabletop rotary tables for the GLOBAL Speed model enhance access to workpieces from any angle, so even highly complex parts can be measured quickly, with fewer probe changes, increasing throughput.
Various other options are available for the GLOBAL Speed model to get the most out of the machine for every application. These include:
PULSE wireless real-time environmental monitoring
This system helps ensure measurement data integrity by notifying users of temperature, humidity, vibration, air pressure and luminosity changes that might affect measurement results.
Messaging lights
Messaging lights give operators the ability to monitor the machine’s status even from a distance, to optimise time and resource management.
Eco Mode+
The option reduces compressed air consumption by up to 90% when the machine is idle and saves up to 25% of compressed air costs under normal machine operating conditions.
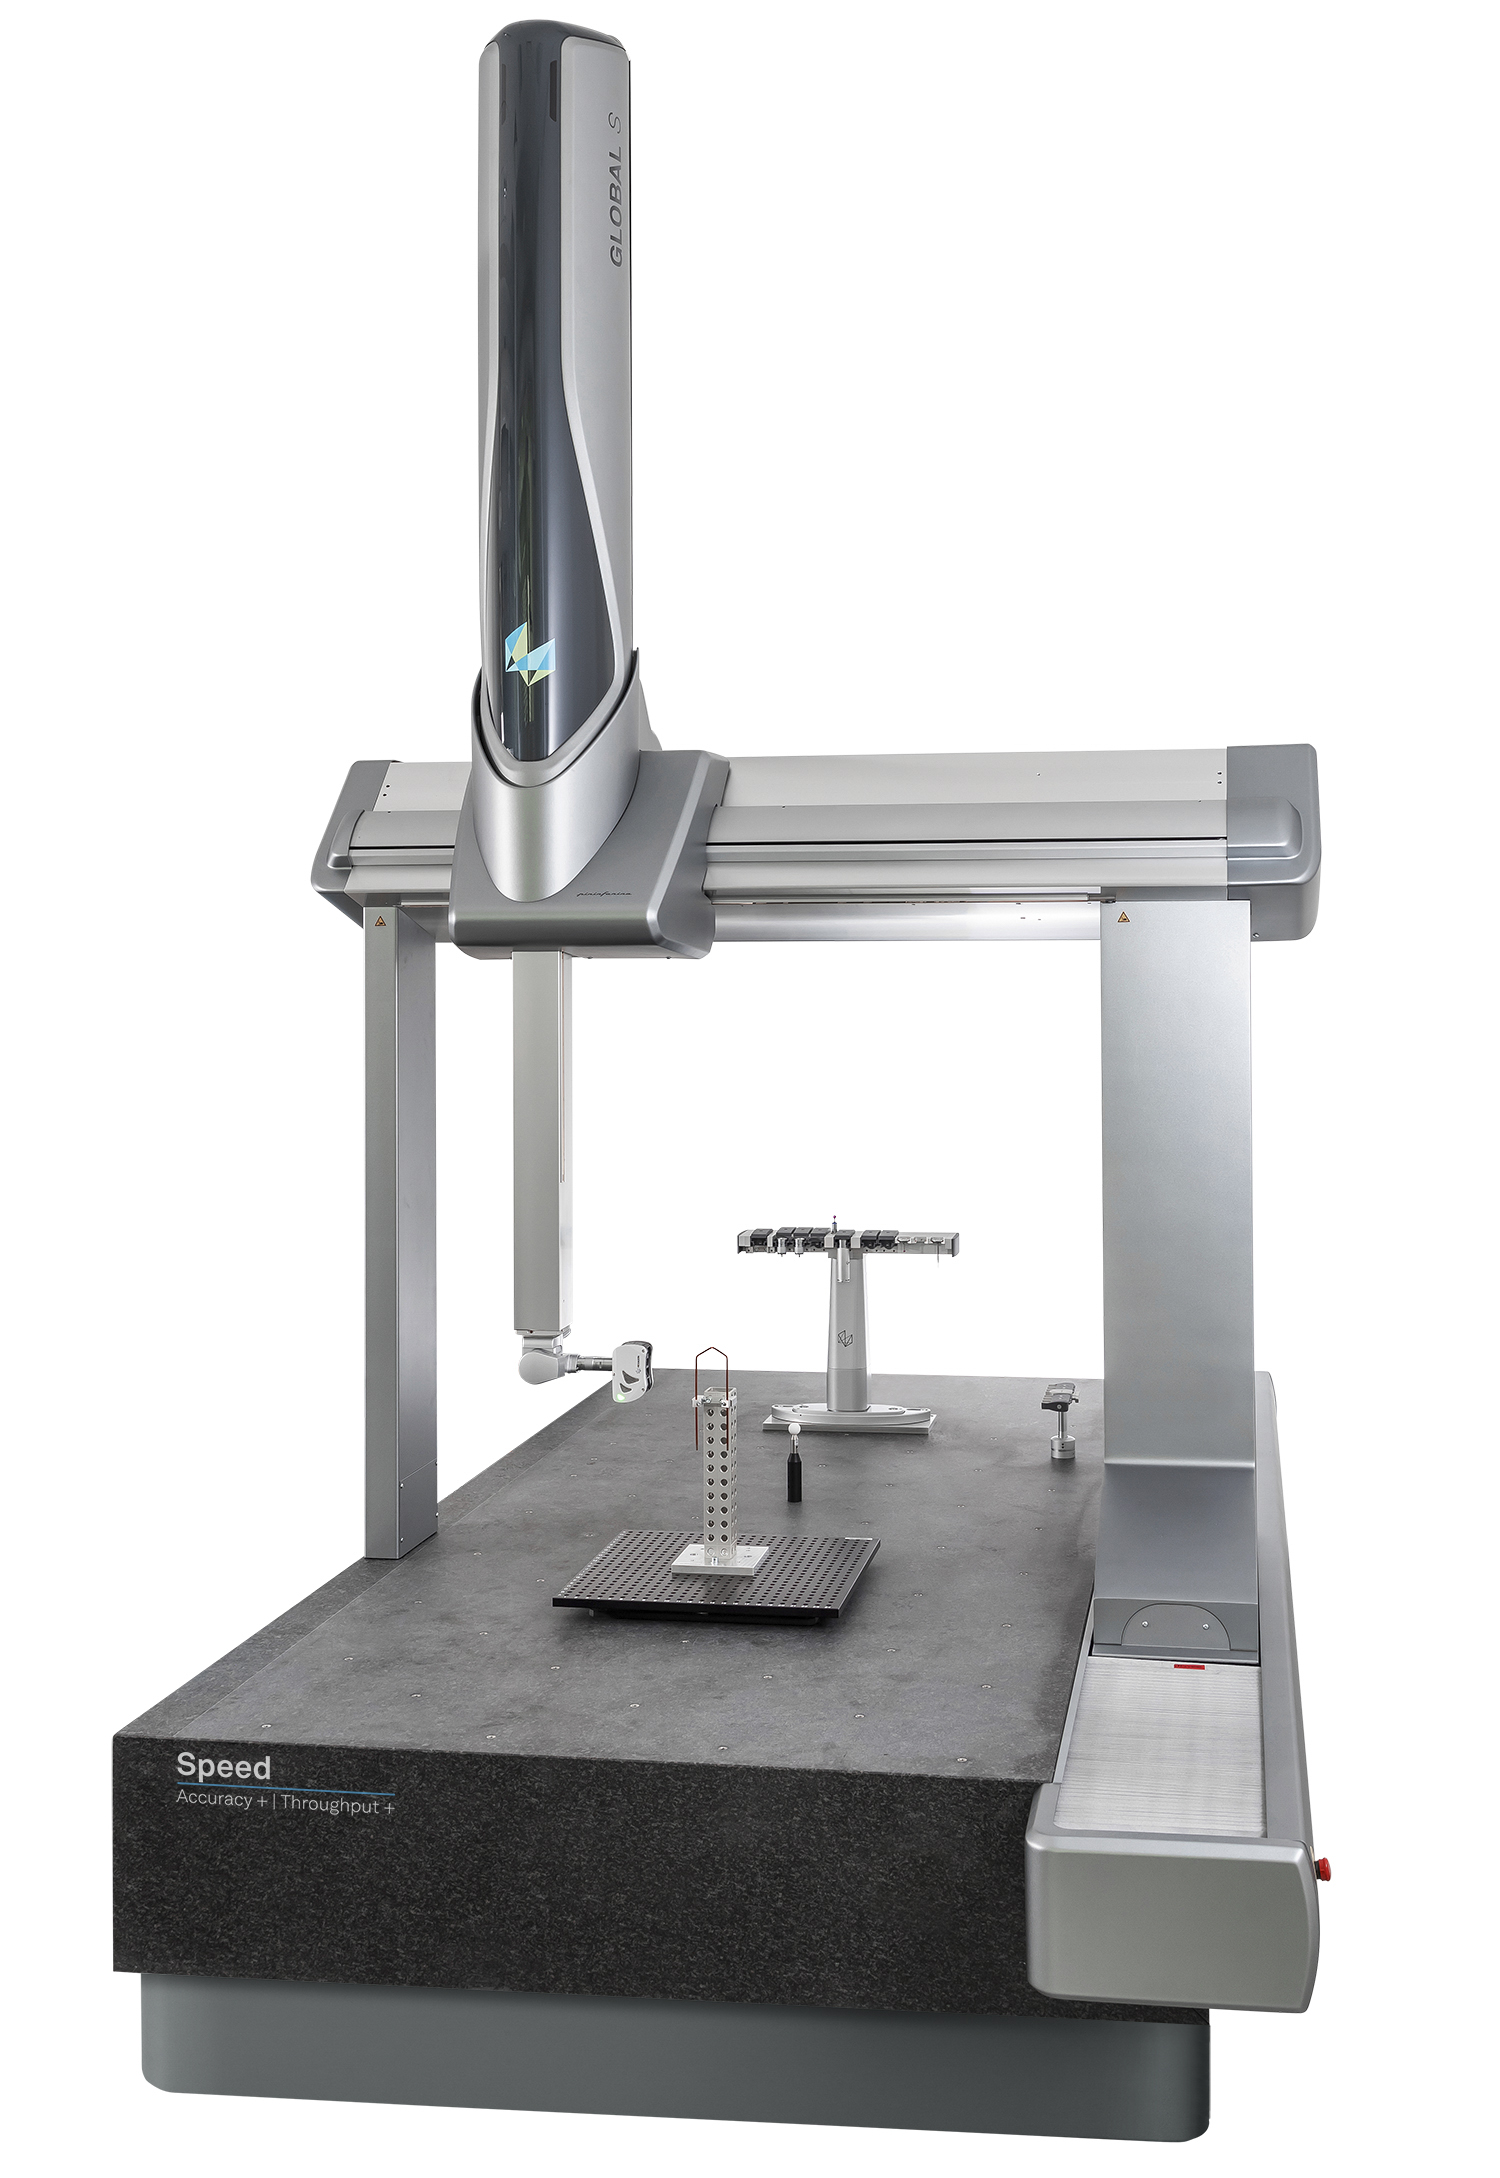
Features and benefits
GLOBAL CMMs are built on advanced design principles to inspire certainty and confidence. They combine quality components and state-of-the-art technologies for long-term stability, reduced measurement uncertainty, adaptability to harsh measuring environments, fast measuring point capture and an advanced user experience. These metrology solutions will provide manufacturers with maximum value over the entire lifecycle.Sturdy mechanical design
The solid granite base with integrated dovetail guide guarantees long‑term system stability and consistent accuracy over the entire measurement volume.
Bridge with triangular crossbeam
Featuring an improved stiffness-to-mass ratio relative to square or rectangular traverses, this design allows for the highest dynamics and high‑speed measurements.
Preloaded air bearings on all axes
Contactless, low-friction and low-wear axis motion ensures fast and repeatable positioning at all speeds and accelerations, resulting in low measuring uncertainties.
Low-maintenance belt drive system
Flat and V-ribbed belts ensure smooth and low-vibration axis motion.
Temperature compensation
Real‑time compensation of thermally caused measurement deviations through temperature sensing at the scales and on the workpiece ensures reliable measurement results.
Extended temperature operating range (option)
Measure your components with more resistance to environmental influences. An extended temperature operating range (15 - 30°C) allows the CMM to operate closer to the production line without needing a costly climate room.
Real-time environmental monitoring (option)
PULSE enables the user to monitor and log any environmental conditions surrounding the CMM and receive real‑time machine information.
Eco Mode
Eco Mode supports sustainability and productivity goals by automatically powering down the CMM when idle, which improves energy efficiency while keeping the machine ready to go.
Messaging lights (option)
Messaging lights give operators the ability to monitor the machine’s status even from a distance, to optimise time and resource management.
High-speed and safety
Continuous monitoring of a defined safety area around the CMM allows worry-free high-speed measurement in CNC mode. The machine will slow down automatically when the user or an object encroaches upon the protected area.
Multisensor versatility
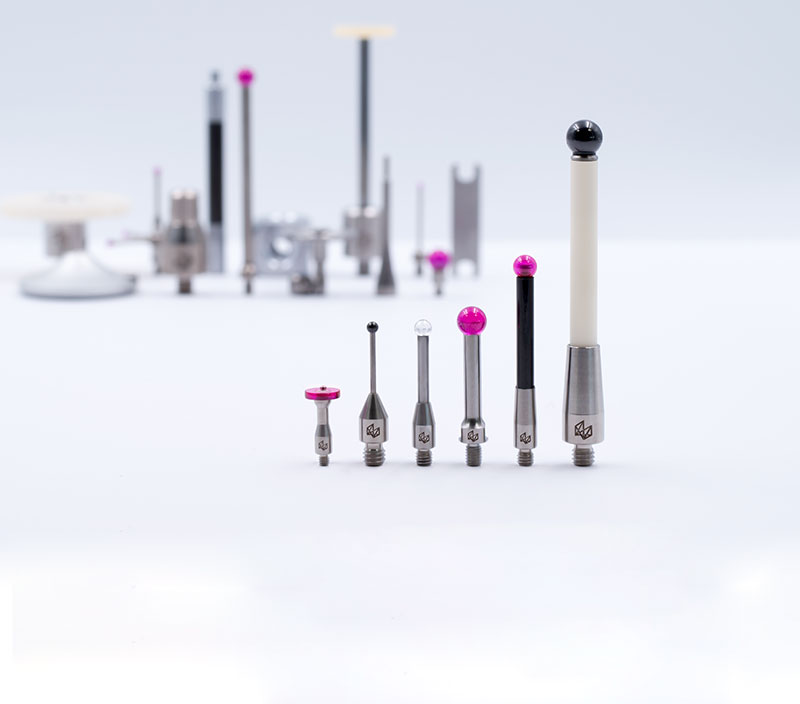
Using the widest range of tactile and optical sensors with Hexagon’s universal sensor interface, the CMM becomes a multisensor inspection device that can adapt to the most complex measuring tasks.
Future-ready concept
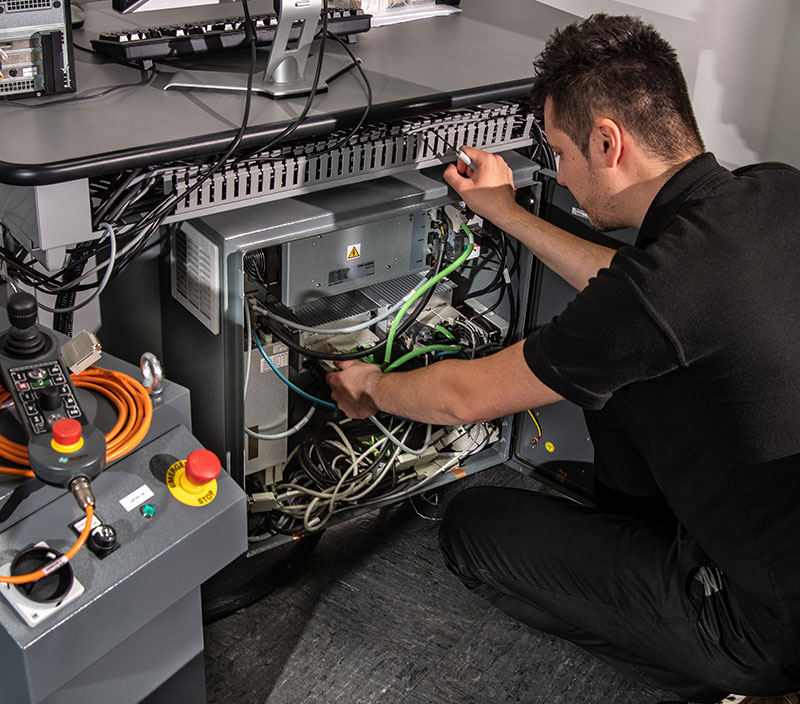
The future‑ready pre‑cabling enables easy adaptation of the CMMs to future measurement tasks without costly downtime. A range of adaptability options can be flexibly selected during initial CMM configuration or set up later as upgrades.
Customer Stories: GLOBAL CMM Solutions
Hexagon CMMs and PC-DMIS for an improved hip prosthesis manufacturing process | Dedienne Santé
Adaptable automated measurement using Hexagon GLOBAL S CMM & HP-OW optical sensor
Quality control of gearbox housings in an automated production cell
GLOBAL CMMs and PC-DMIS software for aerospace | Mecamesures, France
-
Measuring volume
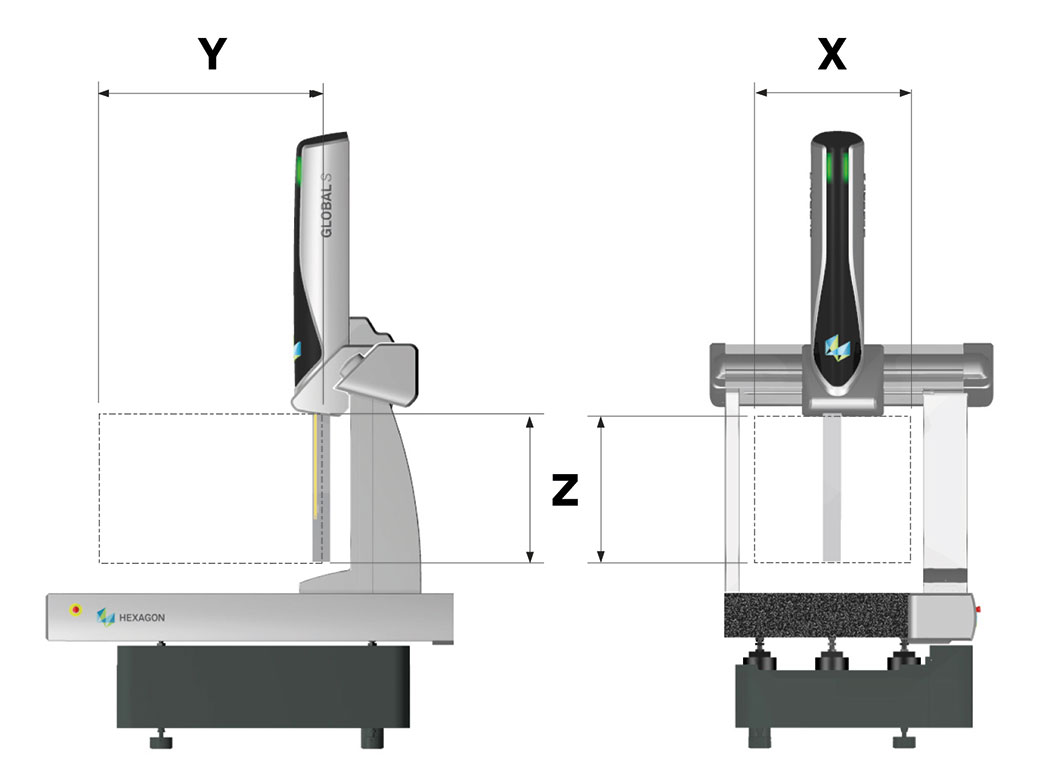
Type X (Width) Y (Depth) Z (Height) 7.7.5 700 mm 700 mm 500 mm 7.10.7 700 mm 1000 mm 660 mm 9.12.8 900 mm 1200 mm 800 mm 9.15.8 900 mm 1500 mm 800 mm 9.20.8 900 mm 2000 mm 800 mm 12.15.10 1200 mm 1500 mm 1000 mm 12.22.10 1200 mm 2200 mm 1000 mm 12.30.10 1200 mm 3000 mm 1000 mm 15.22.10 1500 mm 2200 mm 1000 mm 15.30.10 1500 mm 3000 mm 1000 mm 15.20.14 1500 mm 2000 mm 1350 mm 15.26.14 1500 mm 2600 mm 1350 mm 15.33.14 1500 mm 3300 mm 1350 mm 20.33.15 2000 mm 3300 mm 1500 mm 20.40.15 2000 mm 4000 mm 1500 mm
-
Downloads
