High-quality data collection drives high-speed automated inspection processes
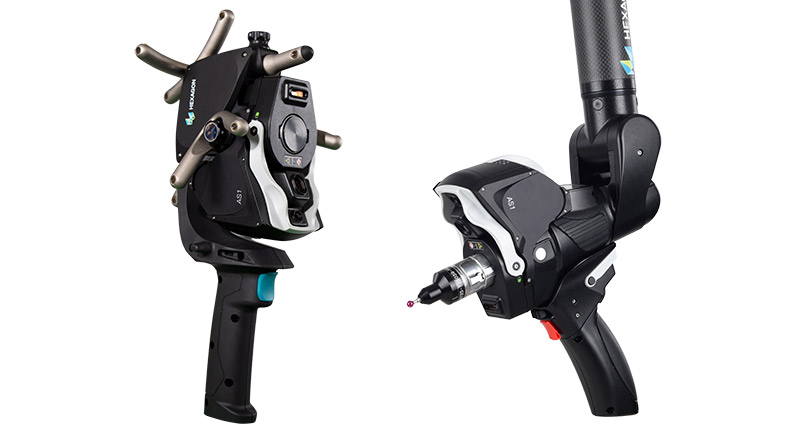
With the installation of an automated measurement cell consisting of the Leica Absolute Tracker AT960 and Absolute Scanner AS1, KaKue GmbH benefits from increased and process-reliable throughput in measurement services
Product enquiry
Automated inspection in automotive with Absolute Scanner AS1
KaKue GmbH, headquartered in Obersulm, Germany, has been providing its customers with reliable measurement services using state-of-the-art measurement technologies for more than two decades now. From standard measurements to complex problems, the measurement specialists at KaKue guarantee a solution-oriented approach to contract inspection, both in-house and at customer sites.
The company’s range of services also includes measurement recordings and test gauges, as well as prototype construction and small batch production, machining, sheet metal working and design. In this way, KaKue has grown to become a reliable and competent partner for companies across a wide range of industries, such as automotive engineering, mechanical and plant engineering, toolmaking and electrical.
 Since first purchasing the Leica Absolute Tracker AT901 in 2012, Abdulrahim Kahriman, Managing Director of KaKue GmbH, was already convinced of the precision and speed of Hexagon’s laser tracker range. The company would go on to procure further Absolute Tracker systems from Hexagon over the years since, including the current generation flagship model, the Leica Absolute Tracker AT960, with both laser scanner and handheld probe accessories.
“Since purchasing the first AT901 laser tracker, we have been convinced of the speed and precision of the Hexagon systems,” explains Kahriman. “The product training and service provided by Hexagon Germany before and after the purchase also confirmed our choice of these systems from the very beginning.”
 Until recently, laser tracker inspection applications at KaKue were always carried out manually. But in 2022, the go-ahead for investment in automated inspection processes was given, leading to the purchase of another AT960 system in combination with the Absolute Scanner AS1 – Hexagon’s flagship blue-light laser scanner, which was newly launched in 2021.
To control the automated measuring processes, KaKue chose the Nexos 4.0 software from 11 Dynamics, who carried out the programming of the cell. The virtual measuring environment and measuring cell is displayed on a one-to-one basis within the Nexos software, accurately representing the real cell. This means the entire programming process of the robot as well as the alignment to the measurement piece can be carried out within the software. Collisions of robot, scanner and component are therefore much more easily avoided – particularly so given the large measurement stand-off distance offered by the Absolute Scanner AS1.
Since installation, the new measuring cell has primarily been used to measure car body components and entire car bodies.
“By automating some of our inspection processes, we quickly achieved higher process reliability and repeatability,” says Kahriman. Thanks to the success of the new cell, further areas of application are already being analysed.
The company’s range of services also includes measurement recordings and test gauges, as well as prototype construction and small batch production, machining, sheet metal working and design. In this way, KaKue has grown to become a reliable and competent partner for companies across a wide range of industries, such as automotive engineering, mechanical and plant engineering, toolmaking and electrical.
A long-standing partner for reliable measurement systems
“Since purchasing the first AT901 laser tracker, we have been convinced of the speed and precision of the Hexagon systems,” explains Kahriman. “The product training and service provided by Hexagon Germany before and after the purchase also confirmed our choice of these systems from the very beginning.”
The automation revolution
To control the automated measuring processes, KaKue chose the Nexos 4.0 software from 11 Dynamics, who carried out the programming of the cell. The virtual measuring environment and measuring cell is displayed on a one-to-one basis within the Nexos software, accurately representing the real cell. This means the entire programming process of the robot as well as the alignment to the measurement piece can be carried out within the software. Collisions of robot, scanner and component are therefore much more easily avoided – particularly so given the large measurement stand-off distance offered by the Absolute Scanner AS1.
Since installation, the new measuring cell has primarily been used to measure car body components and entire car bodies.
“By automating some of our inspection processes, we quickly achieved higher process reliability and repeatability,” says Kahriman. Thanks to the success of the new cell, further areas of application are already being analysed.
“Automating some of our inspection processes immediately led to higher process reliability and repeatability.”
Abdulrahim Kahriman
Managing Director
KaKue GmbH
High-speed, high-quality data
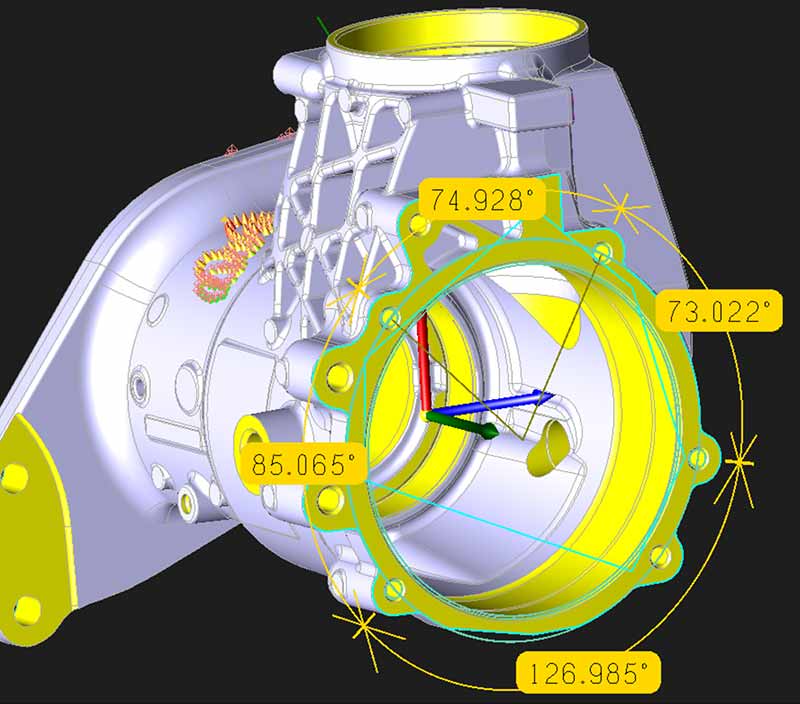
Further time saving is attributable to the ease of access and user of measurement results, which are available immediately after scanning is complete in the leading software solutions for point cloud inspection and reverse engineering, such as Hexagon’s Inspire.
In the case of a measurement service contract, the inspection data is forwarded to the customer so that they have a reference point for optimising their production processes. In the case of prototype construction, the data is used internally by KaKue to improve the accuracy of the parts produced.
Looking to the future, Kahriman plans to get more involved in plant measurement technology: “In the future, we plan to be able to build our own automated plants with Absolute Tracker systems and the AS1 scanner, and thus offer our customers complete plants. The system can be used very well and precisely for this purpose.”


