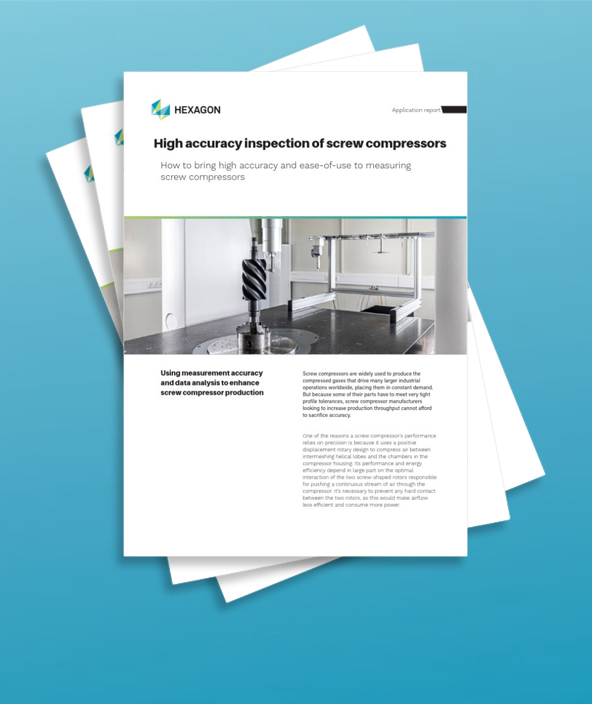
High accuracy inspection of screw compressors
How to bring high accuracy and ease-of-use to measuring screw compressors
Contact us

Screw compressors are widely used to produce the compressed gases that drives many larger industrial operations worldwide, placing them in constant demand. But because some of their parts have to meet very tight profile tolerances, screw compressor manufacturers looking to increase production throughput cannot afford to sacrifice accuracy.
One of the reasons a screw compressor’s performance relies on precision is because it uses a positive displacement rotary design to compress air between intermeshing helical lobes and the chambers in the compressor housing. Its performance and energy efficiency depend in large part on the optimal interaction of the two screw-shaped rotors responsible for pushing a continuous stream of air through the compressor. It’s necessary to prevent any hard contact between the two rotors, as this would make airflow less efficient and consume more power. At the same time, to achieve maximum compression, the clearances between the two rotors need to be larger where the air enters than where it leaves, yet as small as possible between both the rotors and the compressor house. This means the rotors typically have to be manufactured with flank and profile tolerances that range between 10 µm and 16 µm.
Feeding back to avoid rejection
Due to the rotors being milled as a single part, it is important to avoid errors that can lead to them being rejected, which both wastes materials and eats into production time. In addition to mechanical accuracy, the customers for screw compressors in sectors as diverse as energy, aerospace, automotive and food manufacturing, also seek high levels of reliability and performance. Screw compressors often need to generate the compressed air that powers industrial machinery around the clock, particularly in automated environments.
By choosing a highly accurate coordinate measuring machine (CMM), screw compressor manufacturers are confident of their ability to control the accuracy and performance levels their customers demand. If tooling errors arise, then it is important to have CMM software that can rapidly provide correction data for a wide range of different machine tools within a closed-loop process, enabling quality engineers to quickly identify and address errors before they are reproduced.
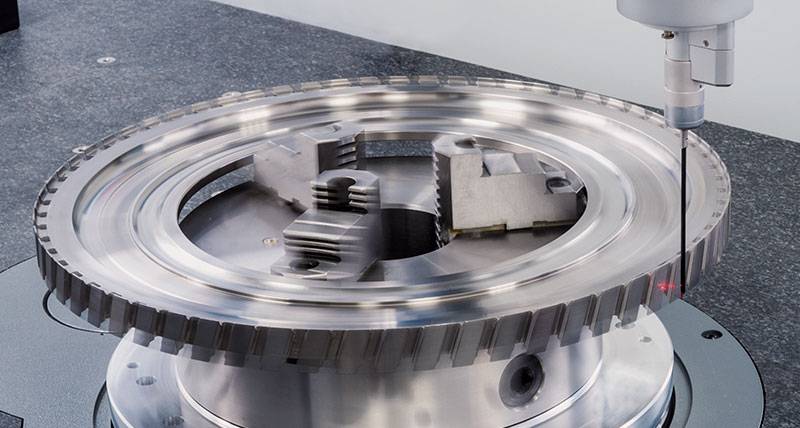
Any measurement solution for screw compressors should combine both optical and tactile sensors, which provide fast and highly accurate measurement, especially on surfaces with milling marks. By choosing a sensor that can swap swiftly between tactile and non-contact measurement, screw compressor manufacturers further enhance throughput and extend versatility.
Accuracy assured
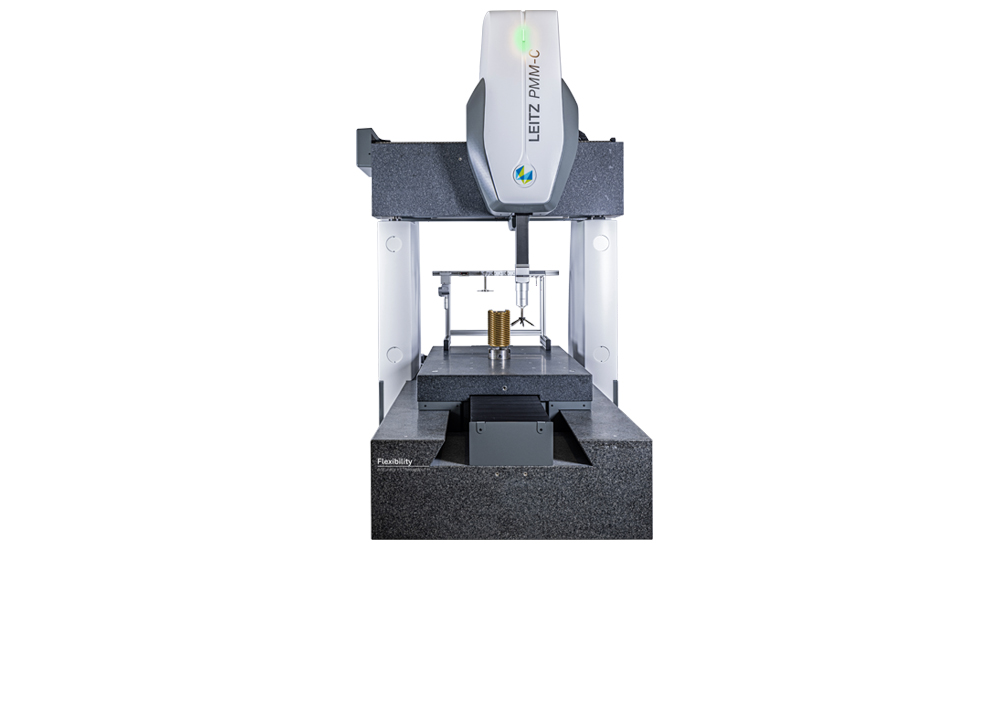
The Leitz PMM-C Flexibility CMM that can be enhanced by Accuracy+ and Throughput+ options, is designed to deliver the high measurement accuracy demanded by very tight form tolerances. It comes with features that guarantee extremely short cycle times and optimised throughput, including a rotary table with a four-axis scanning mode, which allows the precise capturing of the profiles of rotor geometries from all sides. And by equipping the Leitz PMM-C Flexibility with the HP-O Hybrid sensor, it becomes simpler to switch between high performance tactile and optical sensors. Based on frequency-modulated interferometric optical distance measurement, the HP-O sensor combines very high levels of accuracy, throughput and flexibility.
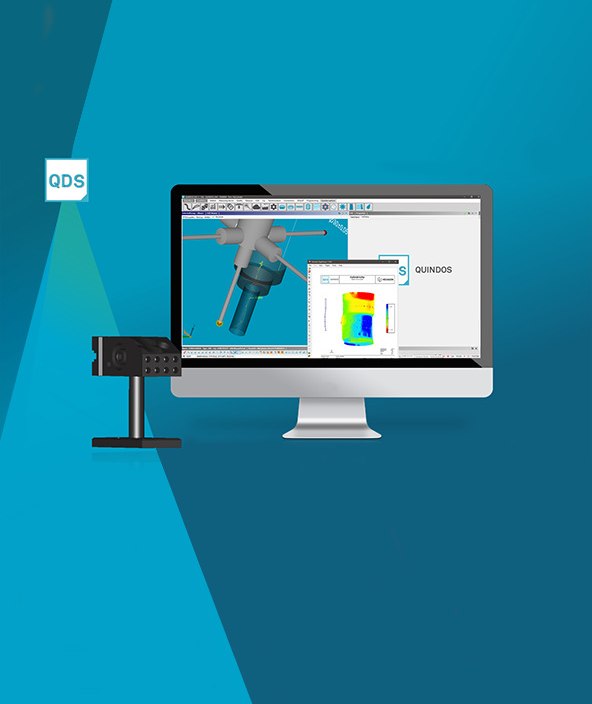
Once metrology data is captured it needs to be shared quickly and intelligently. QUINDOS is one of Hexagon’s industry-leading CMM software, providing manufacturers with a powerful analysis tool. It ensures other systems, such as tooling machines, receive essential measurement data they can act on quickly, helping manufacturers to create an efficient closed production loop. The QUINDOS Screw Compressor module enables the accurate inspection of transverse or axial sections of screw rotors, including the actual-nominal comparison of the contour, with best fit and the evaluation of lead, pitch, root and tip circle.
By combining the Leitz PMM-C Flexibility CMM, tactile and non-contact sensors and QUINDOS software, screw compressor manufacturers gain a significant competitive edge with fast, accurate collection, analysis and exchange of measurement data.


