Measures 10 tubes in 85 seconds
Proton Engineering measures bent tubes using AICON’s TubeInspect P16
Contact us
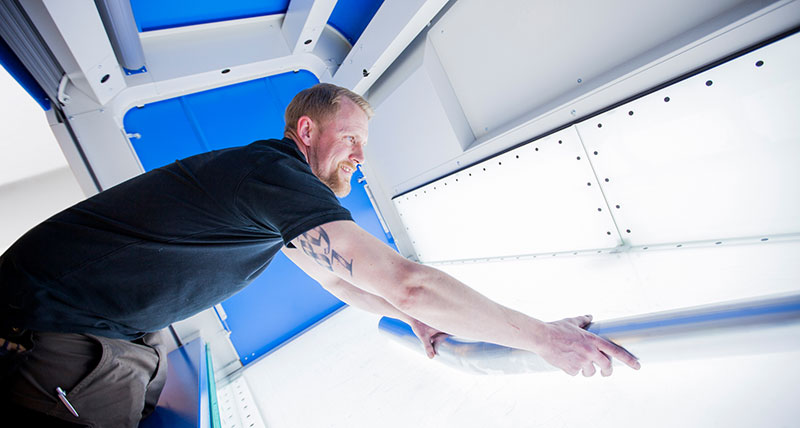
From a sketch right through to the finished product, from a single source – that’s the business idea of the Swedish Proton Engineering company. The company is a one-stop supplier of tube and sheet metal structures: Air/fuel lines, struts and covers for lorries. The main aim is always to provide customers with the best possible quality. This means that reliable quality control at all stages of the production process is absolutely vital. Proton Engineering has been using AICON’s TubeInspect P16 tube and wire measuring system since the autumn of 2015.

Since November 2015, the company’s staff receive support “made by AICON” in doing this. The main tasks of the TubeInspect P16 are initial sample inspection and in-process sample measurement. The inspected parts are then further-processed in the assembly or welding department or are dispatched directly to the customer. If there are any deviations from the CAD specification, TubeInspect provides valuable support in analysing faults.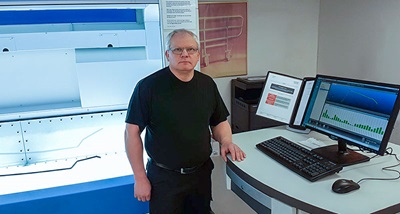
A pioneer in Sweden
Proton Engineering was one of the first customers to purchase one of the new TubeInspect P16 Series tube and wire measuring systems. For the first time, Proton set up a measuring system next to the production line on the shop floor rather than in a measuring room. TubeInspect is insensitive to vibrations, which means that it was possible to integrate it directly into the production process. This is just one more advantage, since workflows are not disturbed let alone interrupted.
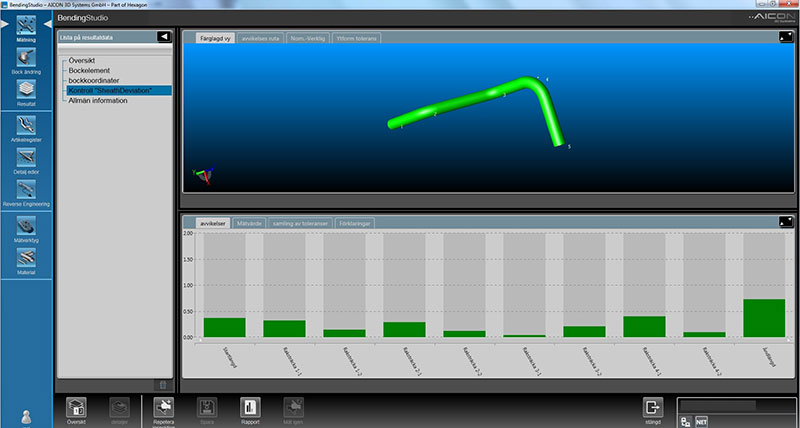 The company was soon able to report very positive results from the new testing process. The measurements that are carried out using TubeInspect P16 are much faster than earlier methods, some of which were mechanical ones. This saves time and costs, since it minimizes machine downtimes too. Apart from this, the new system is much more precise and provides more comprehensive results. Some colleagues who were initially sceptical about the new technology are now enthusiastic users. Today, Proton uses TubeInspect to measure the majority of its bent tubes and using adapters even to measure complete components with attachment parts.
As Roger Olofsson, quality and environmental manager at Proton Engineering says “the system helps us to supply our customers with the highest quality. And our production becomes even more cost-efficient, which also benefits our customers”.
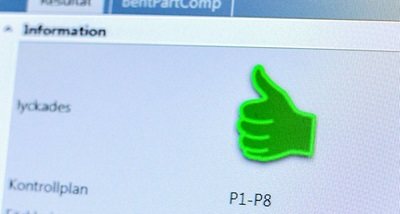
A big thumbs up for TubeInspect P16
TubeInspect P16 is fitted with 16 high-resolution digital cameras using Gigabit Ethernet technology and it has a large 2600 mm x 1250 mm x 700 mm measuring field. It is possible to measure wires and tubes of up to 2500 mm in length in one step, with longer tubes measuring up to 7 m being processed in several steps. In general, measuring results are available in less than ten seconds.
Roger Olofsson has been working for the company for 25 years and has lots of experience in the fields of measuring technology, acceptance inspection and initial sample inspection. He is impressed by the system's performance and its significance for quality assurance. “This investment makes our measurements faster and safer. The non-contact process makes measurements more exact and the results are the same, regardless of who carries them out”, says Roger Olofsson.
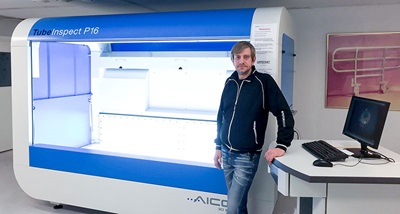 Proton Engineering had been considering the TubeInspect P16 as an appropriate solution for a long time. At the end of the day, it was the system’s user-friendliness, amongst other things, that convinced them. Proton was delighted straight away. “We’ve managed to measure ten tubes in 85 seconds!”
Measurement engineer Richard Johansson has been working with the system right from the start. “It’s easy to operate, measures quickly and the auto-correction feature for bending machines is a major advantage for us. We produce much less scrap and have minimized the downtimes of our bending machines. This has taken our quality assurance process to a new level”.
We would like to give thanks to the team of Proton Engineering for the kind support during the creation of this case study.
