Optimising medical tool inspection
How to use a multi-purpose CMM configuration to improve efficiency
Contact us

Medical device manufacturers often require quality checks of dimensional characteristics on parts having different materials that require non-contact measurement. Whether they are inspecting a part created in-house or trying to validate parts from a supplier, manufacturers require a flexible solution that will allow them to measure all kinds of complex features. The overmoulding process, for example, uses two different material types such as a soft plastic or rubber material and a harder material. In these instances, a variety of measuring techniques including tactile and non-contact measurement may be required.
Finding the ideal measurement solution to support these types of processes can be a daunting task because many measurement systems have limited flexibility. Most solutions are limited to a single sensor type and are difficult to adapt when a new application demands additional capability. The reality for most medical instruments and devices is that a combination of sensors is the best solution. A multisensor system makes the measurement process more efficient by eliminating material handling operations to switch between different systems for parts having different measurement requirements. Multisensor systems also lower the total cost of equipment required to support an operation by enabling greater use of a single asset that has the flexibility to support the quality needs of the full range of products being produced.
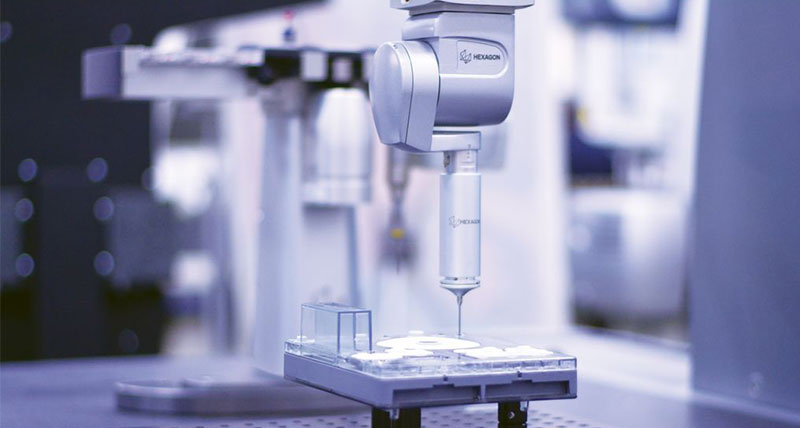
The HP-S-X1H by Hexagon Manufacturing Intelligence is an analogue scanning sensor that allows users to accurately measure the harder material surfaces. This sensor is able to measure in various modes, including discrete surface points for the highest geometric accuracy and contact scanning for denser measurement data features involving form and profiles. Other specialised scanning modes are also available with this sensor, such as self-centring for measuring the location of grooves and feature controlled scanning for unconventional surface features.
For faster data collection, the HP-L non-contact laser scanner gathers high-density point cloud data and can deliver maximum performance for complex surfaces and workpieces made of difficult-to-measure materials. In addition to offering higher productivity and shorter measurement times, the HP-L laser scanner offers complete measurement coverage of a part while identifying local deviations. Thin-walled components, soft materials, sheet metal parts and freeform surfaces are well suited to inspection with the HP-L sensor.
In addition, the HP-C-VE is the perfect solution for parts that require measurement in tight spaces or very small features where a touch-trigger probe just doesn’t cut it. The optical advantages of the HP-C-VE allow users to inspect all areas of the part much more effectively by providing an oblique overhead illumination of the features being inspected.
For manufacturers producing many different types of workpieces, or focusing on parts with a variety of features, multiple material types or varying surface characteristics, flexibility of measurement strategy is essential to maintaining productivity. The GLOBAL S with the Multi-Purpose capability package offers an all-in-one solution to measuring those parts and features. With the combination of tactile and multiple non-contact sensors, and the addition of a probe changing rack, manufacturers gain the flexibility and repeatability needed to optimise their most challenging workflows.
Finding the ideal measurement solution to support these types of processes can be a daunting task because many measurement systems have limited flexibility. Most solutions are limited to a single sensor type and are difficult to adapt when a new application demands additional capability. The reality for most medical instruments and devices is that a combination of sensors is the best solution. A multisensor system makes the measurement process more efficient by eliminating material handling operations to switch between different systems for parts having different measurement requirements. Multisensor systems also lower the total cost of equipment required to support an operation by enabling greater use of a single asset that has the flexibility to support the quality needs of the full range of products being produced.
Scanning soft material surfaces
A good example of where the overmoulding process can be used are in medical tools where a grip surface or sealing surface is required. When measuring multiple types of materials such as these, the challenge is to be able to measure the soft material surface efficiently without deflection as well as capturing the harder features with the required level of precision.The HP-S-X1H by Hexagon Manufacturing Intelligence is an analogue scanning sensor that allows users to accurately measure the harder material surfaces. This sensor is able to measure in various modes, including discrete surface points for the highest geometric accuracy and contact scanning for denser measurement data features involving form and profiles. Other specialised scanning modes are also available with this sensor, such as self-centring for measuring the location of grooves and feature controlled scanning for unconventional surface features.
For faster data collection, the HP-L non-contact laser scanner gathers high-density point cloud data and can deliver maximum performance for complex surfaces and workpieces made of difficult-to-measure materials. In addition to offering higher productivity and shorter measurement times, the HP-L laser scanner offers complete measurement coverage of a part while identifying local deviations. Thin-walled components, soft materials, sheet metal parts and freeform surfaces are well suited to inspection with the HP-L sensor.
What was once unreachable
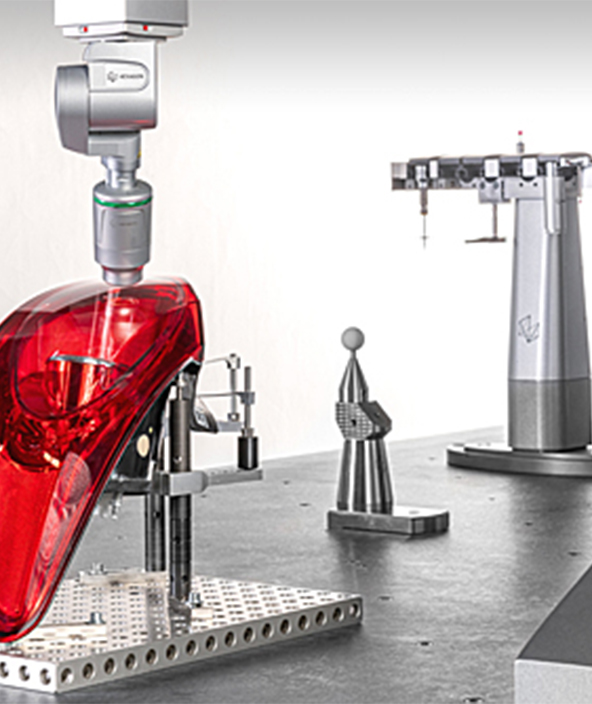
In some cases, manufacturers may use translucent materials in the overmoulding process. For these types of materials, the HP-C-VE optical probe offers an accurate measurement where the diffusion of light from a laser scanner may impact measurement results.In addition, the HP-C-VE is the perfect solution for parts that require measurement in tight spaces or very small features where a touch-trigger probe just doesn’t cut it. The optical advantages of the HP-C-VE allow users to inspect all areas of the part much more effectively by providing an oblique overhead illumination of the features being inspected.
Always be measuring
When confronted with parts having feature types and materials that no one sensor technology can measure, it becomes necessary to consider a multisensor measurement system for a solution. Supporting multiple sensors is however only one critical aspect of this decision process. Not only are the supported sensor types important; the operational capabilities of the system also come into play. For example, the ease and efficiency of tool changing for each sensor becomes critical, as well as future capability for new sensor technology. Therefore, Hexagon developed the GLOBAL S with the Multi-Purpose capability package. The Multi-Purpose package comes equipped with the HR-R changing rack for reliable hands-free operation, reducing measurement cycle times as well as operator time. The HR-R rack supports all the necessary holding ports for the full range of GLOBAL S sensor options, including warming ports for the HP-L point laser probe and HP-C-VE camera probe so that there is no delay in measurement routines.For manufacturers producing many different types of workpieces, or focusing on parts with a variety of features, multiple material types or varying surface characteristics, flexibility of measurement strategy is essential to maintaining productivity. The GLOBAL S with the Multi-Purpose capability package offers an all-in-one solution to measuring those parts and features. With the combination of tactile and multiple non-contact sensors, and the addition of a probe changing rack, manufacturers gain the flexibility and repeatability needed to optimise their most challenging workflows.

