Reducing blade inspection times by up to 50%

Fan and turbine blades in the latest generation of jet engines are an impressive feat of design and engineering. But their complexity poses a challenge to conventional blade inspection technologies.
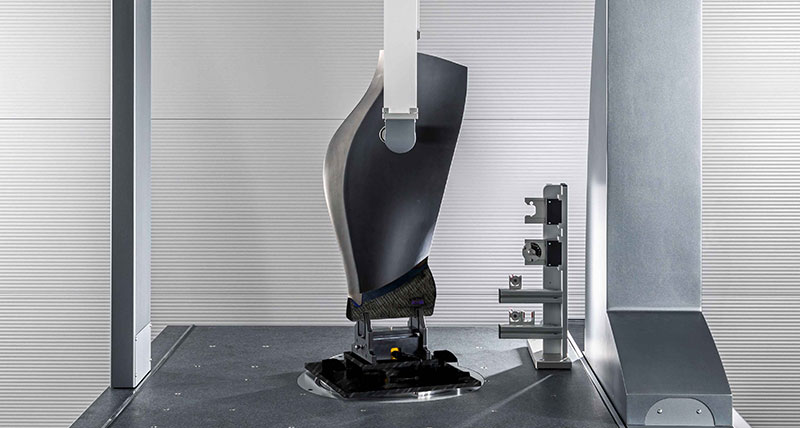
Typically, today’s fan and turbine blades combine a carbon-fibre composite blade profile with a titanium alloy leading edge. Advanced manufacturing technologies make it possible to create aerodynamically efficient composite blade airfoils with complex 3D free form shapes, thin cross sections, areas of varying thickness and small radii at the edges. The titanium alloy, meanwhile, enables the blade to resist impact with birds during take-off. The resulting designs bring performance benefits such as reduced jet engine weight and fuel consumption, as well as improved engine durability. But they also produce intricate blade forms that can be an obstacle to high speed measurement, particularly when coupled with the need to achieve tight tolerances.
The white light sensor meanwhile has to be able to measure all kinds of matt and reflective materials, including carbon fibre. It is also important to increase inspection reach and flexibility by choosing an optical sensor that is horizontally fixed to the z axis.
Both the probe and the optical sensor should be used in conjunction with a coordinate measuring machine that has been fine-tuned for precision and dimensioned to measure large parts, such as Hexagon’s Leitz Reference, which is a dedicated CMM for fan and turbine blades of up to 1000mm in height.
As a result, the PRECITEC S3 can reduce the measurement cycle time by up to 50%, compared to traditional tactile-only measurement. This is possible partly because there is no direct contact with the part to limit the maximum scanning speed, allowing the optical 4-axis scan to use the full CMM dynamic. And with a data capture rate of 1000 points per second during scanning, the PRECITEC S3 ensures a high point density. Measurement time is also reduced because optical blade inspection needs only one scan per profile section, compared to two scans with tactile measurement.
To further increase productivity when transferring between optical sensors and tactile probes, it is essential to put in place a fully automatic sensor exchange interface. Hexagon’s SENMATION SX enables an exchange between optical and tactile sensors in under 30 seconds and its automatic sensor identification system means there is no need for recalibration.
By combining the Leitz Reference BX CMM with the accuracy, speed and flexibility of both the HP-S-X1C probe and the PRECITEC S3 optical sensor, and the automated sensor exchange offered by SENMATION SX, blade manufacturers can gain considerably in measurement throughput without sacrificing accuracy.
Typically, today’s fan and turbine blades combine a carbon-fibre composite blade profile with a titanium alloy leading edge. Advanced manufacturing technologies make it possible to create aerodynamically efficient composite blade airfoils with complex 3D free form shapes, thin cross sections, areas of varying thickness and small radii at the edges. The titanium alloy, meanwhile, enables the blade to resist impact with birds during take-off. The resulting designs bring performance benefits such as reduced jet engine weight and fuel consumption, as well as improved engine durability. But they also produce intricate blade forms that can be an obstacle to high speed measurement, particularly when coupled with the need to achieve tight tolerances.
Striking a balance
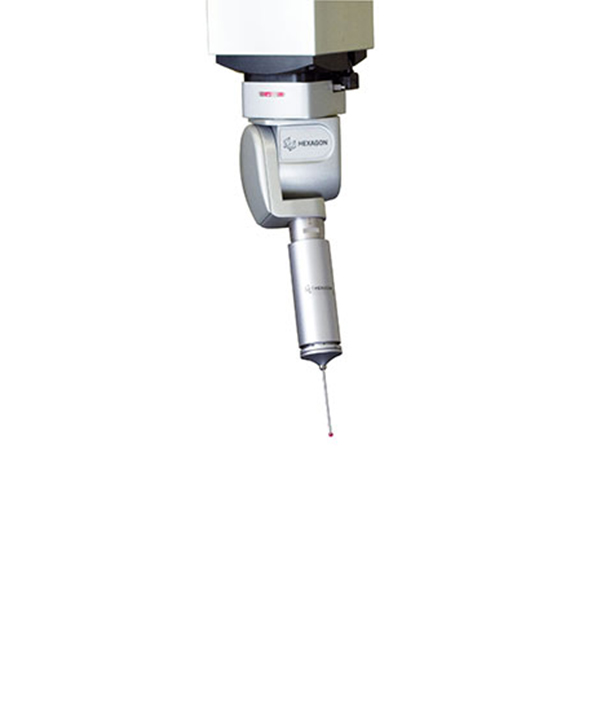
A balance between speed and high accuracy, however, can be achieved by a combination of the right optical sensor and tactile probe. The tactile probe has to be precise enough to undertake the critical alignment on the blade root that forms the foundation for all further measurements. And it also has to measure strongly inclined surfaces in the form of a fir tree or dovetail root, which are not easily accessed by an optical sensor. The HP-S-X1C scanning probe from Hexagon combines precision and flexibility, measuring both in point-to-point and continuous scanning mode, making it ideal for the task.The white light sensor meanwhile has to be able to measure all kinds of matt and reflective materials, including carbon fibre. It is also important to increase inspection reach and flexibility by choosing an optical sensor that is horizontally fixed to the z axis.
Both the probe and the optical sensor should be used in conjunction with a coordinate measuring machine that has been fine-tuned for precision and dimensioned to measure large parts, such as Hexagon’s Leitz Reference, which is a dedicated CMM for fan and turbine blades of up to 1000mm in height.
Capturing the best profile
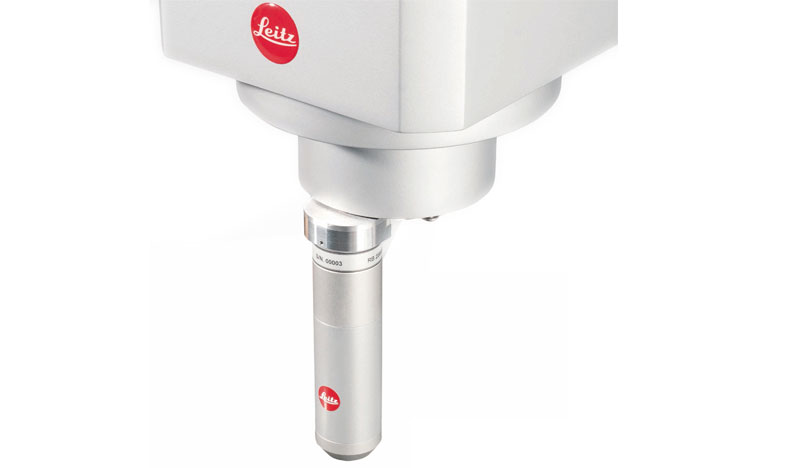
The Precitec S3 optical white light sensor from Hexagon leads the market in contactless blade measurement and is compatible with the Leitz Reference BX. In addition to taking measurements from all kinds of matt and reflective surfaces, the PRECITEC S3 is designed to capture a detailed profile quickly, even on very small radii of the leading and trailing edges of an aeroengine’s fan or turbine blade. It does this by bringing together 4-axis scanning capabilities, horizontal sensor alignment and a large measuring range of 3mm, which together ensure good access to the whole blade profile.As a result, the PRECITEC S3 can reduce the measurement cycle time by up to 50%, compared to traditional tactile-only measurement. This is possible partly because there is no direct contact with the part to limit the maximum scanning speed, allowing the optical 4-axis scan to use the full CMM dynamic. And with a data capture rate of 1000 points per second during scanning, the PRECITEC S3 ensures a high point density. Measurement time is also reduced because optical blade inspection needs only one scan per profile section, compared to two scans with tactile measurement.
To further increase productivity when transferring between optical sensors and tactile probes, it is essential to put in place a fully automatic sensor exchange interface. Hexagon’s SENMATION SX enables an exchange between optical and tactile sensors in under 30 seconds and its automatic sensor identification system means there is no need for recalibration.
By combining the Leitz Reference BX CMM with the accuracy, speed and flexibility of both the HP-S-X1C probe and the PRECITEC S3 optical sensor, and the automated sensor exchange offered by SENMATION SX, blade manufacturers can gain considerably in measurement throughput without sacrificing accuracy.

