HP-OW Optical Sensors

Flexible white-light scanning for multiple surface finishes
Would you like to know more?
The sensor has a measurement range of several millimetres while achieving a resolution in the nanometric range. In combination with a large acceptance angle of up to ±30°, it provides very versatile measurement possibilities, making it ideally suited to measure anything from small features to large surfaces.
HP-OW probes are available in three variations, making it possible to adapt to different measurement ranges, working distances and other metrology requirements. When combined with the HR-R sensor rack, inspection cycle time is significantly reduced.
Turn your CMM to a multi-sensor system
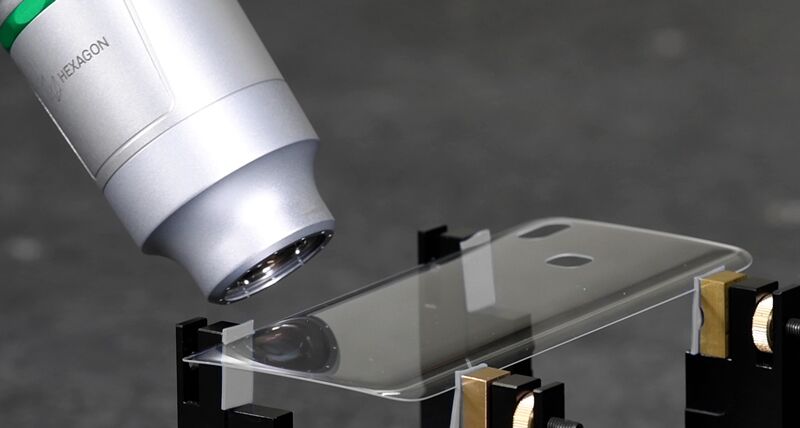
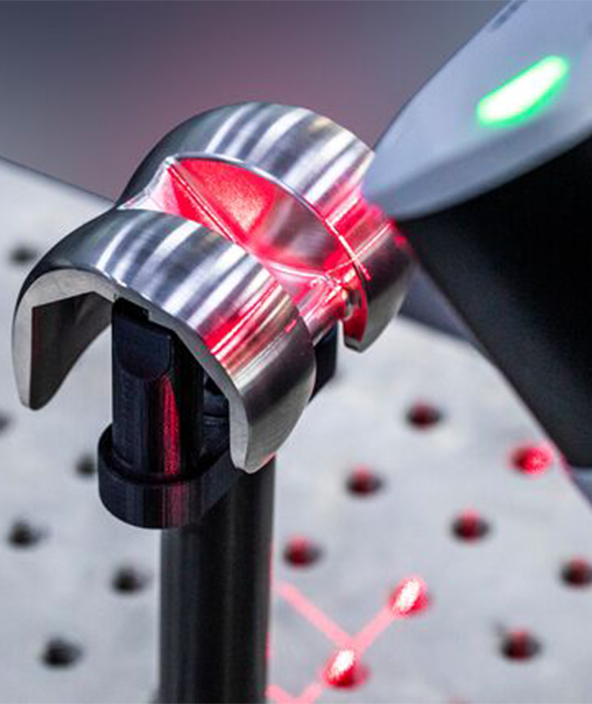
Measure mirror-finished, matte and transparent surfaces
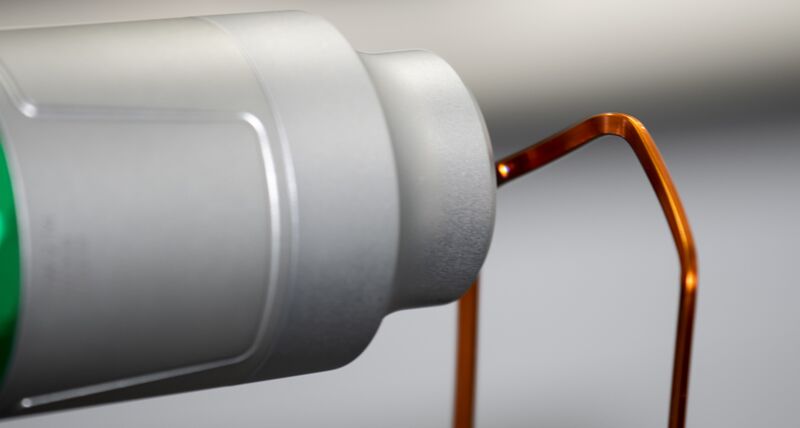
Highly accurate on fragile materials
Adaptable automated measurement using Hexagon GLOBAL S CMM & HP-OW optical sensor
HP-OW optical sensors: white light scanning for coordinate measuring machines
The power of non-contact #multisensor #measurement on a coordinate measuring machine
Features and benefits
 Perfect for challenging measurement applications
Thanks to its unique measurement principle and the wide range of sizes, the HP-OW can be used for applications that are usually challenging to measure such as shiny surfaces, glass and other transparent/reflective or sensitive materials. In addition, the HP-OW can measure the thickness of workpiece areas.
 Spiral scan calibration
Instead of capturing multiple measurement points separately, the HP-OW runs in spirals over the calibration sphere, resulting in significant reduction of the process time. The parameters are automatically selected by PC-DMIS.
 Automatic probe exchange
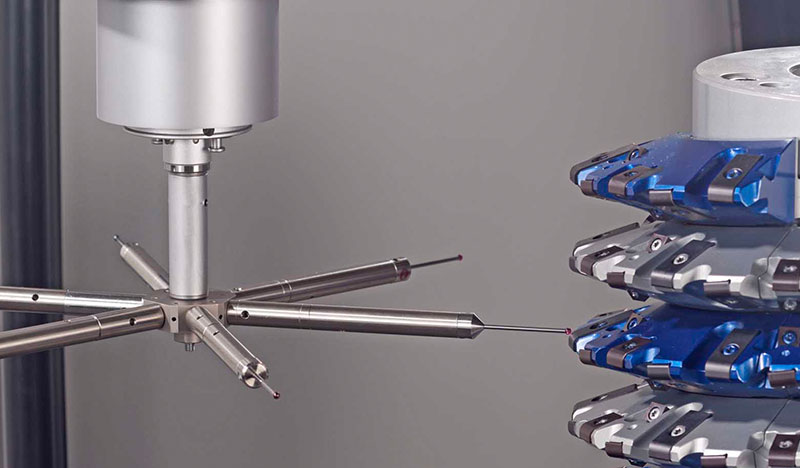
In combination with a probe head, the HP-OW sensor can be exchanged during the measurement program with different Hexagon sensors to achieve the highest possible levels of flexibility.
![]() Compatibility
Compatibility
HP-OW Sensors are designed to fit on most Hexagon coordinate measuring machines, including the GLOBAL S and OPTIV machines. It is also compatible with optical probe heads, the SENMATION sensor change interface, the HR-R sensor rack and PC-DMIS software.
 Sophisticated dimensional measurement principle
White light is transmitted through the optical probe to the surface. Based on the reflected light, up to 65 000 very precise measurement points can be taken per second. Since measurements are made at the speed of light, the data is not affected by vibrations or ambient conditions. This technology makes it possible to measure nearly every material and can also be used to measure thickness, surface topography, ovality, roughness or shape.
-
Technical data
-
Applications
-
Downloads


