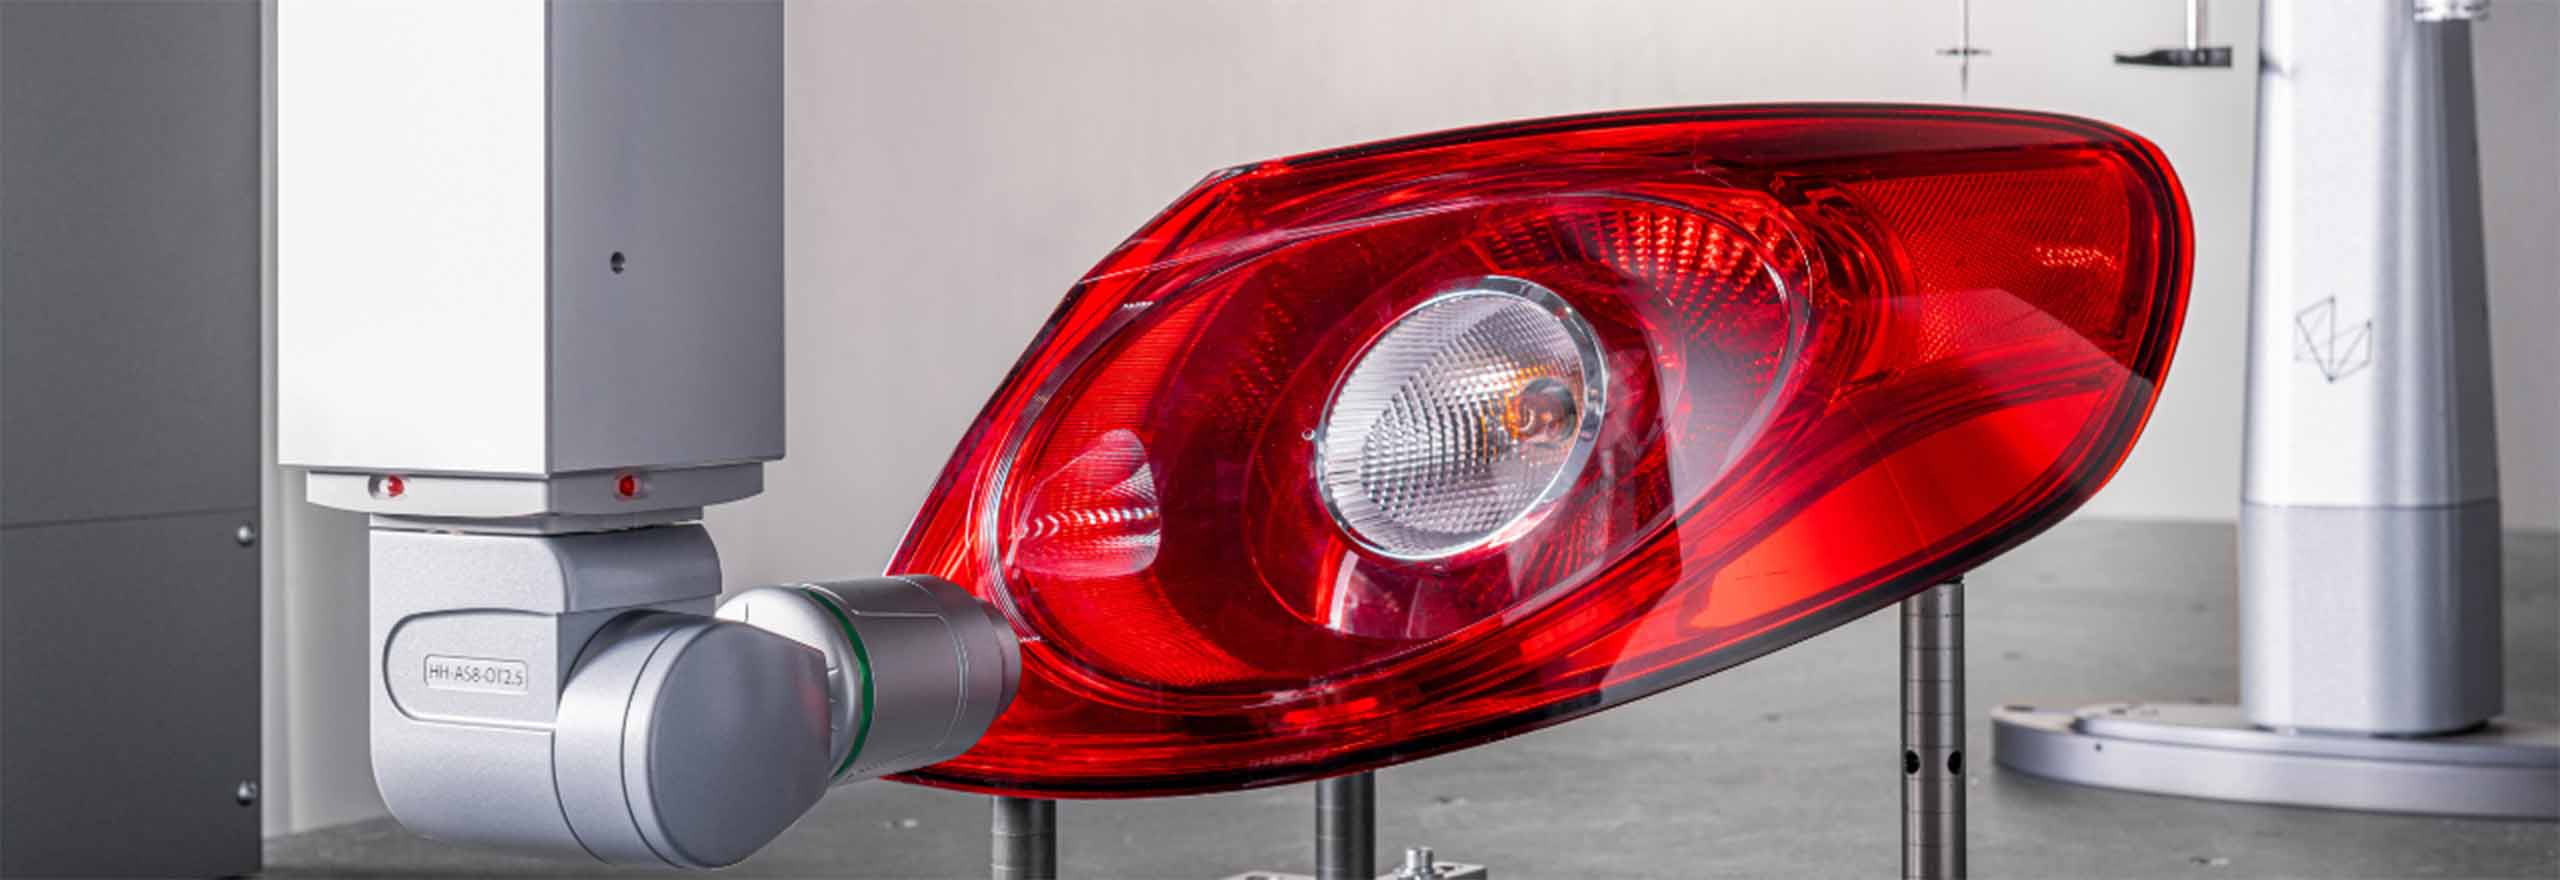
High accuracy inspection of vehicle headlight housings
Driving throughput and precision in thickness measurement of transparent plastic moulds

Headlights are crucial for the safe operation of cars. The accurate production of vehicle headlight housing is essential to ensure the driver has sufficient visibility in the front of the vehicle, while also ensuring that other road users are not dazzled by the beam. In addition to these important considerations, manufacturers are increasingly looking to make headlights and the associated production processes more sustainable and efficient.
The car headlight has evolved over the decades from acetylene-fuelled lights to light-emitting diodes. In the part’s early phases, form was prioritised over function. Nowadays, to ensure visibility in a range of weathers and light conditions, cars are often fitted with a range of headlight capabilities, from dipped beams to fog lights.
 As well as ensuring safety, today’s headlights need to deliver efficiency and cost-savings via a longer-lasting light source. A more efficient light source requiring less power decreases the cost of car ownership over time and provides sustainability advantages by reducing the frequency of replacements.
Accurate production of the plastic housing of the headlight is crucial to guarantee satisfactory luminosity. The transparent plastic part needs to be the right curvature and thickness to ensure correct light dispersion. This level of thickness also needs to provide the durability to handle the impacts of gravel or other road debris that could cause damage. As such, the part provides a number of challenges for the manufacturer’s quality inspection team.
Accurate thickness measurement is one of the most crucial aspects of this application, but the headlight housing cannot be damaged or scratched during inspection as this would affect functionality, not to mention impairing the car’s aesthetics. In addition, the part’s freeform surface requires complete inspection coverage to assure quality.
Given these challenges, the most effective measurement strategy is to utilise non-contact measurement solutions.
Fast and accurate measurement with white light scanning
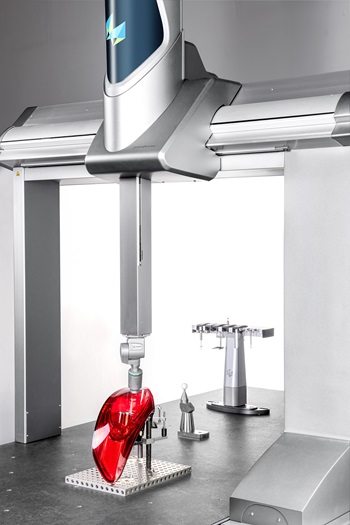
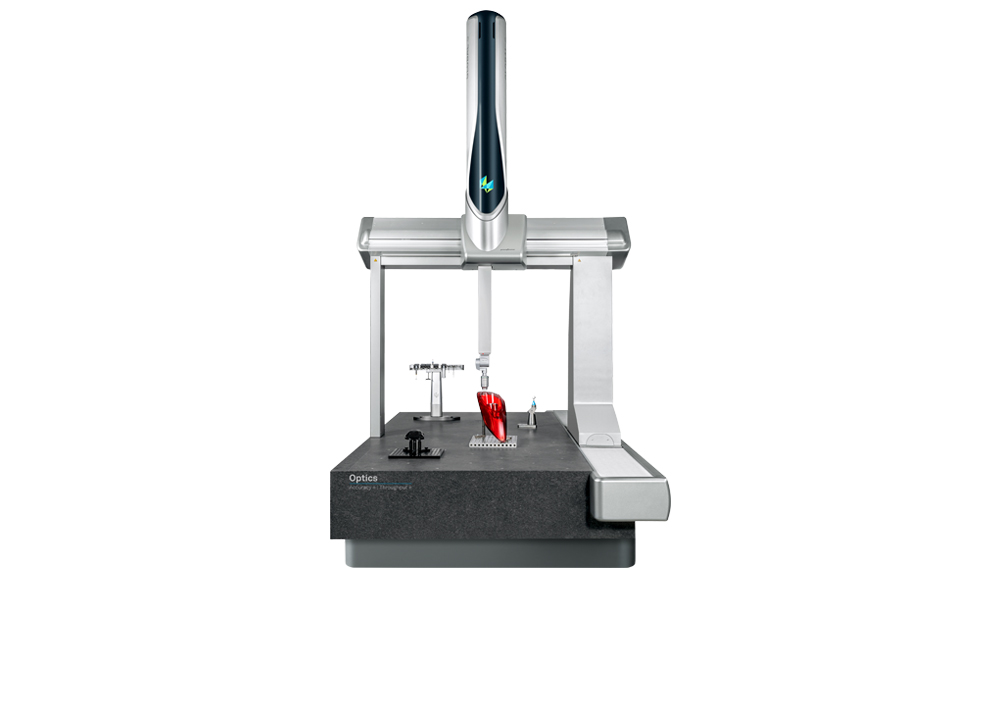
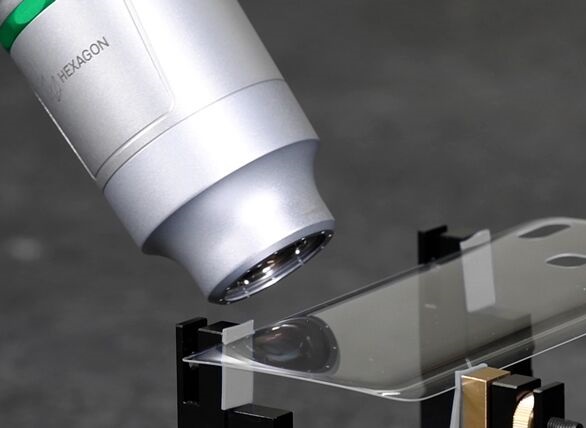
The ideal solution combines Hexagon’s GLOBAL Optics coordinate measuring machine (CMM) with the HP-OW chromatic white light sensor.
The HP-OW delivers high accuracy measurement of freeform, transparent materials. For curved parts like headlight housings, the scanner’s excellent acceptance angle ±30° and the articulated probe head provide the necessary flexibility for part access. In addition, the non-contact principles of the HP-OW ensure the housing is not deformed or damaged during measurement.
What’s more, the high-performing GLOBAL Optics CMM enables increased scanning speeds while maintaining accuracy. This helps quality teams working with headlight housings to drive throughput and in turn contribute to the wider organisation’s efficiency objectives.
In addition, the speed of the HP-OW white light scanner enables more insightful analysis. For example, users can easily employ an inspection strategy that involves checking multiple sections of the headlight housing, comparing deviations of the real part to the nominal. Because the solution can capture up to 65 000 points per second, a single scan movement can measure multiple curves at once. The width variation, for example, can be automatically evaluated along with the surface deviations.
As well as providing more in-depth quality insights quickly, this approach enables more informed decision-making for continuous product and process improvement. For example, the data derived from PC-DMIS metrology software can be easily communicated to other departments or even customers.
Ultimately, these solutions make possible the strategies and efficiencies that enable a smarter approach to headlight housing production.


