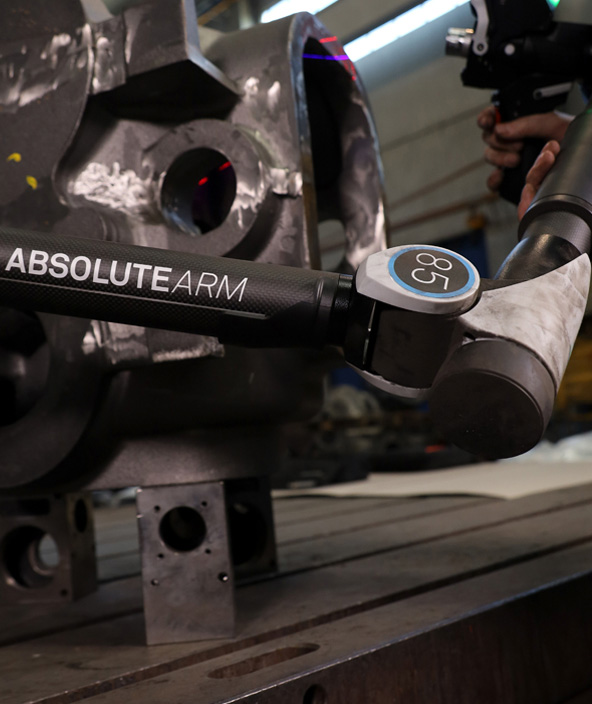
Saving time and money with a measuring arm that has a repeatable probe mounting
Absolute Arm technical article

Would you like to know more?
1. Introduction
One of the most significant evolutions to portable metrology systems in recent years has been the introduction of the repeatable mounting for touch probes and 3D scanners. The Absolute Arm product range from Hexagon uses a kinematic joint that enables probes and scanners to be mounted on the arm quickly and (most importantly) without compromising measurement accuracy.
This article describes the benefits of this feature to operators using portable measuring arms in industry, as well as examining the technical characteristics that provide those benefits.
2. The increasing importance of versatility
Users of metrology equipment around the world are now looking to ‘measure more with less’. Instead of incurring the expense of using different measurement systems for each specific application, there is a growing demand for using a single system that can be applied across a much wider range of applications. The demands placed on measuring systems are therefore greater than ever – versatility is key.
The current Absolute Arm offers a wide range of different sensors and probes to cater to these needs. While conventional touch probes and laser scanners are the most popular, infrared tube probes and optical sensors can also be used on the same arm and swapped in and out as dictated by measurement needs.
Here are some examples that illustrate the need for measurement versatility in modern industrial manufacturing:
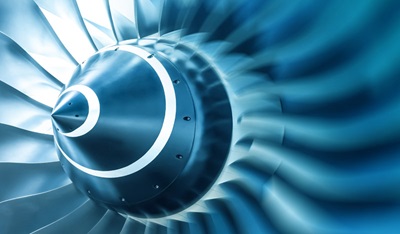 Turbine maintenance
Turbine blades can suffer damage in flight, and so replacement parts may need to be sourced quickly. A quick way of doing this is to create a 3D scan of a ‘good’ blade for machining later, though there may be areas that have tolerances too high for a laser scanner (for example the turbine axis). Here, a touch probe would be used to ensure maximum accuracy.Number of sensors required: 2
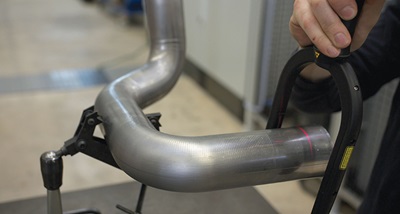 Manufacture of automotive exhausts
Exhaust systems often run the full length of a car. It’s important that they do not touch any moving parts and so its ‘path’ must be checked. An infra-red tube probe allows the tube profile to be measured accurately, while a touch probe allows the user to measure the more complex parts of the system like brackets and hangers.Number of sensors required: 2
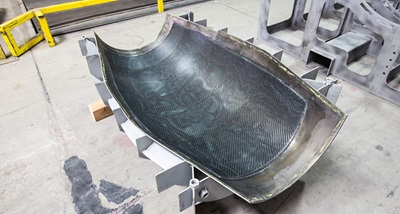
Manufacture of composite aerospace components
With composite materials, it is not only the shape of the part that is important, but also the orientation of the fibres which give the part its strength. To check a part of this type, generally its free-form surfaces would be scanned with a laser scanner, before an optical sensor is mounted to inspect the fibre orientation. A touch probe could also be used for high tolerance areas.Number of sensors required: 3
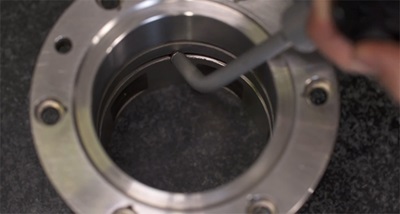
Manufacture of machining parts (section of pump body adaptor)
Typically a section of a pump body adaptor has various elements to distribute the flow of the liquid. Inspecting the inner body element is most easily achieved using a probe extension or an angled probe (hook probe) to reach the hidden measurement points. The remainder of the part can be easily inspected with a standard length touch probe.Number of probes required: 2
All these examples show how common it is for operators to need to swap between various probes and/or sensors mid-measurement to finish the job.
3. Swapping probes and sensors: what can go wrong?
When a measurement system’s probe or sensor is swapped mid-job, it’s vital that the probe (or sensor) replacing it is positioned in exactly the same place on the arm as when it was originally calibrated. If that is not possible, users are faced with choosing between reduced accuracy or reduced productivity.Loss of accuracy
If the new probe or sensor is mounted on the arm in a position that doesn’t exactly match the original calibration position, any readings from that probe or sensor will be erroneous, possibly leading to the manufacture of defective parts.Time lost
The only way to ensure accuracy in this situation is to recalibrate the measurement system to give accurate data again. This would require the measurement job to stop so that the operator can perform a calibration. If the measurements are taking place on a shop floor this might require moving the equipment to a stable environment.And even this is no guarantee of returning to the level of accuracy achieved before the probe or sensor change; calibrating is a highly variable process, with some operators more adept than others.
4. The kinematic joint
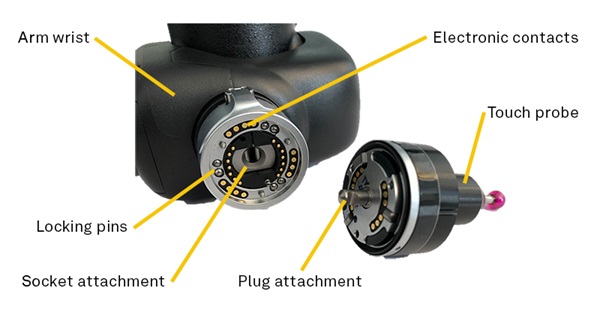
The kinematic joint was originally developed for high-accuracy stationary coordinate measurement machines (CMMs). It was designed with the goal of ensuring that CMM touch probes maintain their accuracy, even when swapped on the CMM. Since then, it has found its way onto various Hexagon products and has been a key element of the Absolute Arm since 2010.On the Absolute Arm, this kinematic joint is made up of two interfaces: one on the arm itself, the other on the probe or sensor that is to be mounted. The arm interface is socket, the probe interface is plug. When the two parts are connected, the operator actuates a cam mechanism on the arm by rotating a lever. This locks the probe into position on the wrist of the arm. Conversely, to remove the probe the operator can turn the lever in the opposite direction to release the cams and unlock it from the arm.
Three pairs of locking ‘pins’ can also be seen in Figure 2. These ensure that the probe can only be mounted in a single ‘correct’ position – the operator cannot mistakenly mount it incorrectly.
As a further benefit, each probe or sensor compatible with the Absolute Arm contains a unique ID chip that, combined with the electronic contacts shown above, ensure that the ‘identity’ of the probe (for example its laser scanner type or probe tip diameter) is automatically detected by the arm when it is mounted. Thanks to this process, all measurement software is accordingly updated automatically with the correct dimensional compensations. No intervention from the operator is necessary.
These features ensure three main principles are maintained, to guarantee accuracy and versatility while also saving time:
The probe mounting is always repeatable
By ensuring the probe or sensor is mounted in a standardised position that is always the same to within single microns, recalibration is unnecessary when the sensor is mounted, and measurement accuracy is guaranteed. Because of this, time is also saved, and measurement can be completed faster.The probe is always identified automatically
Thanks to the electronic contacts and embedded ID chip, the arm will automatically ‘recognise’ a probe or sensor as soon as it is mounted. This means that the user does not need to select a particular sensor in the software before measuring with it. This reduces the risk of human error.In the cases of some measurement software, it also means that the ‘ideal’ probe or sensor for the application at hand can be recommended to the user mid-measurement.
New probes and sensors can be added at any time
Because of the kinematic joint, a single calibration of the arm is enough. This means that new sensors can be added to any existing arm in the field with minimal intervention. The functionality of an arm can expand during its lifetime.5. The kinematic joint and the Absolute Arm
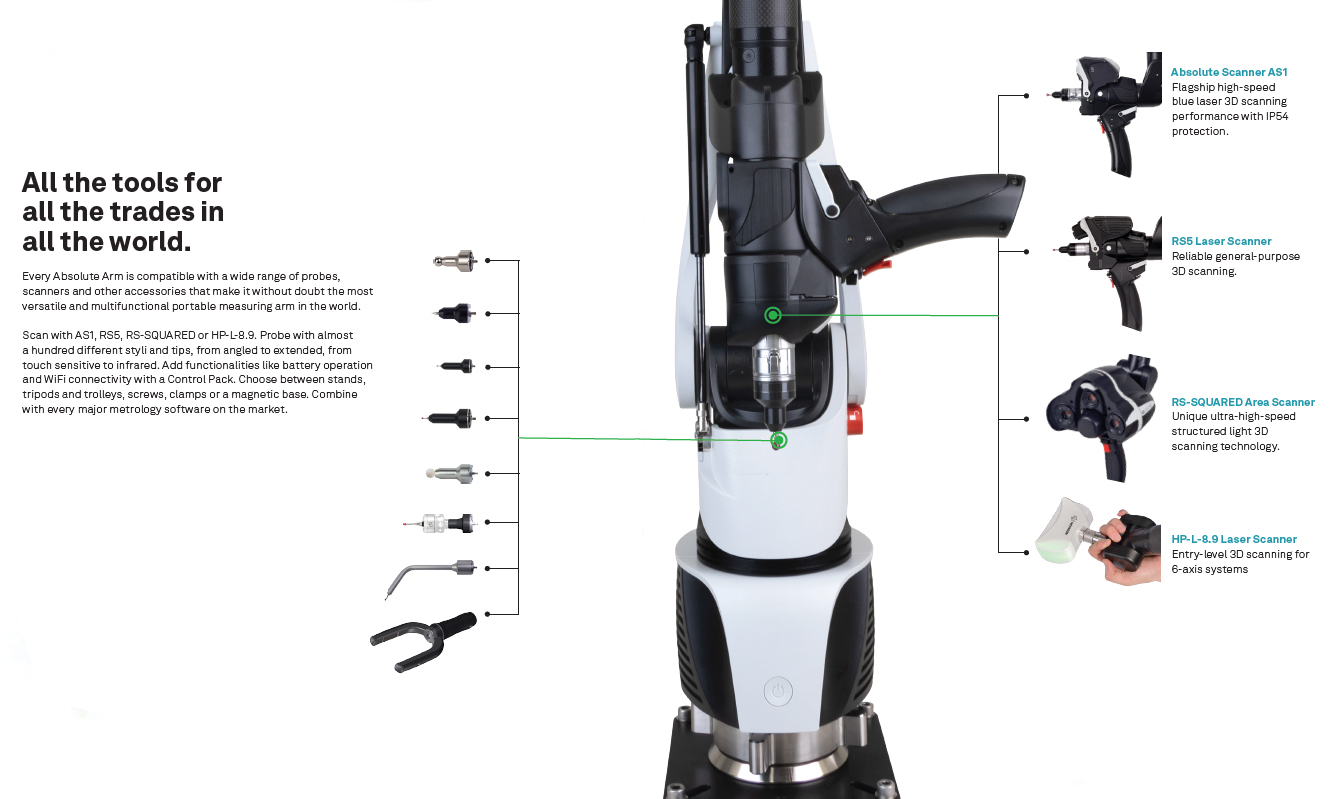
The kinematic joint was first pioneered by TESA (part of the Hexagon group) in Switzerland to ensure probes could be swapped easily on stationary CMM’s. Today, all probes and sensors for the Absolute Arm are embedded with the TESA kinematic joint (TKJ) technology as standard. Thanks to a catalogue of more than a hundred available probes and sensors, the kinematic joint is a central pillar of the multifunctional character of the Absolute Arm.The versatility allowed for by the kinematic joint is one of the main reasons that the Absolute Arm is often recognised as the Swiss Army knife of metrology – the ultimate multi-tool for measurement, equipped to handle almost any industrial inspection application.
The kinematic joint also provides a future-proof platform that allows for the quick implementation of new probe types and measurement technologies, ensuring that any newly released probe or sensor will be compatible with any already-owned current generation Absolute Arm.
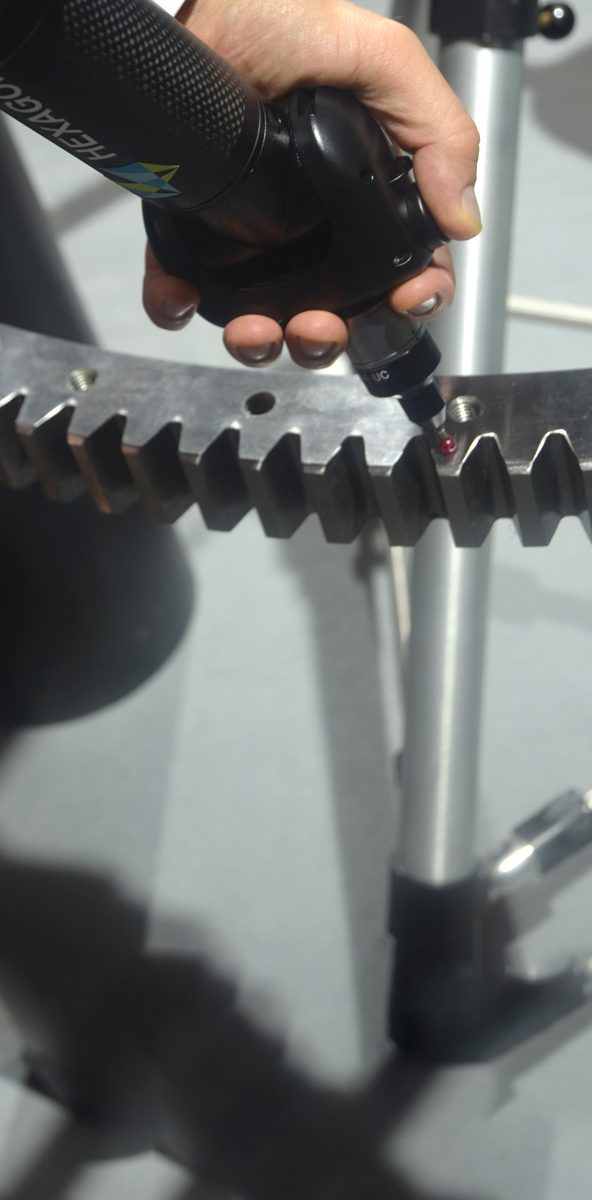
Touch probe
A touch-probe, for measuring single 3D points. Most useful when the part has simple geometric shapes (mechanical parts). A touch-probe must have physical contact with the part’s surface.
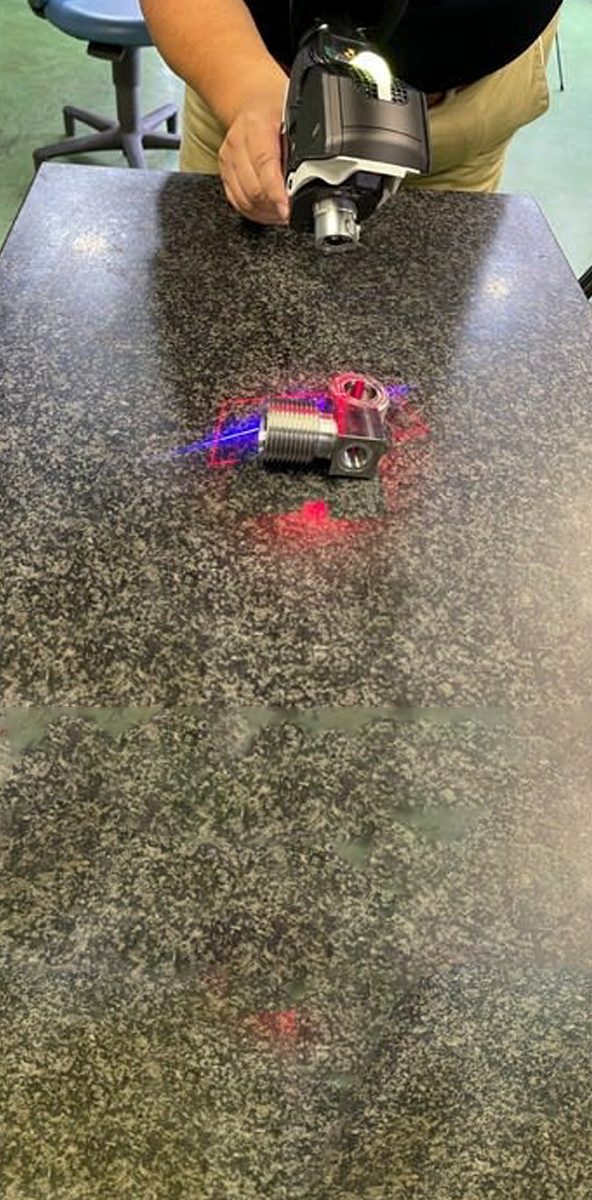
Laser scanner
A laser scanner, collects thousands of points/second, allowing for quick acquisition of 3D data from any surface; especially useful for free-form surfaces. Scanners allow non-contact measurements.
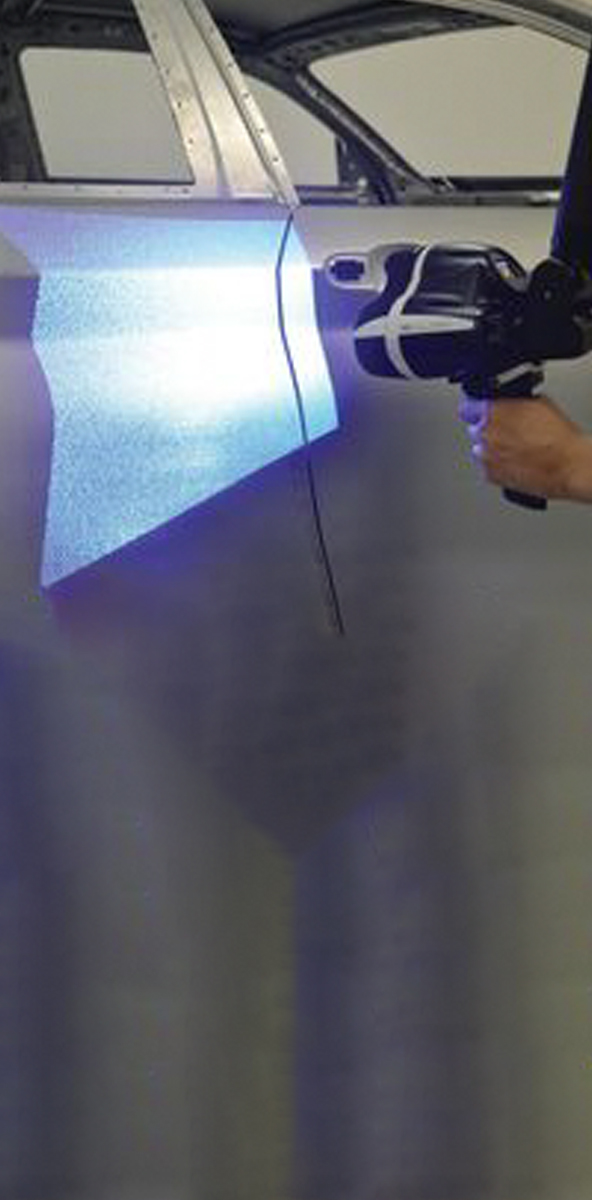
Structured light scanner
A structured light scanner, collects large ‘shots’ of grid data (instead of scan lines); especially useful for large free-form surfaces. Scanners allow non-contact measurements.
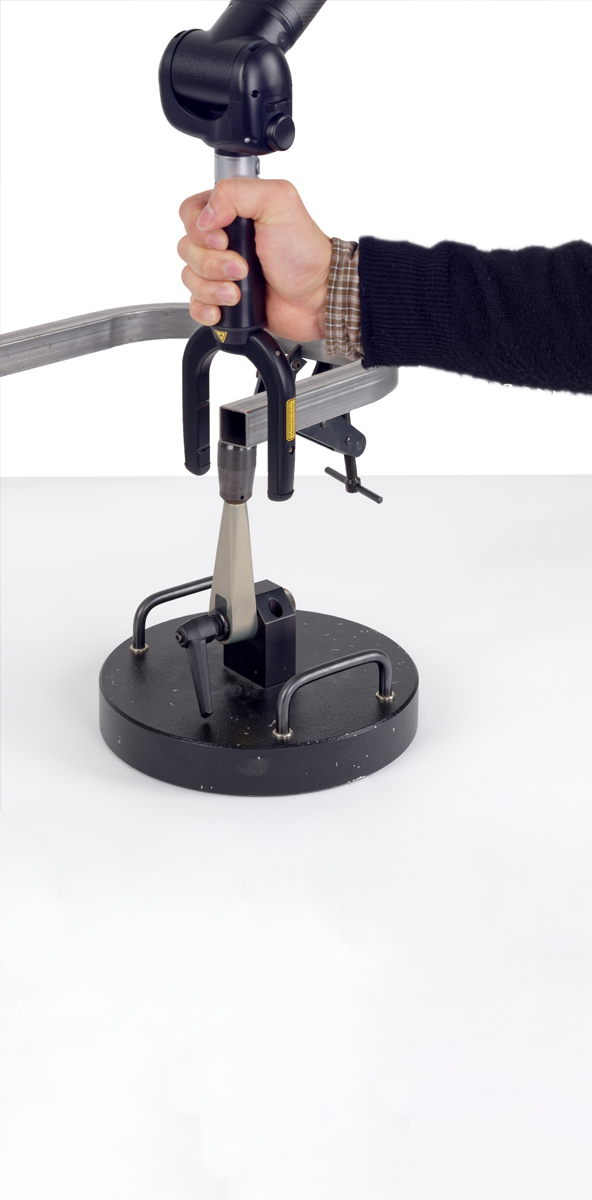
Tube probe
A tube probe, for measuring round and rectangular tubes, such as pipes and hoses. Tube probes provide non-contact measurements.
