Precisely measured pipes for the whole world
Bilfinger Piping Technologies GmbH inspects components with MoveInspect
Contact us
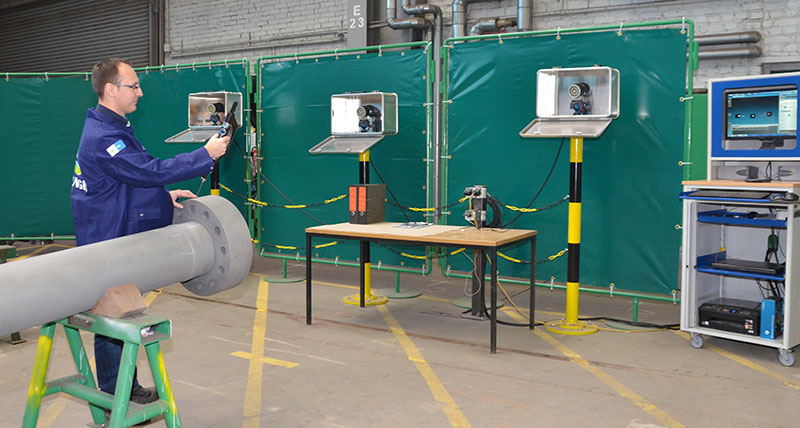
Piping lengths up to 24 meters with outside diameter up to 2 meters – components with such enormous size belong to the core business of Bilfinger Piping Technologies GmbH in Dortmund, Germany. The great challenge: the tubes must comply with maximum requirements in thermally highly stressed modern power stations and plants all over the world. Therefore, exact dimensional accuracy is indispensable. This is inspected now with MoveInspect from AICON.
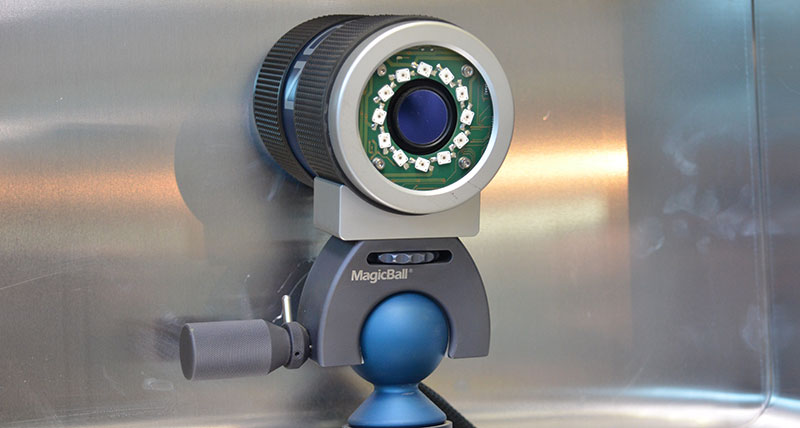 Since the beginning of 2013, Bilfinger Piping Technologies has been successfully using the portable CMM MoveInspect HR in quality assurance for the geometric final inspection of tubes. The system is in use every day. Measuring tasks are the determination of system dimensions, angular deflections in case of multiple bends, and bending angles.
„3D measurement with MoveInspect is an important supplement to the previously manual measurement of single dimensions. Our aim is to completely switch to a comprehensive 3D component measurement,“ says project manager Florian Gleißner, responsible for launching MoveInspect at Bilfinger.
High quality pipes
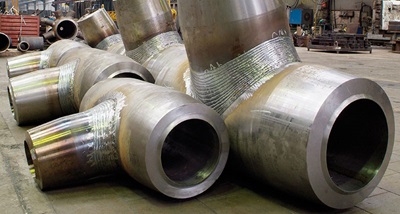
Bilfinger Piping Technologies is the European market leader for the construction of high-pressure pipes for water-steam circuits in power plants. The company has a wealth of experience in engineering, prefabrication and assembly. Due to innovative manufacturing engineering, Bilfinger Piping Technologies is also very successful in the fields of power plant piping, industrial piping, supply systems, plant engineering and plant assembly. Priority sectors are the chemical and petrochemical industry as well as iron and steel works. Jürgen Daldrup, acting plant manager in Dortmund, explains, „When dealing with spatial complexities, this is where we can show our strengths. We produce tube spools and special components with complex geometries and comply with strictest tolerances. That is what makes us stand out!“
Step by step to a 3D measurement of pipes
The first time in 2006, Bilfinger Piping Technologies needed to measure precisely smaller parts in order to meet and verify the increased tolerance requirements towards the customer. The company subcontracted a local service provider with routine measuring tasks. However, requirements for large components increased as well. The plant in Dortmund decided to invest in its own tactile measuring system, which is particularly suitable for measurements in a rough production environment.
Measurement checks - easy and fast
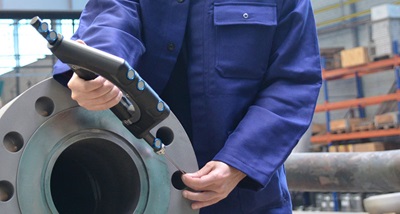
Optical measurements with MoveInspect save time and costs. It takes only a few minutes to measure a tube with a single bend at the fixed measuring station. More complicated, multiple bended parts need a little more time. The components are measured tactilely with the MI.Probe. Alternatively, the measurement system is also deployable for mobile use at other bays of Bilfinger Piping Technologies or even at construction sites in the future.
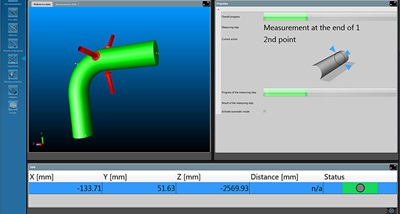 Stored in the software PolyWorks Inspector™ Probing, the standard bends are available for individual measurement projects: single, two-fold and threefold bends, two long legs, two short legs, one long and one short leg, etc. The employee is guided throughout the entire pipe measurement. There is a solution even for pipes outside the standard measuring volume of 6 x 7 m: the component is measured section by section, and the results are brought together via signalized reference points.
Additionally, AICON‘s software platform BendingStudio is applicable for the guided capturing of system gauges. The platform links and optimally controls all data and processes around the production of bended parts. Changes in the individual process steps are quantified, visualized and documented. BendingStudio’s most convincing feature is the simple and reduced measuring procedure. The few operating steps considerably simplify work, especially in production environment. Data exchange with existing software packages in production planning is possible via interface.
A future with optical 3D metrology
Since its launch in 2013, MoveInspect + BendingStudio has been in successful use every day. Hence, a second measuring station is currently in installation. „It was not only important for us to introduce a measuring system both easy to use and precise. The system should have development potentialities for future applications, too. MoveInspect offers versatile possibilities! And being able to influence the software development as „First Integrator“ was also an important issue for us,“ Jürgen Daldrup summarizes the decision in favor of AICON.