Machine tool probing for aircraft fuselage sections and floor panels
On-machine probing solutions for the inspection and alignment of fuselage sections and floor panels during production.
Contact us

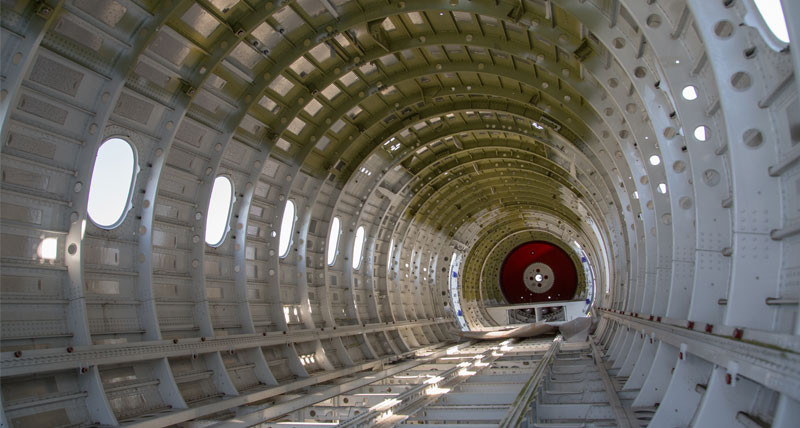
The stability and safety of an aircraft’s fuselage structure depends on its components’ size, shape and position exactly matching the design intent.
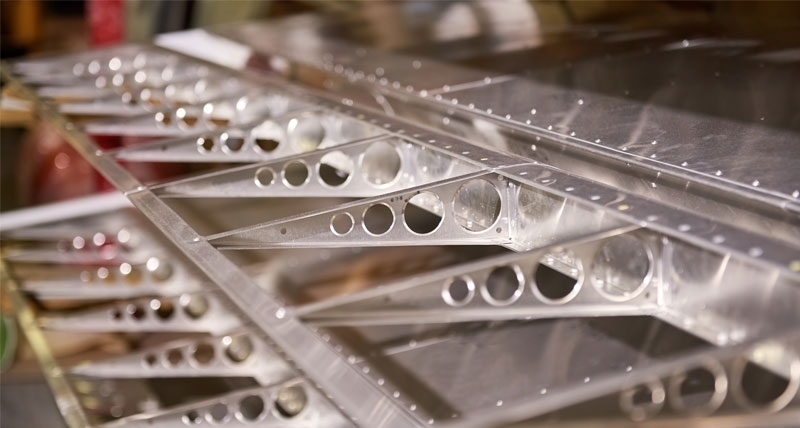
The precision manufacturing of fuselage components, however, brings challenges, starting with scale. Fuselage panels can be as large as 40 square metres and structural spars can measure more than 25 metres. In addition, the raw materials used to make fuselage sections and floor panels are costly, making it crucial for aircraft structure manufacturers to limit waste while meeting exacting quality standards and productivity targets.
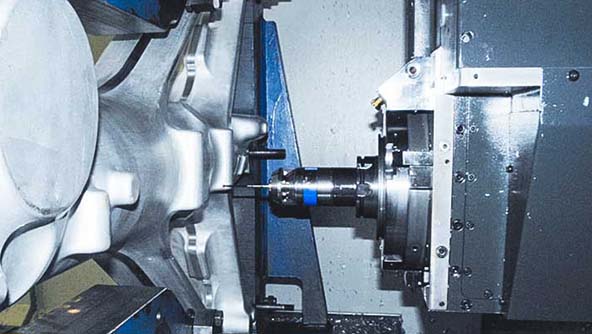
Continually inspecting fuselage components for alignment throughout the machine tooling process ensures they comply exactly with design parameters. The size of the parts and requirement for precision, however, means they need to be inspected on the machine tool to avoid misalignment. But having metrology engineers use measuring arms and gauges to inspect clamped components and then adjust machining parameters can dent productivity.
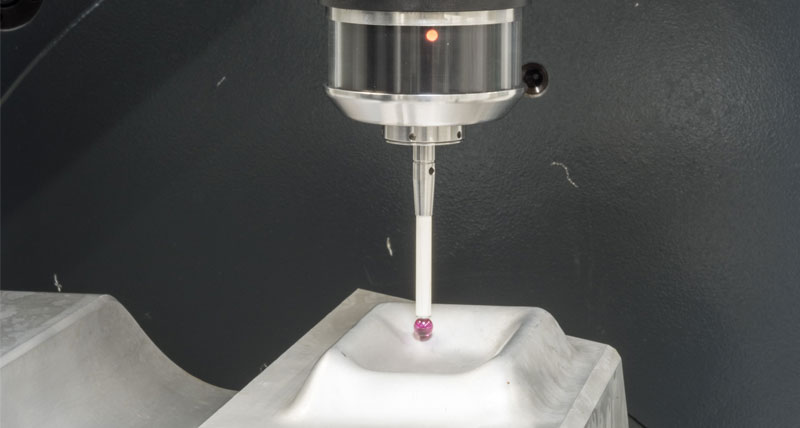
Hexagon’s easy-to-use machine tool probes and software enables aircraft structure manufacturers to easily inspect and check alignment of fuselage and floor components during the machining process. Operators can quickly measure and detect any deviations and step in to take action. And an additional automation function in the software means the machine tool can operate unmanned during ghost shifts, further increasing productivity.
Our solutions
Explore Hexagon solutions for machine tool probing of fuselage sections and floor panelsRadio-wave probing
Software for machine tool probing
Case studies
See how Hexagon solutions are used in the aerospace industry


