Gains in time and minimal errors
Contact us
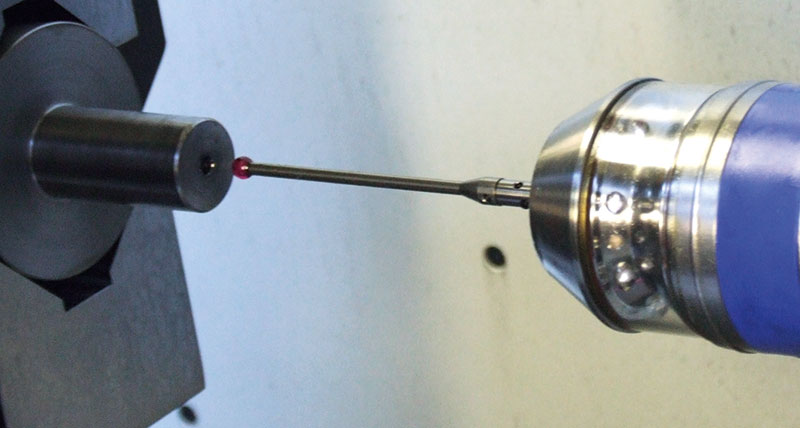
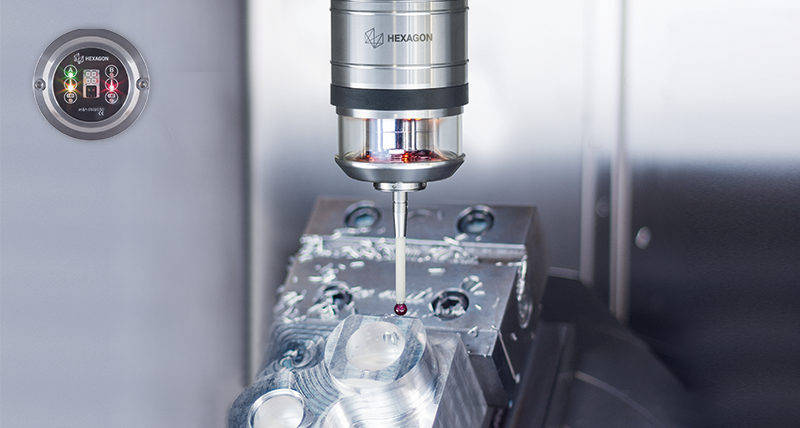
By using touch-trigger probes on machining centres at KASTO, set-up times were shortened considerably with manufacturing errors greatly reduced.
Sometimes coincidences can point to the way ahead. The success story using m&h touch probes during manufacturing at KASTO in Achern-Gamshurst started with the acquisition of a large Reiden 5-axis machining centre. It was the machine builder who recommended using m&h touch probes for the forthcoming jobs.
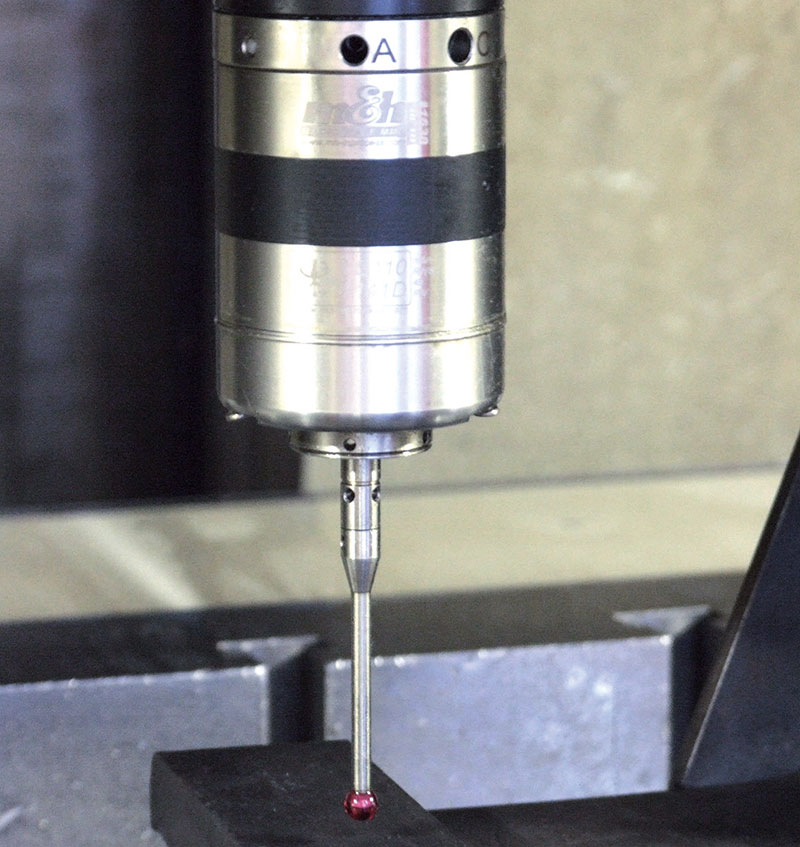 Founded in 1844, today KASTO is a leading manufacturer of saws and metal storage systems. With a staff of around 580, last year the company achieved an annual turnover of about 130 million euros. For metal cutting at KASTO, the recommendation of the machine builder was accepted and the machine was ordered equipped with an m&h touch probe using radio-wave signal transmission. The advantages soon became apparent, resulting in equipping another 5-axis machine with the same type of probe. Two horizontal DMG machining centres that were acquired in the meantime were equipped with m&h touch probes using infrared transmission.
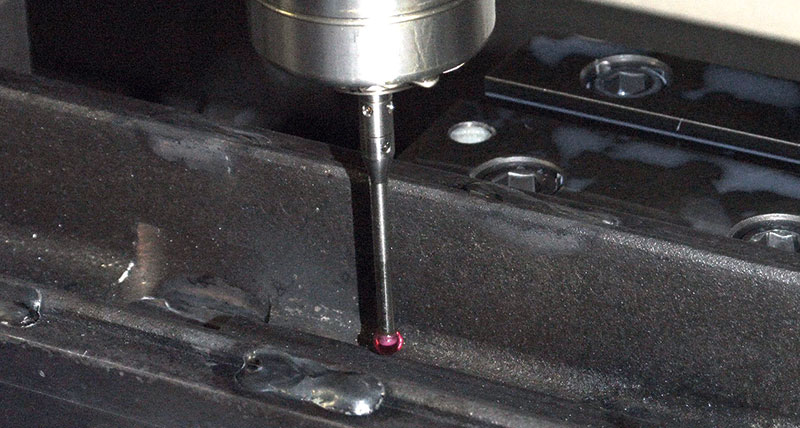
The starting point was the machining of large cast components. “These parts often have distortion or contours offset due to cores moving during casting”, Frank Spengler, production manager at KASTO, describes the problem. “Time after time, machining would run out of a contour or surfaces wouldn’t clean up properly.” With these heavy castings the 2 metre axis travel is used to full capacity, meaning many machining problems can occur due to the distortion. In order to avoid rejects, we had to trigger individually at critical points on each workpiece to determine their true position. Manual triggering takes a lot of time and often resulted in errors and corresponding rejects or time-consuming reworking. Now the part is adjusted to a default position with a program run using the touch probe to determine the actual positions of several critical points on the casting.
Actual values, set values and tolerances can then be compared in a table in the control unit with the operator being able to decide immediately if the machining program fits or if he needs to modify the workpiece position on the machine table again. Crucially, he immediately knows the values needed for any axial or parallel adjustment, considerably shortening and improving the part set-up. “Now we can identify the crucial points in an instant and not produce any rejects due to this problem anymore”, Frank Spengler is pleased to report.
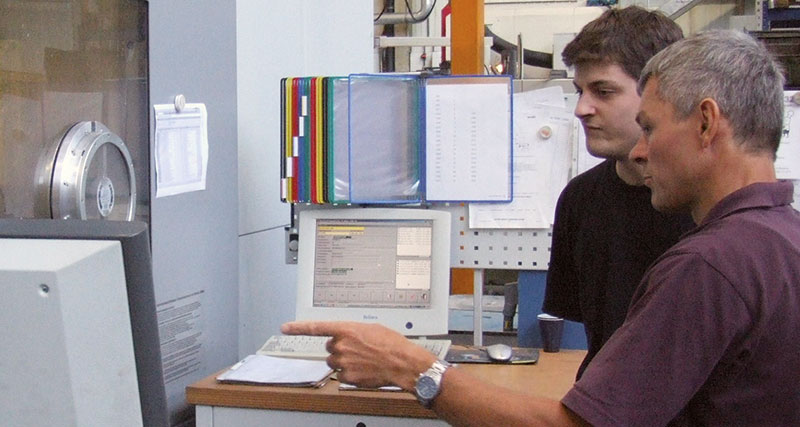 Now this process has also been extended to welded workpieces. Often heat distortion occurs from welding parts together causing problems for final machining. Adjustment of such parts is both time-consuming and a delicate issue that can create errors. It can fit on one side but not on the other, particularly in the case of having a minimal machining allowance. The bigger the parts may be, the more intricate and time-consuming the adjustment needed. With these requirements it is no surprise that their Hedelius 5-axis machine was retrofitted with the same type of m&h radiowave touch probe. “When using m&h touch probes, it is only necessary to write the triggering program once. Subsequently, the program is just called up”, Frank Spengler describes how time savings are achieved and the operators work made easier. “In the past, everything was done manually and this created a constant source of errors”.
“We’re saving at least 50% set-up time compared to standard edge finders, often we save considerably more, and this doesn’t even include the minimization of errors”, Spengler reports on his success. Like many companies, set-up times impede higher output and pro-ductivity of the machines. When producing single components and small batches, set-up times are frequently the decisive factors for profitability. Quite often, they impede a quick manufacturing cycle. At KASTO, the usual batch size for metal cutting manufacturing is between 5 and 50 pieces, however, they can often be less than 10 components. In order to eliminate setting time from the machine running time, they are equipped with pallets with zero point clamping systems.
Now we can identify the crucial points in an instant and not produce any rejects due to this problem anymore.m&h touch probes with infrared signal transmission are used on both DMG DMC100H horizontal machining centres. The receiver is located in the upper edges of the work area. It does not create a chip trap and can receive the probe signals in any position of the workpiece. The high transmitting power of m&h touch probes and the patented HDR technology with an extremely high data transmission rate ensure problem-free running of machining programs. Moreover, m&h infrared transmission is pro tected against external influences from lamps or other light sources and ensures an interference-free measuring cycle at any time. There is no transmission interference even though both machines are next to each other.
 The same applies to the two m&h touch probes on the 5-axis machines. The probes offer 64 freely selectable radio channels. They do not interfere with each other either, since they operate on different frequencies with clear channel separation. The channels can be adjusted by the operator himself at the press of a button. Due to their large transmission range and safe transmission technology, m&h touch probes are also used on very large machines. They are ideal for use on 5-axis machines where spindle heads sometimes operate behind a workpiece or when hidden spots have to be triggered by the touch probe, which makes infrared transmission difficult. “Once, we had to change a channel because our indoor cranes and the roller shutter are radio-controlled”, Frank Spengler explains. Since then, the probes have operated trouble-free. Mr Spengler only needs one sen- tence to respond to our request for a final assessment: “We are really enthusiastic,” he confirms and adds: “Enthusiastic about the function, easy operation and, above all, about the outstanding service”.
As with other tools, something may happen to the probes that may require service or repair work. There have been such cases at KASTO too. This is why Frank Spengler is more than willing to emphasize his positive experience with m&h regarding this area: “No matter what the reason may be for me to call m&h, I always get competent advice. The rental probe system they offer during repair times is outstanding. We did not lose any production”. If repair work is required, customers can rent a probe from m&h and continue working until their own probe is back. “Call today, receive the rental probe tomorrow. That’s very good”.
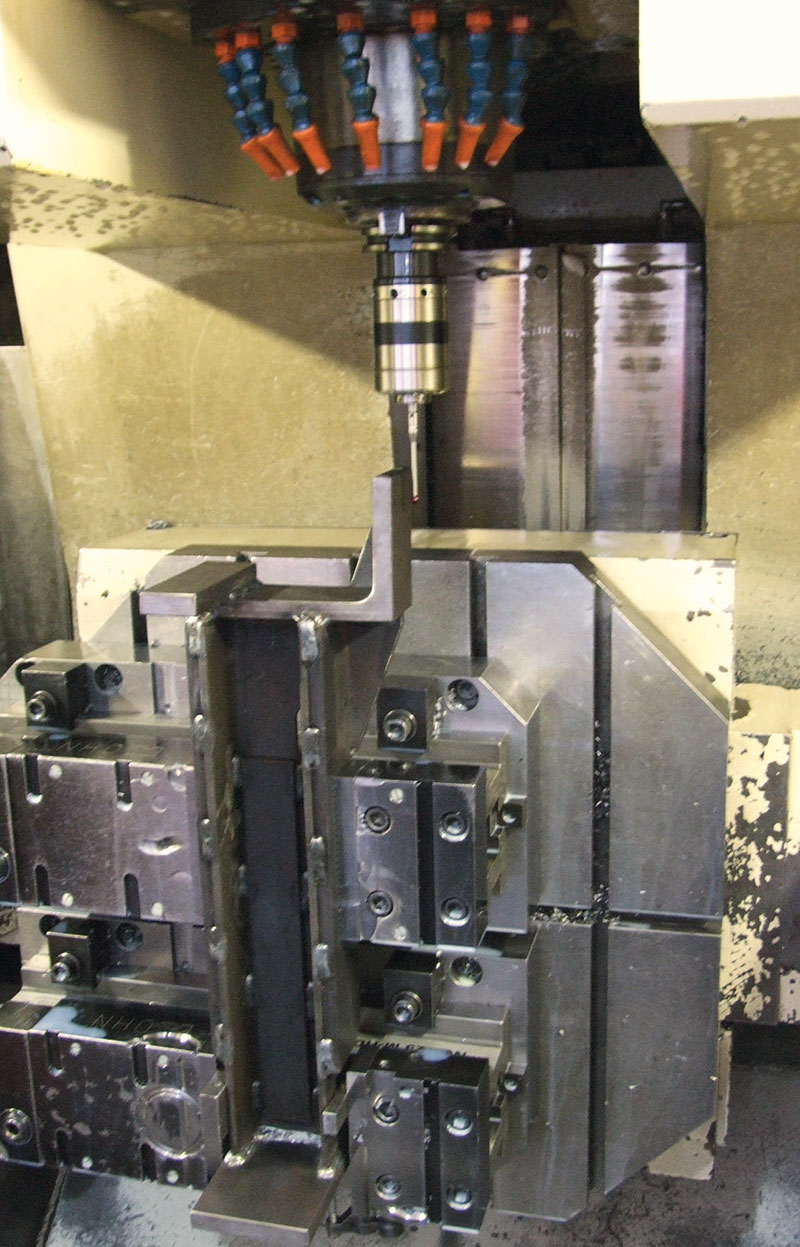 Although KASTO already perform lots of tasks with touch probes, the potential of this technology will not be exhausted for a while yet. Currently, the probes serve for - Determining work zero points - measuring of workpieces based on contour points and subsequent axial or parallel adjustment - checking the position of cast parts - measuring fits and, if required, reworking via tool correction.
All procedures described run using functions embedded in the control, the heart of any machining centre. However, this still leaves a lot of manual work and setting-up effort, both of which need to be further reduced. This is the reason why the people at KASTO will soon be taking a closer look at m&h’s 3D Form Inspect Software. With this software it is not just complex contours that can be measured and logged while the workpiece is still clamped on the machine. With the help of the module “Best Fit“, the position of workpieces can be exactly defined, based on the contour, coordinates and alignments of the machining program in the control. Machining can be adjusted according to the actual position of the workpiece. This makes time consuming manual setting up and positioning of workpieces on the table obsolete and saves a lot of primary running time, which can be used to manufacture additional workpieces. At the same time, operators get extra confidence in the equipment. KASTO is glad to have accepted the recommendation from Reiden at the time and is looking forward to intensifying cooperation with m&h.
Sometimes coincidences can point to the way ahead. The success story using m&h touch probes during manufacturing at KASTO in Achern-Gamshurst started with the acquisition of a large Reiden 5-axis machining centre. It was the machine builder who recommended using m&h touch probes for the forthcoming jobs.
 Founded in 1844, today KASTO is a leading manufacturer of saws and metal storage systems. With a staff of around 580, last year the company achieved an annual turnover of about 130 million euros. For metal cutting at KASTO, the recommendation of the machine builder was accepted and the machine was ordered equipped with an m&h touch probe using radio-wave signal transmission. The advantages soon became apparent, resulting in equipping another 5-axis machine with the same type of probe. Two horizontal DMG machining centres that were acquired in the meantime were equipped with m&h touch probes using infrared transmission.
 The starting point was the machining of large cast components. “These parts often have distortion or contours offset due to cores moving during casting”, Frank Spengler, production manager at KASTO, describes the problem. “Time after time, machining would run out of a contour or surfaces wouldn’t clean up properly.” With these heavy castings the 2 metre axis travel is used to full capacity, meaning many machining problems can occur due to the distortion. In order to avoid rejects, we had to trigger individually at critical points on each workpiece to determine their true position. Manual triggering takes a lot of time and often resulted in errors and corresponding rejects or time-consuming reworking. Now the part is adjusted to a default position with a program run using the touch probe to determine the actual positions of several critical points on the casting.
Actual values, set values and tolerances can then be compared in a table in the control unit with the operator being able to decide immediately if the machining program fits or if he needs to modify the workpiece position on the machine table again. Crucially, he immediately knows the values needed for any axial or parallel adjustment, considerably shortening and improving the part set-up. “Now we can identify the crucial points in an instant and not produce any rejects due to this problem anymore”, Frank Spengler is pleased to report.
 Now this process has also been extended to welded workpieces. Often heat distortion occurs from welding parts together causing problems for final machining. Adjustment of such parts is both time-consuming and a delicate issue that can create errors. It can fit on one side but not on the other, particularly in the case of having a minimal machining allowance. The bigger the parts may be, the more intricate and time-consuming the adjustment needed. With these requirements it is no surprise that their Hedelius 5-axis machine was retrofitted with the same type of m&h radiowave touch probe. “When using m&h touch probes, it is only necessary to write the triggering program once. Subsequently, the program is just called up”, Frank Spengler describes how time savings are achieved and the operators work made easier. “In the past, everything was done manually and this created a constant source of errors”.
 “We’re saving at least 50% set-up time compared to standard edge finders, often we save considerably more, and this doesn’t even include the minimization of errors”, Spengler reports on his success. Like many companies, set-up times impede higher output and pro-ductivity of the machines. When producing single components and small batches, set-up times are frequently the decisive factors for profitability. Quite often, they impede a quick manufacturing cycle. At KASTO, the usual batch size for metal cutting manufacturing is between 5 and 50 pieces, however, they can often be less than 10 components. In order to eliminate setting time from the machine running time, they are equipped with pallets with zero point clamping systems.
Now we can identify the crucial points in an instant and not produce any rejects due to this problem anymore.m&h touch probes with infrared signal transmission are used on both DMG DMC100H horizontal machining centres. The receiver is located in the upper edges of the work area. It does not create a chip trap and can receive the probe signals in any position of the workpiece. The high transmitting power of m&h touch probes and the patented HDR technology with an extremely high data transmission rate ensure problem-free running of machining programs. Moreover, m&h infrared transmission is pro tected against external influences from lamps or other light sources and ensures an interference-free measuring cycle at any time. There is no transmission interference even though both machines are next to each other.
 The same applies to the two m&h touch probes on the 5-axis machines. The probes offer 64 freely selectable radio channels. They do not interfere with each other either, since they operate on different frequencies with clear channel separation. The channels can be adjusted by the operator himself at the press of a button. Due to their large transmission range and safe transmission technology, m&h touch probes are also used on very large machines. They are ideal for use on 5-axis machines where spindle heads sometimes operate behind a workpiece or when hidden spots have to be triggered by the touch probe, which makes infrared transmission difficult. “Once, we had to change a channel because our indoor cranes and the roller shutter are radio-controlled”, Frank Spengler explains. Since then, the probes have operated trouble-free. Mr Spengler only needs one sen- tence to respond to our request for a final assessment: “We are really enthusiastic,” he confirms and adds: “Enthusiastic about the function, easy operation and, above all, about the outstanding service”.
 As with other tools, something may happen to the probes that may require service or repair work. There have been such cases at KASTO too. This is why Frank Spengler is more than willing to emphasize his positive experience with m&h regarding this area: “No matter what the reason may be for me to call m&h, I always get competent advice. The rental probe system they offer during repair times is outstanding. We did not lose any production”. If repair work is required, customers can rent a probe from m&h and continue working until their own probe is back. “Call today, receive the rental probe tomorrow. That’s very good”.
 Although KASTO already perform lots of tasks with touch probes, the potential of this technology will not be exhausted for a while yet. Currently, the probes serve for - Determining work zero points - measuring of workpieces based on contour points and subsequent axial or parallel adjustment - checking the position of cast parts - measuring fits and, if required, reworking via tool correction.
 All procedures described run using functions embedded in the control, the heart of any machining centre. However, this still leaves a lot of manual work and setting-up effort, both of which need to be further reduced. This is the reason why the people at KASTO will soon be taking a closer look at m&h’s 3D Form Inspect Software. With this software it is not just complex contours that can be measured and logged while the workpiece is still clamped on the machine. With the help of the module “Best Fit“, the position of workpieces can be exactly defined, based on the contour, coordinates and alignments of the machining program in the control. Machining can be adjusted according to the actual position of the workpiece. This makes time consuming manual setting up and positioning of workpieces on the table obsolete and saves a lot of primary running time, which can be used to manufacture additional workpieces. At the same time, operators get extra confidence in the equipment. KASTO is glad to have accepted the recommendation from Reiden at the time and is looking forward to intensifying cooperation with m&h.
