All about optical comparators, and why you should avoid them
The fundamental technology behind an optical comparator is elegantly simple.
Contact us
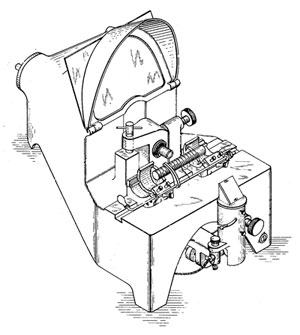
 The illustration pictured here should appear familiar to anyone who has spent any time in a quality control lab or on a factory floor. This is a picture of the venerable optical comparator. The reason we start with this illustration is to prove a significant point.
The source of this illustration is from patent #1,903,933, filed May 21, 1925. The fact that a modern comparator appears little different from one patented 85 years ago might raise several questions, including “why are they still around?,” “why do we still use them?” and “haven’t we come up with anything better?” To start, let’s explore the technology itself.
The reason comparators haven’t changed much in 85 years is that the fundamental technology behind an optical comparator is elegantly simple, and it simply works. Since the physics behind optics hasn’t changed, the only possible improvements in comparator technology revolve around the quality of the optics themselves, and the features added to the comparator to make taking measurements easier for the user.
How it works
So how does a comparator work? A good analogy for the principle behind an optical comparator is that it is somewhat similar to the old-school overhead projector—remember that familiar classroom technology with the clear plastic transparencies projected on a screen?) In fact, one can make a rudimentary comparator device with an actual overhead projector.
If you can still find an overhead around the office, you might try this little experiment. First, place any two dimensional part on the stage of any overhead projector and project the image onto a large piece of paper taped to a wall. The resulting shadow projected on the paper can be outlined with a pen. This pen outline becomes the reference to compare to any subsequent objects placed on the stage. If the parts don’t match the drawing, they aren’t the same. Thus, your pen outline is the equivalent of a comparator template. As a practical matter, we can’t really use an overhead projector to check parts. For one thing, overhead projectors are rarely in a fixed, immovable position. If the projection distance changes slightly as the result of the projector being bumped or moved, the size of reference image on the wall changes and your pen drawing is no longer accurate.
The basic concept of an optical comparator for quality control use is to take that idea of the overhead projector and package it all up inside a box so that the optical distance between the part and the screen is fixed, known and can be calibrated.
The basic concept of the comparator is that a part is affixed to a stage, a light source shines on it, and the resulting shadow image of the part is magnified with lenses and bounced by mirrors, to be projected on the back of a screen for magnified viewing, pretty much just like our overhead projector example.
Based on the known magnification of the lenses, measurements of the part can be made directly off the screen, using (traditionally) a screen overlay or crosshairs as the reference point for projected points or edges. The operator centers a feature of interest on the crosshairs, records a point, then moves the image and records another point. The process of taking multiple points allows features such as circles, slots, radii and edges to be constructed mathematically—typically this is done via a microprocessor-based digital display.
The size and magnification of the projected image on a comparator is dependent on the optics and screen size of the comparator itself—typical screen sizes range from 12 inches to 36 inches, but ones up to 60 inches have been built. However, the larger the screen size, the larger the enclosure becomes because a greater distance is required to “throw” the image. A comparator with an enormous screen is basically a giant, mostly empty box used to inspect small parts.
The advantage of a comparator is that it’s straightforward to use for simple operations with relatively little training. On the simplest comparator, an operator merely has to affix a part and move it with hand controls and observe the on screen image. Advances in technology, such as computer displays that do the math automatically and remember all measured points, automatic triggering technologies and improvements in stage movement all have contributed to the venerable comparator continuing to serve a useful function in a quality lab.
If one reason for the continuing popularity of comparators is their basic simplicity, this is also their downfall. As production parts become ever more complex, with more features to inspect to greater tolerances, with higher sampling rates or even 100% inspection, the advantages of the traditional manual comparators diminishes significantly.
 The rise of vision-based inspection systems makes manual comparator technology, even equipped with modern capabilities, seem quaint in comparison. This is particularly the case when the requirement is to inspect large quantities of parts at once, since a vision system allows you to place multiple parts for inspection on the stage at the same time.
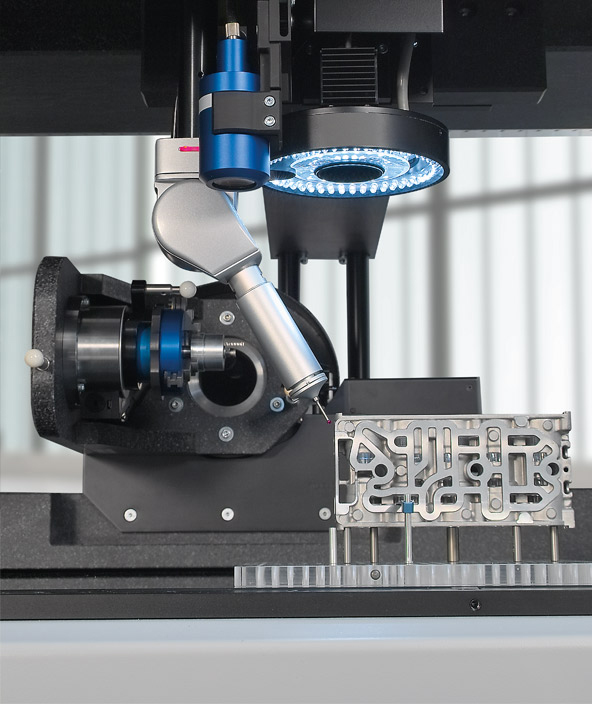
Add to this the automation capabilities of a vision system, and you have a clear winner in speed and flexibility. Automatic moving stages, CAD programming capability, the ability to use multiple lighting techniques and 3D inspection capabilities greatly surpass the limitations of traditional comparator technology. Imagine being able to place dozens of small parts on the stage and walk away while the program runs automatically, telling you at the end of the cycle which parts are good and which are bad. This is the advantage of today's vision inspection systems.
So why would anyone still choose a comparator? For many simple, nonrepetitive tasks on two-dimensional parts with clearly defined edges, the optical comparator is still a great tool to have in the toolbox. As with any applied technology, knowing the correct tool to use and when to use it is essential.
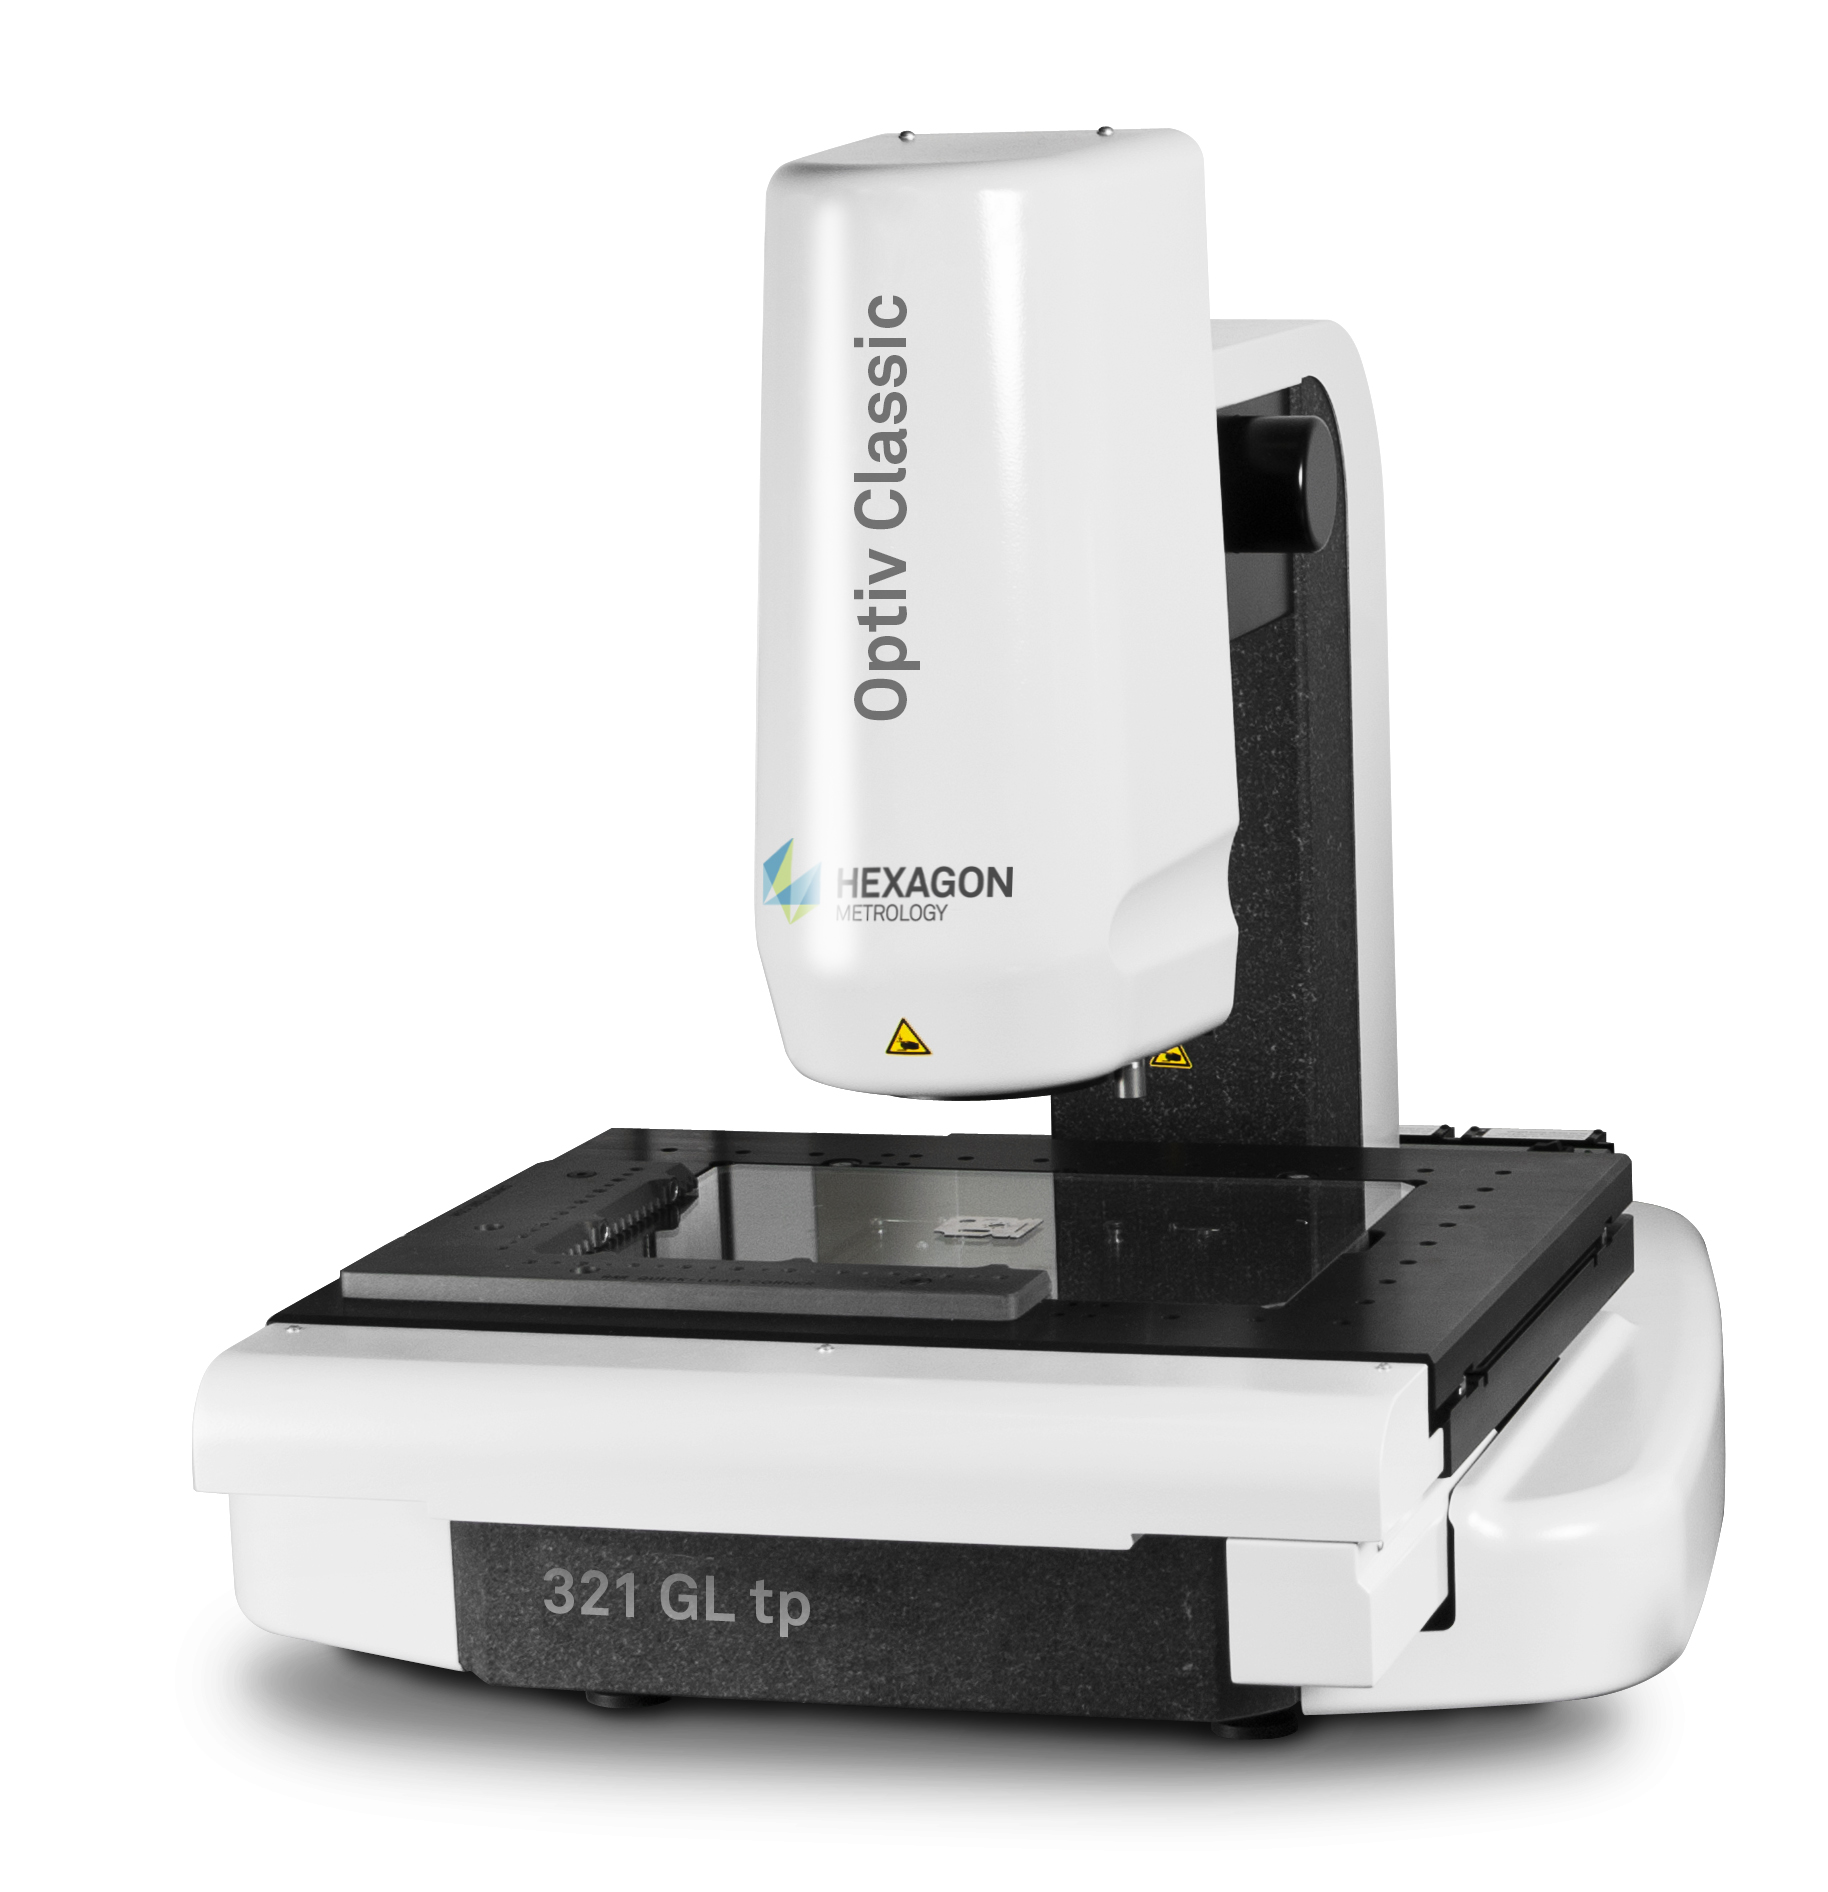
If you are ready to move beyond comparators, consider looking at the Optiv Classic vision system which combines automated inspection capabilities with PC-DMIS CAD for vision that allows programming of the machine right off the CAD model.