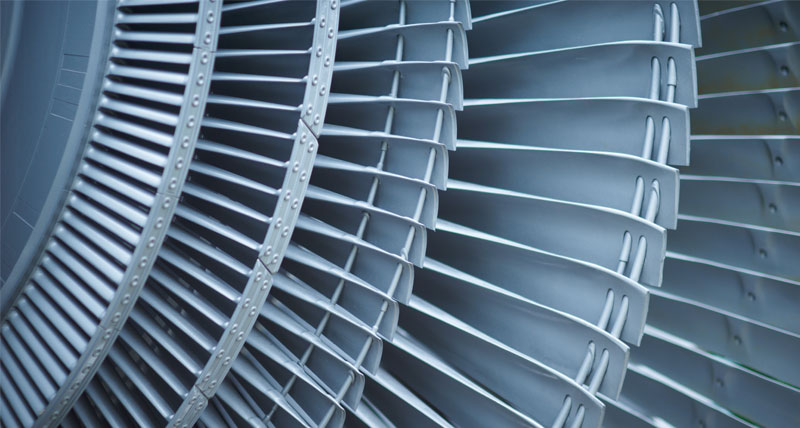
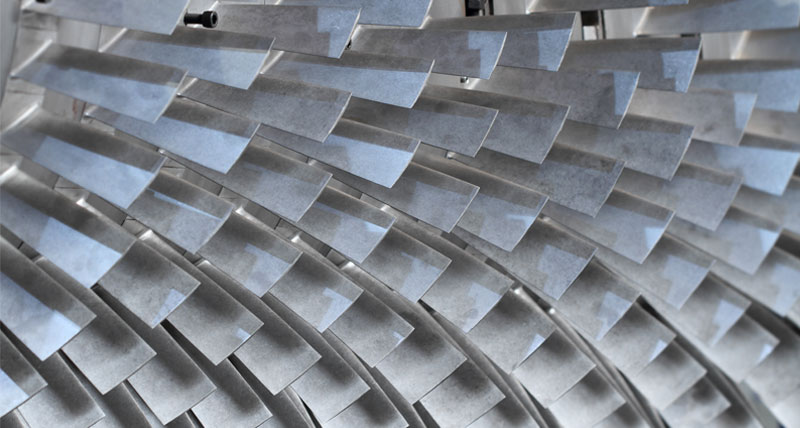
Aero engine turbine blade cooling holes inspection
Measurement solutions for inspecting dimensional and positional tolerances of cooling holes in aero engine turbine blades.
Contact us
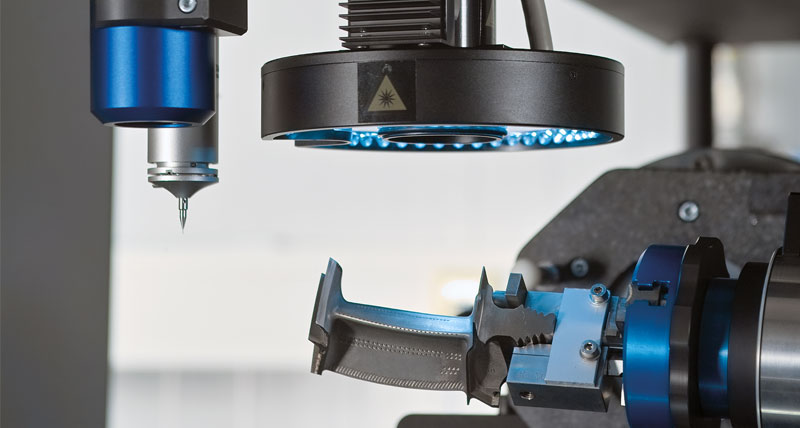
To maximise efficiency and reduce fuel consumption, current combustor exit temperatures exceed the melting point temperatures of turbine blade materials. The external surfaces of the blades are protected by film cooling, a process in which cool air from the compressor is discharged via small holes in the turbine blade. Accurately produced cooling holes are essential to avoid turbine failure and ensure the aeroplane’s safe operation.
The small dimensions, narrow distribution, and diverse inclination angles of the blade cooling holes can make inspection challenging. Furthermore, cooling holes made with laser or electrical discharging machining methods can be an irregular shape. For functional reasons, they are often created at an angle to the surface or lie in a heavily-curved section of the turbine blade, making probe access difficult.
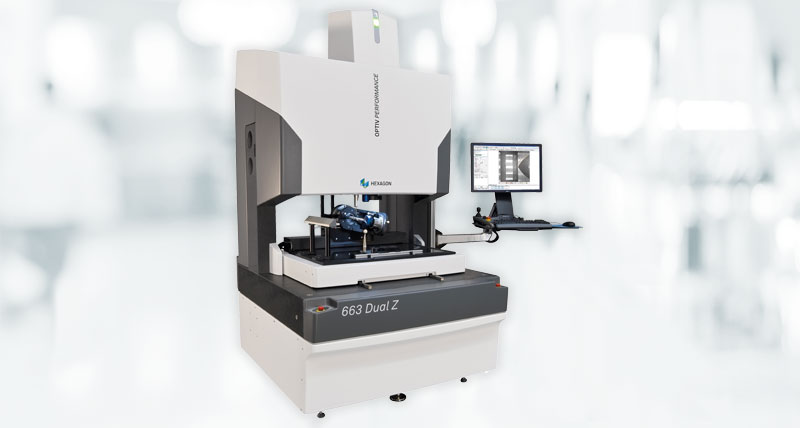
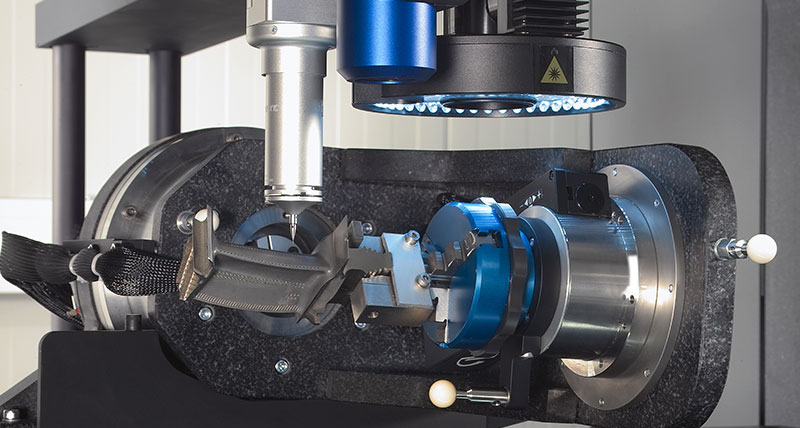
As well as overcoming these challenges, manufacturers can reduce measurement programming and cycle times by using metrology solutions that combine contact and non-contact sensors while optimising workpiece and probe positioning. Hexagon offers multisensor coordinate measuring machine (CMM) solutions that enable the precise 3D alignment of the turbine blade and the inspection of the location and size of the cooling holes in a single cycle.
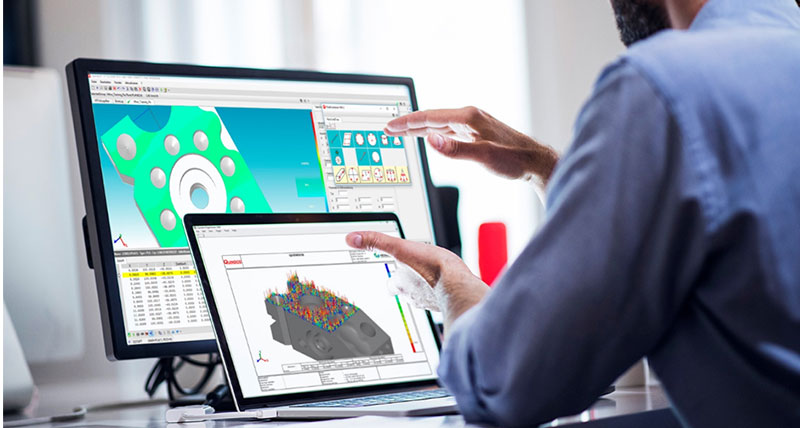
Additional technology like rotary tables speed up the measurement process by automatically aligning the axis of each cooling hole parallel to the vertical axis of the CMM. Specialised blade software enables automated measurement paths to scan and evaluate blade profile characteristics like tangent line, leading and trailing edge, and profile thickness in a single procedure.
Our solutions
Explore Hexagon solutions for turbine blade cooling holes inspectionAutomated multisensor measurement
Optiv Performance 664 multisensor CMM with Optiv Dual Z technology enables quick single setup measurement of...
3D optical measurement
Immediately visualise and locate turbine blade cooling holes with the AICON StereoScan neo optical scanner system.
Blade-specific evaluation software
Quickly perform advanced and customised cooling hole profile evaluations with QUINDOS Blade metrology software.
Case studies
See how Hexagon solutions are used for the dimensional inspection of aero enginesQuality assurance of turbine blades
See how vision measurement technology can be used to increase throughput in turbine blade measurement.
