We simply got better
KonForm - Lichtenstein
Contact us

With touch probes, software and Tool Setter, the aluminium mould maker KonForm in Lichtenstein has harmonized its production and met customers needs. After careful comparison with the competition, the products by m&h were chosen.
Three-dimensional curved shapes of aluminium alloys and prototypes from ureol and other model materials are the domain of the young company KonForm in the Swabian town of Lichtenstein, on the edge of the Swabian Mountains.
Founded in 2008, KonForm has built a solid customer base in the commercial vehicle sector for agricultural machinery and medical equipment. Their speciality is aluminium moulds for the foaming of vehicle parts up to 1,500 x 2,000 mm in size and for tool weights of up to 5 tons. On versatile and modern machinery, KonForm not only machines parts but also offers the complete service chain from the PU-conform complete design of the desired part via the tool assembly to the delivery of the finished tool.
As is common in the automotive industry, customers often express a desire for measurement logs of the manufactured moulds. While KonForm can access their own measuring machine, this would mean a considerable loss of time in the production process and, in the case of necessary rework, would inevitably lead to a loss of precision on the workpiece.
Complex mould inserts and several slides in the moulds must fit together with tight tolerances, which often used to necessitate lengthy and expensive rework. In order "to assure quality at the source", as Jörg Rehm, the managing partner of KonForm, puts it, an examination of probes and software for measuring workpieces that are still clamped in the machine was carried out, with two German brands eventually being subjected to a comparison. Added to this was the desire to be able to accurately measure the cutting tools while they are clamped in the spindle.
A comparison of the systems quickly showed differences, especially in terms of a workshop-oriented application. Regarding the software for measuring workpieces, the focus was on ease of use, five-axis measuring of any contours in space and the universal applicability to different machines and control, provided that the measurement results corresponding to those on the measuring machine were accurate.
Five-axis measurement of complex workpieces, possibly with deep cavities and undercuts, places high demands not only on the measurement software. High demands are also placed on the probe and its data transmission, since workpiece contours and the angular positions of a direct transmission of infra-red signals may possibly be in the way.
Finally, there was the desire for a Tool Setter without a cable connection and without a collision contour in the working area. Experience has shown that a Tool Setter remaining in the work area will sooner or later be overlooked, which leads to damage.
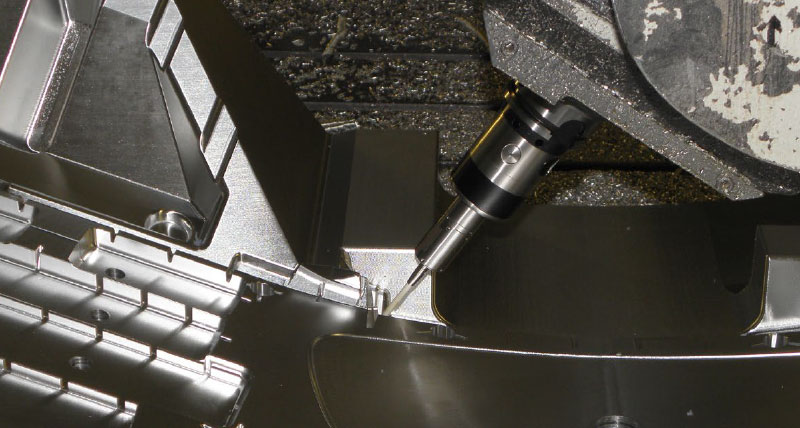
In all three points, KonForm chose m&h products. The 3D Form Inspect program by m&h reads the CAD design data and compares it with the actual values of the workpieces on the machine. Programming becomes easier and less time-consuming because the points to be measured can be selected and a measuring function assigned to them by simple mouse clicks. The computer creates the program for the machine in the background. While doing this, it takes into account the contour of the probe used, possibly with variable extensions, as well as that of the workpiece, verifies the feasibility of the measurement program and prevents collisions between the probe and the workpiece.
The 3D Form Inspect software by m&h differs from that of the competition by features such as measurement with all five axes and an upstream, patented quick calibration. When measuring with five axes, the fourth and fifth axis can be set up and then calibrated. This results in an automatic compensation of the pivot error of these axes while measuring, which in turn leads to very accurate measurement results which correspond to those of the measuring machine. All this happens in a matter of minutes and the measurement result can always be printed and saved as a log or record. The software can work with almost any common controls and machine tools; it is, therefore, an investment that is fit for the future.
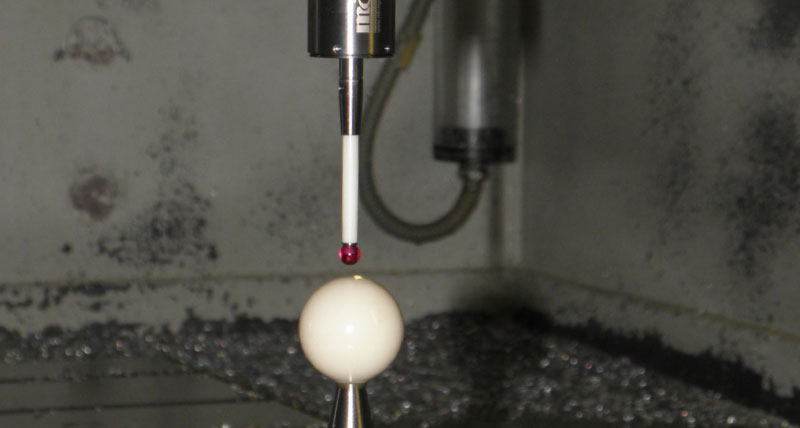
 Regarding the probe, the m&h touch probe with radio data transmission was chosen. The radio signals of the m&h touch probes – with their powerful transmitters – are able to access the control quickly, accurately and, most particularly, interference-free even in the case of shadowing or out of workpiece cavities. For this purpose, the signals are encoded, which ensures at any time that any interference signals will be ignored. During the entire duty cycle of the machine, the m&h radio receiver monitors its 64 free selectable channels and blocks those on which interfering signals are being received. This avoids unnecessary machine downtime and ensures an uninterrupted production process.
The m&h probes also offer the advantage that the measuring mechanisms can be unscrewed from the bodies. Standard extensions of varying lengths can be screwed in and provide the opportunity to introduce the measuring mechanism as closely as possible to the measuring point and thus to be able to measure highly accurately within deep cavities without danger of collision. The standard extensions allow the adjustment to the respective measuring task and render special, expensive measurement equipment obsolete.
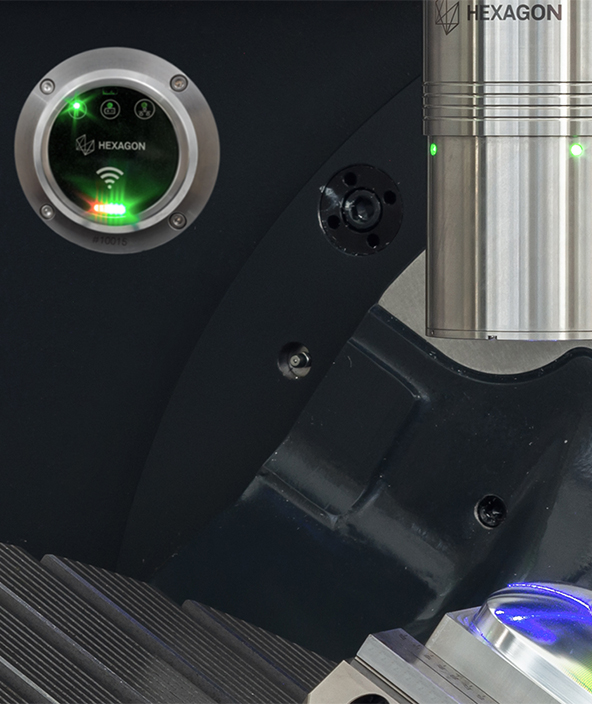
The decision for the m&h Tool Setter was also based on the consistently practice-oriented design of the device compared to the competition. On the one hand, the Tool Setter features infra-red data transmission that makes it wireless and ensures safe and quick transmission of signals to the control system of the machine. On the other, the m&h Tool Setter can be removed quickly and easily from its stand prism and thus does not form a collision contour in the work area. Just as quickly and easily, it is put back to its place on the prism when needed. An indexing pin and three prism supports ensure a positional accuracy and repeat accuracy of only a few μm. The Tool Setter is secured in its fit by a magnet in the base of the Tool Setter, which greatly simplifies installation and replacement. The magnet in the probe body prevents chips from accumulating in the prism. The Tool Setter has the advantage that wobble errors and the actual clamping of the tools in the spindle are taken into consideration.
"We measure tool length and diameter", explains Jörg Rehm. "In the presetting device without any draw-in force, the values – especially the concentricity – were always different than later on the machine". Here, too, KonForm gains accuracy already at the beginning of the work process.
Measuring the workpieces still in the clamping shows yet a further improvement in the production process. Because now one half of a mould made is measured and recorded, the opposite half can be precisely adjusted. "When we have made half a mould, we measure it and then mill the other half to make it match the first half exactly", explains Jörg Rehm. Thus, he ensures that the foam components that are created in these forms have the prescribed strength and uniform thickness. The assembly of the mould has also been accelerated, and there is substantially less rework than previously. "We know early on that the parts fit afterwards, and we now work much more accurately than before", Jörg Rehm says, pleased.
Because we check each piece while it is still on the machine, the protocol practically creates itself. The Best Fit software module is also used at KonForm. However, it is used less to adapt the machining program to the actual contour location as is usually the case at many mould makers, especially for repairs. At KonForm, Best Fit is used to determine the thermal drift of the machine, because temperatures fluctuate relatively strongly in the workshop. With the measured values, the correction values of the machine can be adapted to the actual conditions before critical operations. This results in a significant gain in accuracy.
"The customers, too, are increasingly pleased about the fact that the workpieces they get from KonForm are now accompanied by a log. More and more customers even require such a log. Since we also test each piece on the machine, the log practically creates itself" says Jörg Rehm, pleased that he can now easily meet customer needs.

