Trusted manufacturing of high-precision machine components
Ace Inotec meets its customers’ exacting manufacturing requirements with the help of Hexagon’s GLOBAL coordinate measuring machine and PC-DMIS metrology software
Contact us
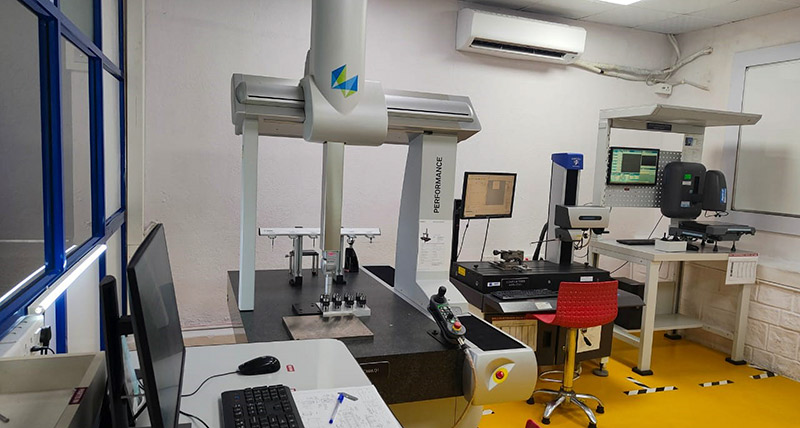
Established in 2006 in Bangalore, India, Ace Inotec Manufacturing Private Limited is a trusted, high-quality premium manufacturer of precision components operating in the aerospace, automotive, motion system, medical and general engineering industries. It’s a fast-paced competitive environment where measurement accuracy and quality are critical for its customers and business success.
The company is a one-stop solution for customers who require components of the highest standards, offering a range of advanced manufacturing capabilities – including CNC machining, assembly solutions, quick prototyping and complete turnkey development of precision engineering components.
 The skilled engineers at their in-house manufacturing facility benefit from having some of the industry’s most advanced machines and operating software. To meet needs not covered by their own capabilities, the company works with a partner network of trusted and controlled local sub-contractors.
“The main expectation of our clients is the accuracy and repeatability of part measurements,” says Srinivas G., Deputy Plant Manager, Ace Inotec. “Many operate in the aerospace, motion system and medical industries where accuracy and quality are paramount, with accepted tolerances as small as 5 microns. They also expect not just mean diameters and measurements but the minimum and maximum measurements of part dimensions, which helps evaluate the error margins of a given batch of precision parts.”
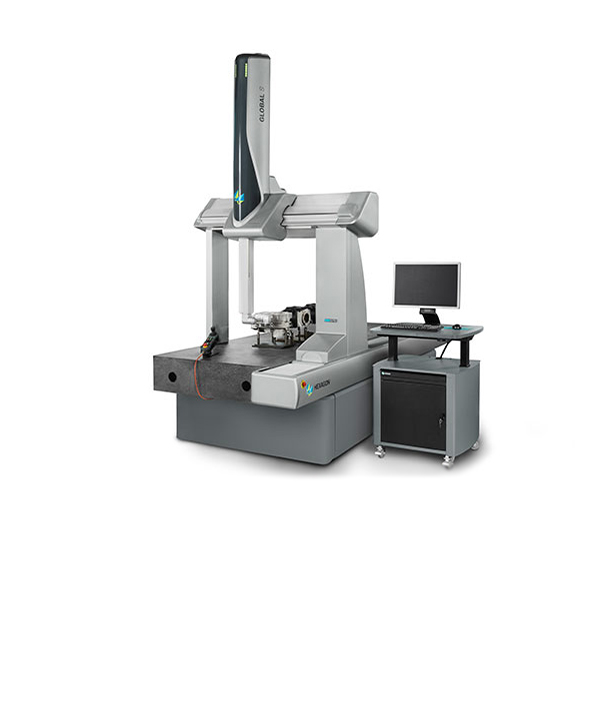
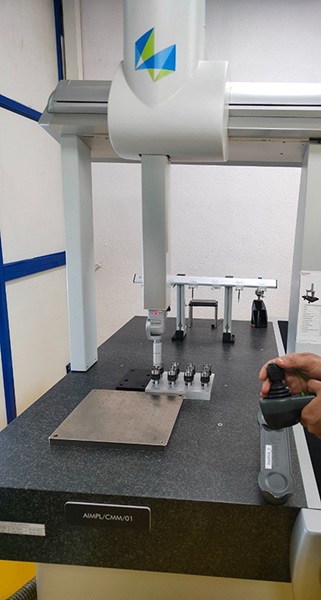
Upon the recommendation of a key customer, in 2018 Ace Inotec installed a Hexagon GLOBAL coordinate measuring machine (CMM) paired with PC-DMIS inspection software to meet these requirements. Since then, these have become critical assets that their engineers use for measurements and quality checks at all design, engineering and manufacturing stages.
The system enables their quality and production engineers to map out simple part inspection and measurement workflows that support their business priorities of high-throughput manufacturing at the promised quality.
Quality-first and trusted accuracy
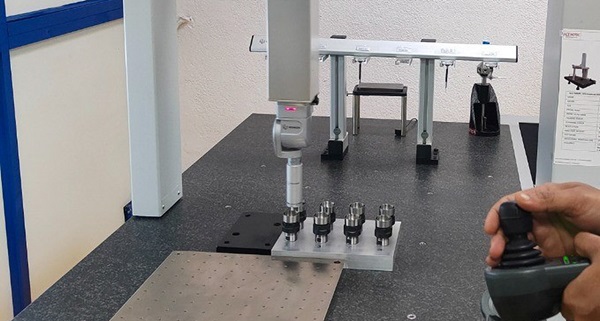
Quality checks are performed through all stages of the manufacturing process – from the initial phase of setting approval to final quality assurance tests. After setting the first component on the machine, Ace Inotec’s quality engineers perform a first inspection run to verify that the critical parameters of the part meet the required specifications. Then, after production starts, in-process CMM inspection is performed on a sample of parts according to a defined frequency where they will typically measure at least 40 to 50 percent of the part’s dimensions to ensure all important parameters remain within the promised tolerances. A final quality inspection of finished components on the CMM completes the process.“We use the GLOBAL CMM and PC-DMIS software very effectively throughout our 24/7 manufacturing process,” says Srinivas G. “The system delivers excellent measurement performance and guaranteed quality control on any job our customers entrust to us. I’m very pleased with the highly accurate results and repeatability of the measurements. Compared to some other measurement software products we’ve seen, we fully trust the results PC-DMIS delivers to our team. We have no doubts.”
Ease of use and flexibility bolster efficiency and reduce cycle time
The system also strongly supports Ace Inotec’s productivity and cost-saving priorities. Their production specialists take pride in extracting the maximum performance from the CMM and software setup to improve process efficiency and reduce production cycle time to ensure they continue to offer their customers competitive prices.
PC-DMIS is particularly valued in this respect because it boosts the usability of the CMM enabling their operators to simply and quickly run their measurement routines.
Whether for their own operations or when reviewing outside suppliers’ work, the system’s ease of use allows the creation of simple part inspection and measurement workflows and quick adaptation to changing production conditions – all of which improve process efficiency, reduce waste and cut cycle times.
And because PC-DMIS is very simple to understand with straightforward handling, operators need little time to learn the system. Ace Inotec’s quality and production teams take full advantage of the flexibility and customisation options within the software – for example, by tailoring automated measurement routines and creating personalised toolbars with the most used function commands, which is very helpful for operators and reduces the chance of operator error.
Most commands are like those in their CAD software, making it straightforward for their team to import CAD model data and build inspection programs with this data.
“Over the last four years, we’ve had the Hexagon system in use 24/7. It allows us to successfully take on any application and inspection challenge that our customers bring to us,” says Srinivas G. “PC-DMIS allows our operators to get the best performance out of the CMM. They appreciate how simple it is to set up and use compared with other options we’ve seen on the market. During production, we really can measure at the push of a button.”
“I would also like to call out the very good service and support of the local Hexagon team, especially their willingness to solve any specific measurement challenges that come up.”
Based on their experience using the system over the last four years, Ace Inotec are planning to order two additional Hexagon CMMs with PC-DMIS software to handle larger-volume components and their growing business.
