Change means reliability
Contact us
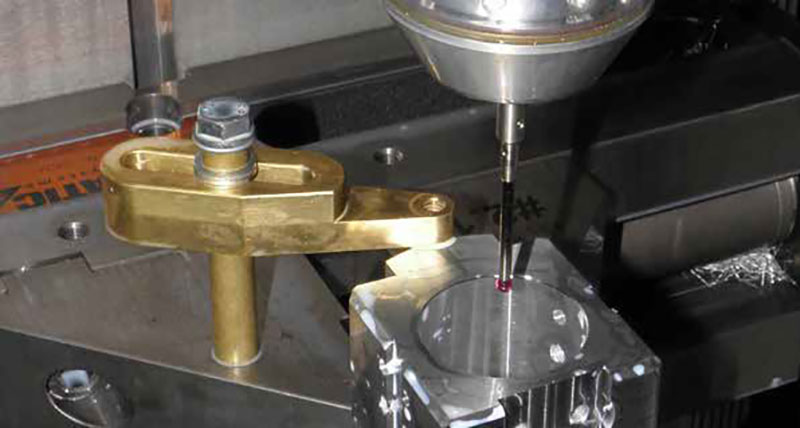
Rather than carrying out costly repairs on a probe that was originally supplied with the machine, Kaltner simply replaced the defective probe with one made by Hexagon/ m&h. Thanks to its chameleon-like ability, the new probe communicates with the other manufacturer’s receivers and has been working accurately and problem-free since its installation.
Since it was founded in 1957, Dachau-based Kaltner Präzisionsmechanik GmbH has built a solid reputation for precision parts for batch and small-series production.
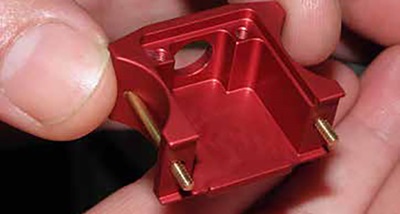
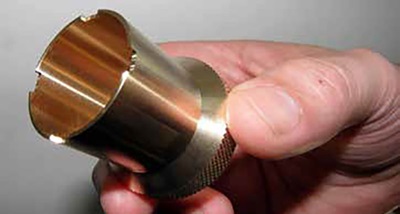
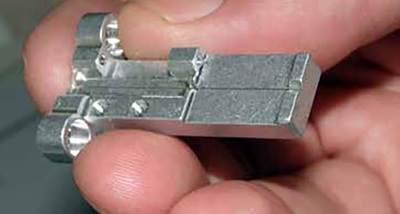
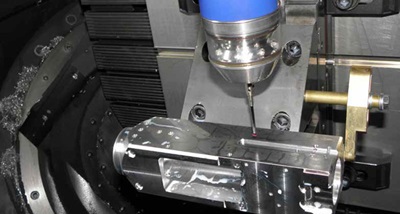 Clients from the optics, aircraft construction and medical technology industries regularly make use of the company’s manufacturing expertise for prototypes, precision parts and even fully assembled systems. The size of parts ranges from small, which are mostly ready-made, to medium-sized casings and support structures. The maximum part dimensions are 1,000 x 6,000 x 400 mm. Parts are made using cutting-edge three and five-axis rotation centres, turn/mill centres and machining centres and are measured both inside the machines and on specialist measuring machines.
The tool setter is equally modern. For 19 years now, Kaltners machining centres have been using probes that are not only used to set up the parts, but also to record machined geometries and align machine fit, fit bores and other geometries. All parts are celibrated with the probe to ensure accuracy right from the beginning of the machining process. Self-developed programmes also enable Kaltner to take measurements during the process and correct any errors automatically. This also enables manufacturing with tight tolerances in automatic mode, without the machine having to wait for the operator and his/her input. This in-house development has radically improved the machines’ runtime and productivity.
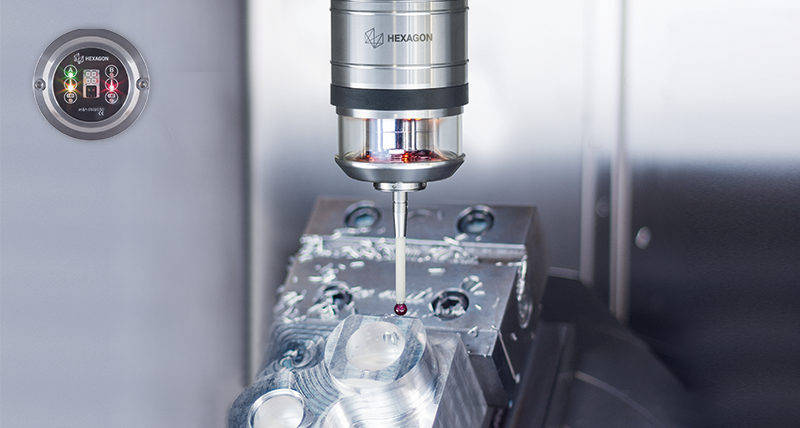
A machine was also retrofitted with a m&h probe, which is still in use today. The probe has extremely interference-free data transmission via infrared signals. Only signal packages that are clearly assigned to the probe are transmitted. The probe only reacts when these signal packages are clearly recognised. The receiver already contained the complete electronic interface, so only a cable connection needed to be laid from the receiver for rapid control input. Even newer m&h models with more advanced technology can still communicate with the old m&h receivers.
 With the addition of more machines, Kaltner also began to use probes from other manufacturers, but, unfortunately, these did not align with the positive experiences it has had with m&h models. “There were always issues with them”, explains Christian Kaltner, who is also responsible for integrating the measuring results into automated correction.
“We only received service via the machine manufacturer, if at all, and the resulting costs were substantial. We had finally had enough and purchased new probes from m&h at the next available opportunity rather than getting the other repaired. We got rid of the old probes and we have never looked back”, emphasises Kaltner, smiling broadly. Later machine purchases were made with the provision that they are installed on the m&h probe from the outset. All six machining centres at Kaltner are equipped with m&h.
 The chameleon-like technology of some m&h probes enables the quick and easy use of other brands’ products. Alongside m&h’s extremely secure HDR infrared transmission technology, these probes are also able to adapt to the receiver technology of most systems on the market. The probe can be set up quickly and easily on the other system, whose receiver is installed on the machine. Probes then communicate with the existing technology, where the additional effects of the m&h HDR technology cannot be used. This is, however, the exact alternative sought after by many users. “It worked straight away”, exclaims Christian Kaltner. “The expensive batteries were another issue with the old manufacturers, but the m&h probes take standard 9-volt batteries.” The batteries for all m&h probes are always standard varieties that are available everywhere. This reduces costs and increases availability.
 m&h infrared touch probes are switched on and off mechanically wherever possible. In many cases, they are switched on and off via bi-directional signals, which are clearly allocated to the relevant probe. This ensures short activation times and safe operation, avoids unplanned downtime due to unintentionally switched off probes or similar issues and also ensures that the probes in the tool magazine are switched off and not using up battery life unnecessarily. The sturdy stainless steel casing with a glass cover over the infrared diodes and sealing to IP68 standard make m&h probes reliable tools for modern manufacturing. With increasing automation and long-running complete machining operations, more and more emphasis is being put on process reliability.
Nevertheless, collisions do happen occasionally - even with the sturdiest of tools - and these sometimes require repairs. Christian Kaltner has praise for m&h in this respect too. “We always get fast responses to questions,” enthuses Kaltner about m&h’s ease of service. He particularly rates the m&h repair system, which involves m&h sending a replacement probe via courier within one working day on request. This allows the customer to resume operations while the defective probe undergoes a comprehensive inspection and a skilled repair service is carried out. “It’s simply brilliant”, exclaims Kaltner about this prompt service. “We only have two good suppliers who we have been genuinely happy with for a long time, and one of them is m&h.”
