Cannot do without it
Ballerstedt GmbH - Germany.
Contact us
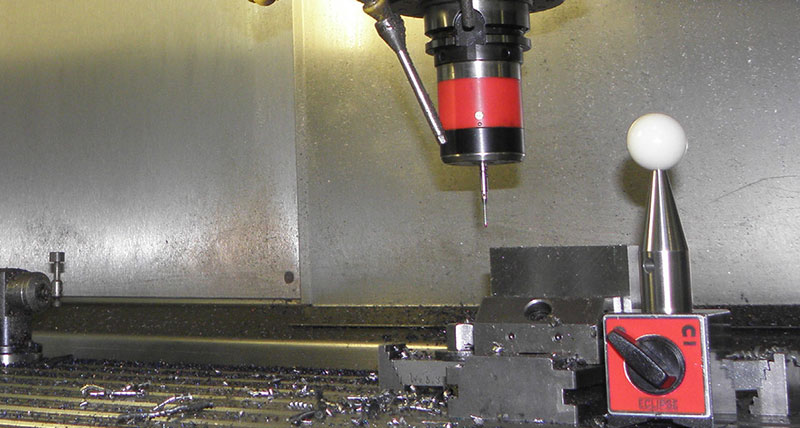
Ballerstedt, the renowned plastic-injection moulding company, uses probes and Form Inspect software from m&h when constructing their moulds. Mould inserts can now be made to fit accurately and to be easily replaceable. This shortens downtimes and increases productivity.
The small town of Reinbek immediately borders on Hamburg and is where the Ballerstedt company operates a large plastic moulding company which manufactures its own moulds.
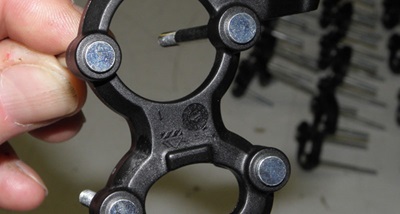 For more than 50 years, Ballerstedt has been gaining know-how and loyal customers from the tobacco industry, medical technology, security technology, engineering and other branches. For this wide field of applications, plastic parts weighing between 1.5 g and 2 kg are injection moulded. Multi-component injection moulding, the insert-moulding of inserted parts and also foaming are part of the daily business near the coast.
Not only the moulds themselves are created in the company‘s own mould production. Rather, Ballerstedt can offer its customers the entire service chain ranging from form-compliant parts design to finished components or the component mounted ready for installation. To put this know-how to work, the company‘s own mould production is equipped with electrical discharge machining (EDM) and machining centres. Modern programming software and new tools, however, mean the proportion of EDM has been steadily declining. In addition, hard-milling is done increasingly often. "Nowadays, we finish much more by milling than in the past and need far fewer electrodes," says Jürgen Kätzel, Head of Tool Production with Ballerstedt; he is not only pleased by the time saved and the lower costs, but also by longer service lives of the moulds.
 It has already been about ten years since a probe with infra-red signal transmission from m&h has been used in the machining centre. "It has never broken and we have had no collisions," says Kätzel, satisfied with the good quality of m&h and the care of his operators.
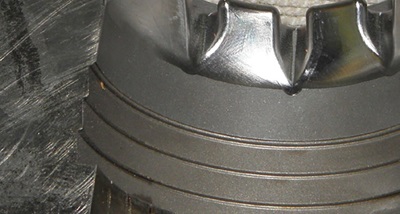
So far so good, until Ballerstedt was approached with a project for a customer in the medical field. Natural anatomical models of skulls, including internal structures of bone and cartilage, as needed for preliminary discussions of operations and other anatomical studies, were to be manufactured from plastic. For this, it was necessary to fit entirely free-formed surfaces and structures in the mould and its slider. To make this complicated structure ready for serial production and to achieve process reliability in the plastic injection moulding machine, the mould inserts of the mould and a big slide would have to be created in electro-forms. When changing an insert, however, each new electro-form must fit exactly like the previous one. And all this was not based on the smooth side of the form, but rather on the highly structured inner side of the mould which consists almost entirely of free-formed surfaces. Although one could perform the final inspection on a measuring machine, in the case of deviations between the surfaces, however, the workpiece can not be picked up again without creating additional inaccuracies. It seemed that reliable reproducibility would be impossible.
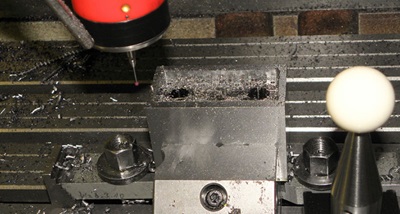 Inspired by a user report in the trade press, Jürgen Kätzel then got specific information about 3D Form Inspect software by m&h. With this software, he can compare the CAD data of a structure with the actual values of the workpiece in the machine. To do this, a surface model of the workpiece is generated in the 3D Form Inspect program on the basis of the CAD design in which the points to be measured are determined by mouse click or by previous incorporation in the design.
With a further click, the desired measurement function is assigned to each measurement point. Depending on the measuring function, the software automatically generates corresponding counter points and the traversing program for the machine. With a screen simulation, the feasibility of all desired measurements is checked and a collision analysis of the probe to be used is performed with the workpiece. Points which can not be reached without collision are clearly marked and excluded from the program. "This is a good thing. It gives us a high level of security," Kätzel confirmed outright.
The program generated in this way is then transferred to the machine and called up and executed there like any other processing program. At the start of the measurement program, the probe is quickly calibrated on a ceramic sphere in the machining area. In this way, latent faults by thermal expansion or other machinery influences are detected and included in the calculation of the measured values. This procedure, which is patented by m&h, yields reliable measured values which can be reproduced at any time and correspond to those of the measuring machines. In a new program, these measured values are then logged by the machine control and can be immediately visualized on the computer screen.
This is a worthwhile thing in any case and quickly pays for itself. They can always be printed out as a log or passed on to a higher-level computer. "I finally have direct control of the milling measurements and know what I have really cut," says Kätzel, pleased by the direct feedback. "Now I have control over the accuracy, even with free-form surfaces, and can manufacture in a reproducible manner. Since then I can simply replace the electro inserts, and the production continues immediately. Even in the case of the difficult anatomical models. This was not possible before."
Soon, further benefits regarding operation and productivity became evident. Touch-up times, for example, have significantly decreased. Lack of mould accuracy of some milling tools and tool deflection during processing lead to deviations on the surfaces and result in the necessity to partially rework the affected surfaces. This can now be done directly and still in the same clamping. The selection of tools is increasingly based on different criteria than was the case before. At Ballerstedt, parting planes in the forms are now, wherever possible, finished by milling. Measuring with 3D Form Inspect allows the direct control of the actual dimensional accuracy. Then, if necessary, reworking is done by machine.
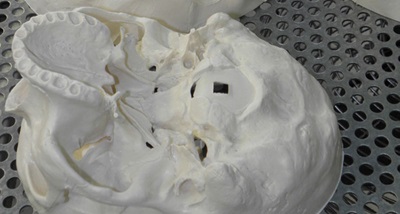 "This saves a lot of time, and we have greatly improved our accuracy and quality, particularly regarding free-form surfaces," says Jürgen Kätzel. "Recently we milled 32 slides, and all of them were exactly the same! Duplicate mould inserts can now easily be replaced, and then we move on."
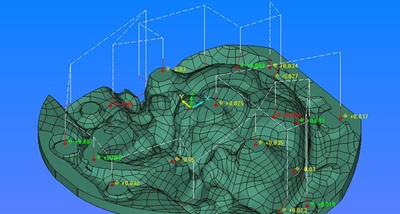 And then there is something else: For cost and capacity reasons, Ballerstedt works with moulds by other mould makers to a certain extent, and Jürgen Kätzel, as Head of Tool Production, then also has to take over responsibility in the operational process. With such forms as well, there are occasional deviations. "Threads and separations often do not fit exactly," reports Kätzel. "For some time now I have been putting any new mould on the machine and measuring it using m&h. In this way, I can check it quickly and can make corrections immediately if necessary."
Ballerstedt has also found out that shapes and shape separations are becoming ever more complicated as 3D CAD design systems are used more often. Direct control is all the more important now since it is possible to do this on the machine in a single clamping with 3D Form Inspect. The use of the software by m&h is described at Ballerstedt as almost self-explanatory and has not led to any problems whatsoever. "This is a worthwhile thing in any case and quickly pays for itself," says Jürgen Kätzel. Then he adds: "It probably sounds a bit trite, but I can no longer live without measuring in the machine."
