Burr-free, first time
Contact us
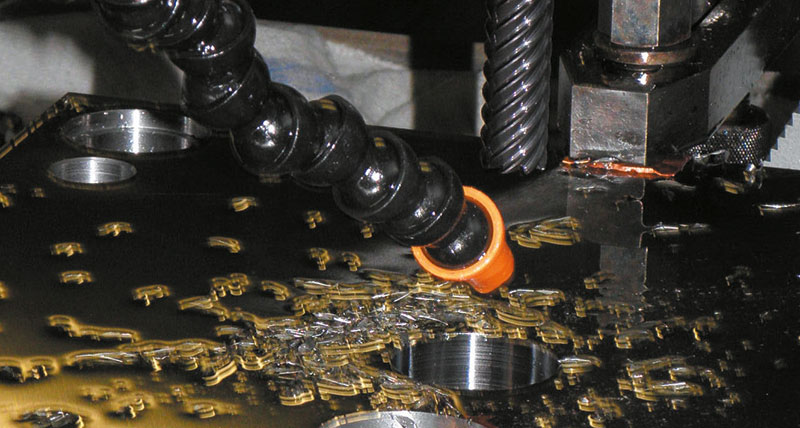
Company Vorwerk check mould inserts and slides while still clamped on the machine tool using m&h’s touch probes and 3D Form Inspect software. A mould manufactured this way, with two sets of ten slides, was burr-free first time and released for volume production after the very first sample.
You’re unlikely to find anyone who doesn’t know the green & white vacuum cleaners made by Vorwerk. These machines, trying to set themselves apart from the competition by their high quality and long service life, are manufactured in Wuppertal. Cutting edge manufacturing techniques plus continuous optimisation form a sound basis for companies and products to keep their place in the market. “With modern machines and optimised manufacturing cycles we have succeeded in reducing tooling costs by up to 40%,” reports Marc Alexander Popov, head of tool manufacturing at Vorwerk in Wuppertal.
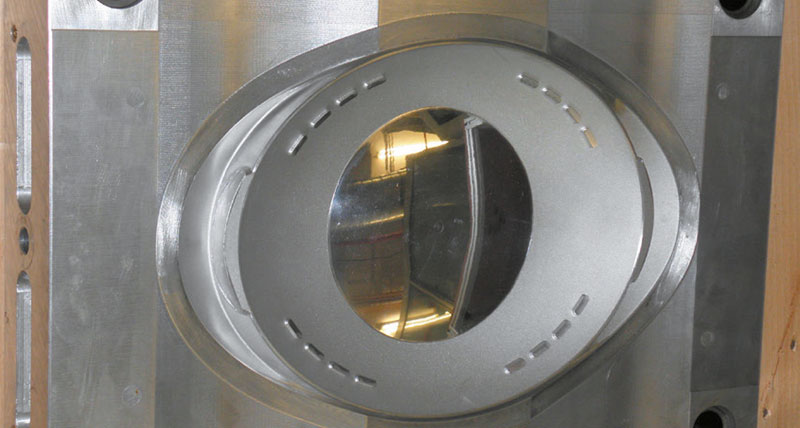 “I don’t want either the cheapest or the most expensive tool,” he explains his strategy and confirms: “I want the most cost-efficient tool.” However, this requires a very complex examination over the entire life cycle of a mould, taking into consideration many factors including service and maintenance costs. This is why Mr Popov has instigated wide range of measures to constantly keep the tools for injection moulding up to the highest standard. “Both our products and the injection moulds are continuously optimised until the end of their life cycle.” This includes selecting state-of-the-art materials such as, for example, so-called ESU steels and Toolux 44, non-warping steel to 45 HRC, which are increasingly used for moulds and inserts. For mould manufacturing, Vorwerk has almost completely changed from sprue to needle valve nozzles. In order to achieve short cycle times and high contour accuracy, the moulds are equipped with internal lm cooling. This enables high machine output, trouble-free production processes and high contour accuracy on injection-moulded parts.
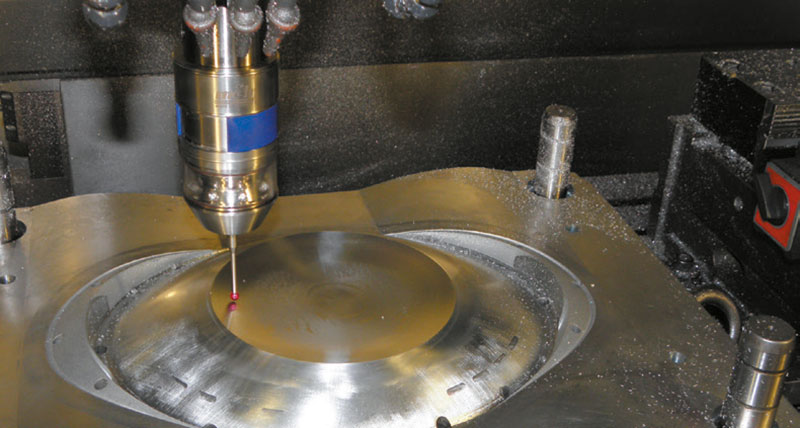 The milling workshop of the mould making department uses machines from Hermle, DMG, SIP and Exeron. These machines are equipped with m&h touch probes. In addition, 3D Form Inspect software is installed on a computer in the workshop. This software enables the checking of milled contours and surfaces at any time while the component is still clamped on the machine. The points to be measured are determined on a graphic representation on the computer screen by mouse click and a corresponding measuring function is assigned. The software automatically generates the appropriate program for the machine in the background including a brief calibration prior to the measuring process. An automatic collision check between m&h probe and the workpiece contours is also integrated.
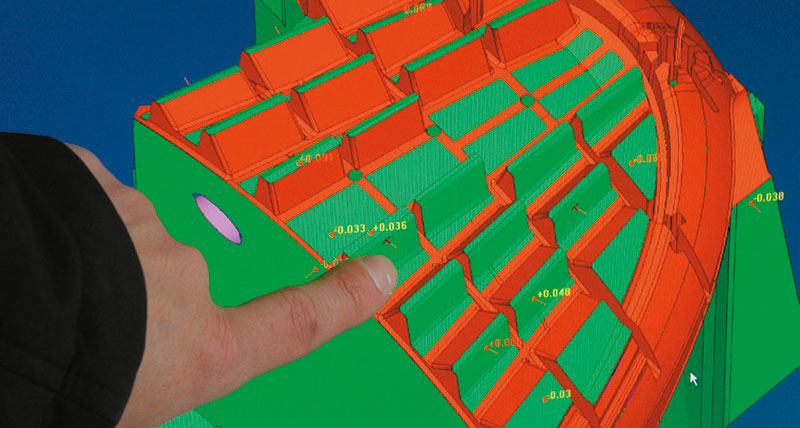
After being transferred, the program is called to the respective machi- ne tool and is completed like any other machining program. The data generated is sent back to the computer and the measured points are shown as values on the graphic representation or as a protocol like on a measuring machine. After a short half-day introduction, the entire staff started using the program thanks to the easy handling of the software. Considering the average age of the staff members, which is 52, this is a very positive statement.
“We saw it at a trade fair for the rst time and after some checking we are sure that m&h delivers the best system for the machine tool,” Mr Popov explains his ndings. “It is a real relief for the staff members. The man on the machine must be given the possibility to assess for himself what he has produced and to intervene if necessary.” The only cost-effcient way to do this is by measuring on the machine.
Die spotting was reduced by 70-80%!
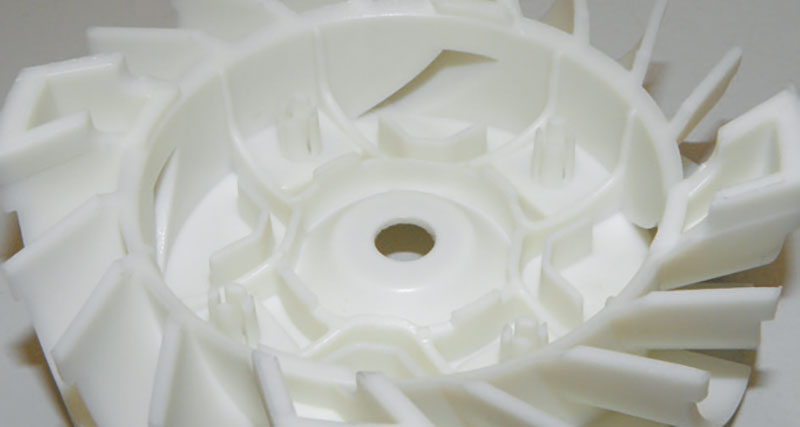
The moulds at Vorwerk are very complex and generally need several optimisation and adjustment tests before being released for volume production. In the case of an impeller, a mould with 10 slides has been manufactured with the outer contours of the blades showing. This was the rst mould when, during production, all inserts and moulds were repeatedly measured while still clamped on the machine tool using m&h touch probes and software. The result was not only a much better match in mould composition with signi cantly reduced die spotting, but to everybody’s surprise, also a burr-free mould at the rst attempt. “With results like this, there is no need to consider the few lost minutes of measuring time on the machine,” Mr Popov is happy to report.
 ”In mould making, we have the opportunity to react early when measuring part contours on the machines. This is not only important for new tools but for spare parts and repair work as well.” Many plastic materials being machined at Vorwerk are very abrasive since they have considerable bre content to ensure longer service life. The most important things are constant fitting and contour accuracies of mould inserts since they are repeatedly manufactured during the lifetime of a mould. “We have drastically reduced the maintenance costs for tools,” Mr Popov sums up. “To some extent, we have reduced rejects in production from 7 – 8% to less than 1%,” he reports with pride.
The implementation of measuring on the machine has made a substantial contribution to both internal and external success.
“Now we always know what we are doing and know our tools much better,” states Mr Popov. “We have learned how to extend the lifetime of the inserts. Transitions at the product walls could be considerably improved. Now we machine to Finished sizes and our die spotting surfaces look entirely different,” he reports. Die spotting was reduced by 70 – 80%. Things have improved massively since the quality is already checked” on the machine. “Today, we meet our deadlines or
