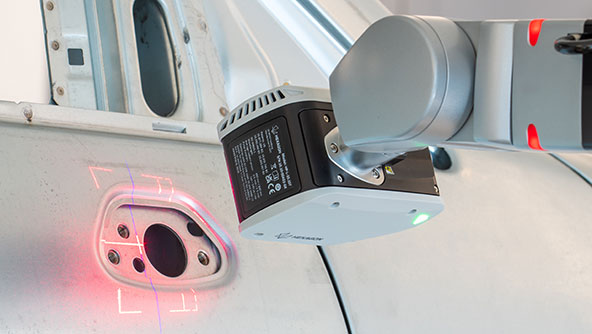
HP-L-10.10 laser scanning sensor
The all-in-one laser scanner – Combining speed, accuracy, flexibility and intuitiveness
Ready to get started?
Talk to an expert and discover what Hexagon can do for your organisation.
The Hexagon HP-L-10.10 isn’t just a market-leading scanning solution for CMMs. It’s the one laser scanner that turns your CMM into an optical multisensor system, combining unmatched speed, accuracy and flexibility to streamline the measurement of complex surfaces and workpieces. The cutting-edge HP-L-10.10 in combination with PC-DMIS software is prepared for any inspection challenge, setting a new standard for CMM laser scanning.
HP-L-10.10 is Hexagon’s most accurate laser scanner for CMMs. With a probing form error of 8 μm, the accuracy is close to the results operators can achieve with tactile probing solutions. At the same time, the HP-L-10.10 captures up to 600 000 points per second, which means unprecedent speed and amount of data, even when measuring difficult surfaces, like reflective or shiny ones.
HP-L-10.10 isn’t just superior when it comes to performance and accuracy; together with PC-DMIS measuring software it also brings unique new functions that transform the usage of CMMs during programming and executing measurement programs, as well as for advanced reporting and collaboration.
-
Visual, adaptive projection of the measurement range on the part
-
Remote teaching and navigating on the CMM
-
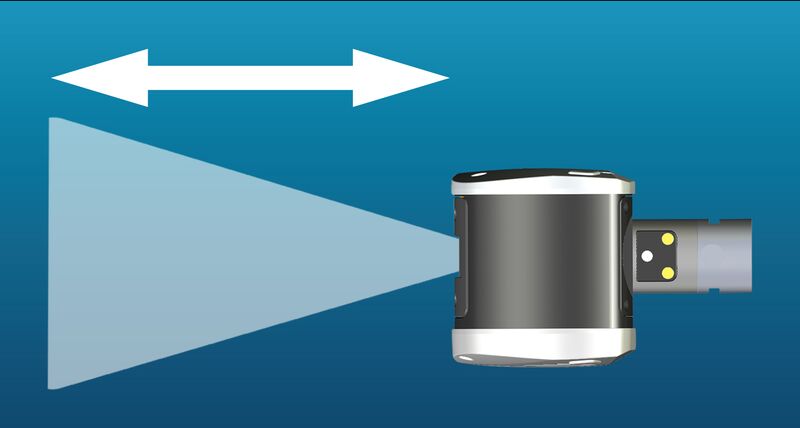
Adapt the sensor field-of-view to optimise cycle time and level of detail
-
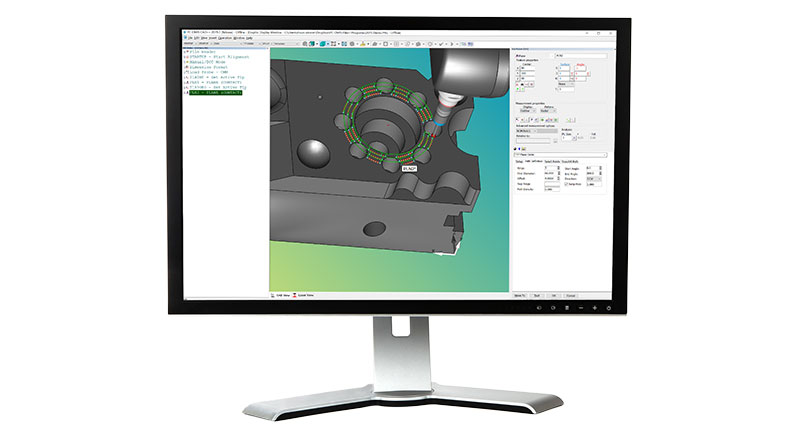
Automatically generate scan paths by selecting CAD surfaces
-
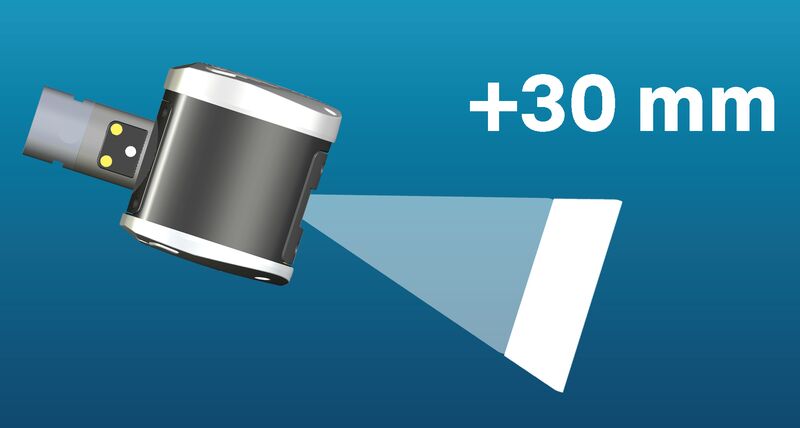
Easily extend the sensing range to measure deep cavity features
-
Guided measurement via video livestream
-
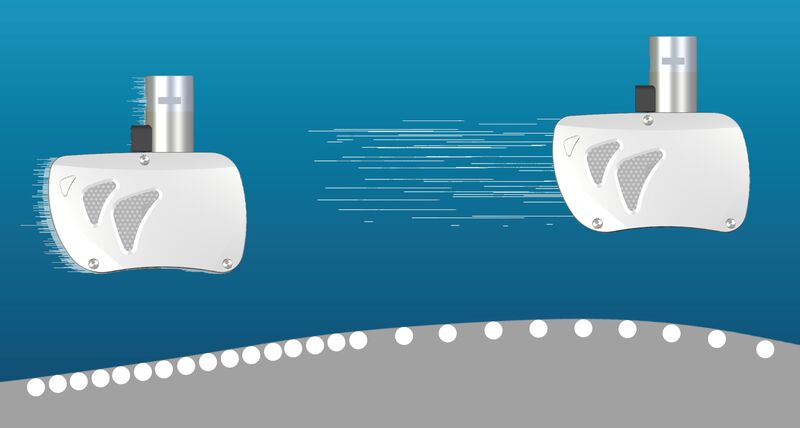
Gain higher measurement speeds and capture critical feature details within the same measurement path
-
Measure different surfaces, colours and characteristics without changing settings
-
Visual, status for online programming by LED work distance indicator
-
Visual, adaptive projection of the measurement range on the part
-
Increase clarity of measurement reports by adding images to it
-
Easily identify failed features by automatically capturing images of feature in question
-
Gain extremely accurate data sets for reporting and further processing
-
Create smooth meshes for reverse engineering to support product design
-
Features & benefits
-
Technical data
-
Downloads
-
Applications
PC-DMIS
PC-DMIS metrology software enables dimensional measurement data to flow through your organisation, because quality is the grounding truth for design and manufacturing.


