Why the HP-L-10.10 laser scanner for CMMs is perfect for large-volume metrology

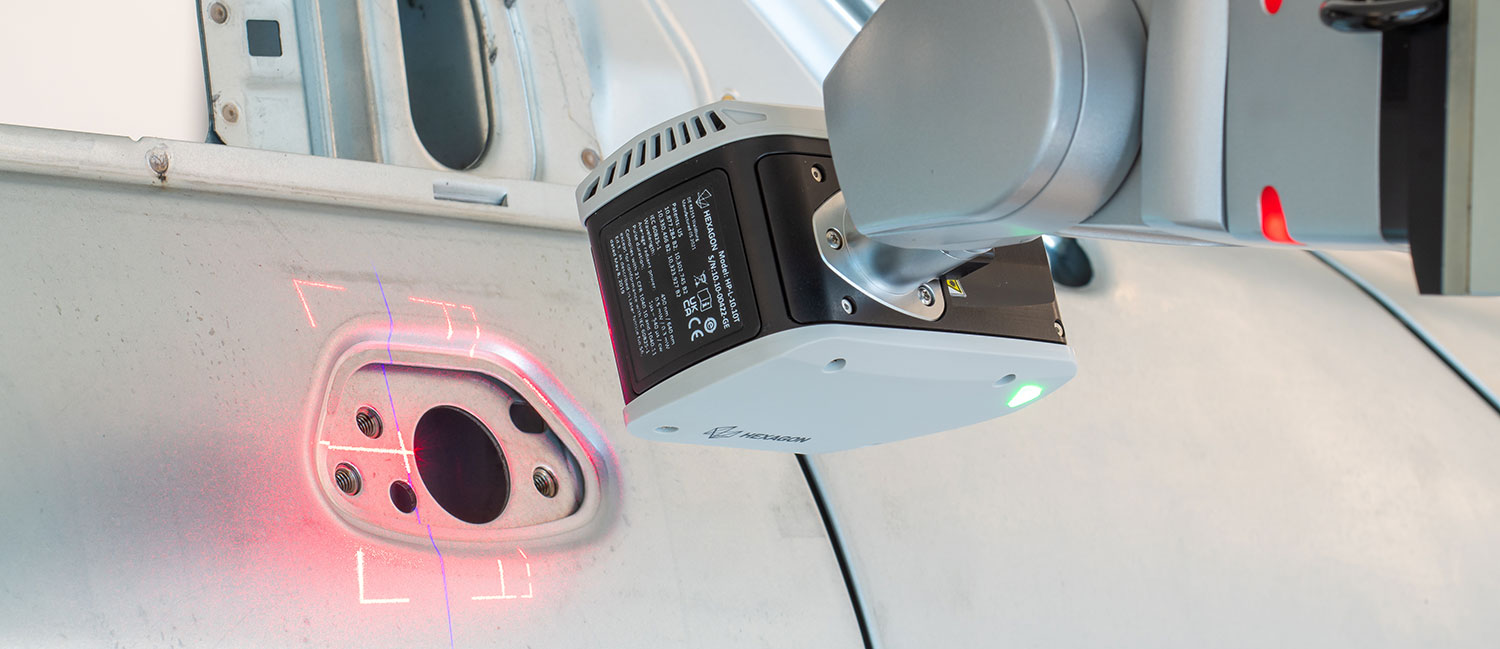
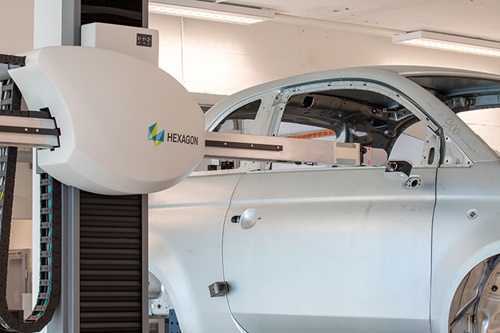
In March 2023, Hexagon’s HP-L-10.10 laser scanner for coordinate measuring machines (CMMs) became available for use on new and in-service Hexagon horizontal arm and gantry CMMs. These CMMs are used to measure mid- to large-sized components like car bodies and other sheet metal parts in the automotive industry and other large-volume components in the aerospace, power and energy and general machinery industry sectors.
We sat down with Senior Product Manager for stationary CMMs Gabriele Persichilli, to discuss why this is good news for users of Hexagon’s largest CMMs and how upgrading to this scanner can deliver huge productivity improvements.
Why might a manufacturer who must measure large-size workpieces be interested in upgrading to this laser scanner?
In one word – speed. In today’s competitive markets, we increasingly see that our customers in all industries want speed – they are looking for every opportunity to increase their measurement efficiency and manufacturing throughput. And this is even more so for those who need to measure large components.
Broadly speaking, we see two groups of CMM users. Some continue to use only tactile technologies, which can be fine in some cases because contact probing can be the perfect solution, offering excellent accuracy across various applications.
But it can quickly reach its limits; when measuring larger parts, when you need to acquire hundreds or thousands of data points and more, it can take hours using tactile probes – there’s just no way around this, however much programming effort you put in to accelerate the process.
Other CMM owners already use a laser scanner as part of their metrology toolkit, so they know how this technology saves them time and costs.
If that’s already so, why would these users consider the latest scanner?
Because manufacturing doesn’t stand still. Customer quality requirements are increasingly challenging to meet, parts are becoming more complex and difficult to measure, and cost pressures are rising. In particular, we see that cycle times and measurement bottlenecks are common concerns.
As a result, manufacturers everywhere are looking for ways to measure faster, reduce cycle times and boost their manufacturing productivity.
And this scanner ticks all boxes: it’s very fast – seven times faster than its predecessor, which means it captures more data in less time with up to 600 000 measurement points per second.
Those are a couple of impressive numbers, but what do they mean in practice?
Well, to bring these capabilities into the real world, one of our aerospace manufacturer customers in the US reduced their measurement time from eight hours to just seven minutes when moving from tactile to non-contact measurement with the HP-L-10.10.
So that’s moving from tactile to non-contact. And the results were just as dramatic when comparing generations of scanner, with cycle times recorded with the earlier HP-L-10.6 model at 45 minutes reduced to the seven minutes with the HP-L-10.10. That’s an over 84% reduction. They don’t have capacity constraints anymore.
And to reinforce the point that the HP-L-10.10 is ideally suited to big CMMs and for measuring large components, they found that the bigger the part, the better their overall reduction in measurement time.
But does this speed compromise accuracy?
In the past, when implementing 3D scanning solutions, manufacturers sometimes had to compromise on accuracy for speed, or vice versa. With this scanner that’s no longer the case.
 With a probing form error of 8 μm, the accuracy of the HP-L-10.10 is closer than ever to the results operators can achieve with tactile probing solutions. This level of accuracy offers high quality data sets that enable rich analysis and more informed decision-making.
While scanning speed in terms of points collected per second and per line has consistently increased over the years, central to the performance of this scanner is the integration of our SHINE technology (Systematic High-Intelligence Noise Elimination).
It’s no exaggeration to say that the optical algorithms within SHINE have transformed the usability of laser scanning.
SHINE allows the scanner’s blue-light laser to move extremely quickly over surfaces and features of varying colours and levels of glossiness while collecting incredibly clean, high-density point-cloud data. It ensures that the scanner is always operating in its optimum configuration.
We know that ease of use is increasingly important for users. What other features or capabilities help CMM operators get the job done?
Well, continuing with SHINE for just a moment, what it means for the user is that they can pick up the scanner and use it with very little training. It also saves time, as there is no need to run optical setting trials on a part, meaning the collection of points for the only reason to identify the correct laser setting for the specific material under test before starting the measurement job.
Also, the scanner’s warm-up time has been reduced by 50%, which operators love because they hate waiting.
And there are many other usability features, which in combination with our PC-DMIS metrology software, allow users to customise how they capture and use data.
Just mentioning a few:
Variable scanning speed automatically changes between faster surface coverage or higher point density during a measurement path to capture large surfaces quickly and complex features in the same program. Users can also adjust the standoff according to their measurement needs and the balance between cycle time and accuracy.
Together, these and other options enable operators to focus on the details most important to the job and quickly and accurately capture the data that matters most.
Also, an overview camera captures local surface defects by identifying the variance within the colour map and can add these images to the final report. On larger components, this helps find deviations more easily.
Putting it all together, give us your elevator pitch for upgrading to the HP-L-10.10
Quality inspection should never be the bottleneck in production. If a manufacturer wants to measure faster and say goodbye to capacity constraints and standby time, the HP-L-10.10 sets new standards for laser scanners on CMMs. When you can capture millions of points in just a matter of minutes, when the entire surface of an object can be captured in just a few passes, this scanner is uniquely placed to deliver huge productivity improvements in large-volume metrology.