Real-time, in-process gauging of mill-turned components
Contact us
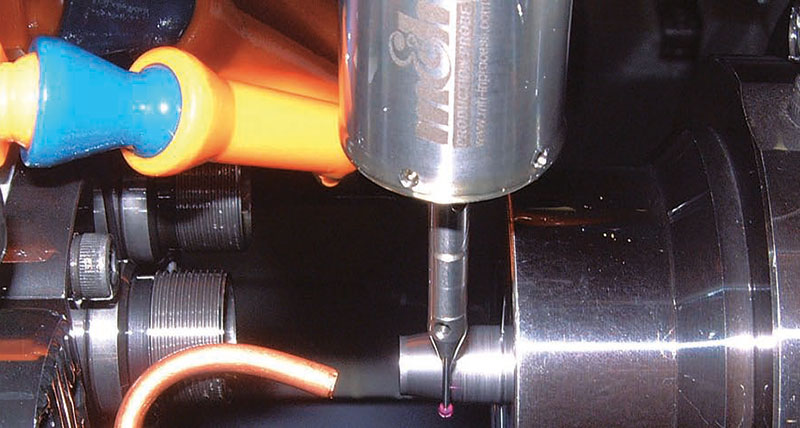
A new, hard-wired, touch probing system has been introduced by m&h UK, Nottingham, that allows sliding-head CNC lathe users to measure turned and milled features quickly on every component after machining, while it is still in the counter spindle and before ejection. It is believed to be the first real-time, in-process quality control system for 100 per cent inspection of critical dimensions on sliding-head lathes.
 The gauging arrangement, which employs a fixed probe mounted on the headstock, is also suitable for use on fixed-head, bar-fed, twin-spindle turning machines, provided that the counter spindle is able to move in the X-axis as well as in Z to effect the measuring cycle. absolutely reliable and do have accuracies of a few microns.
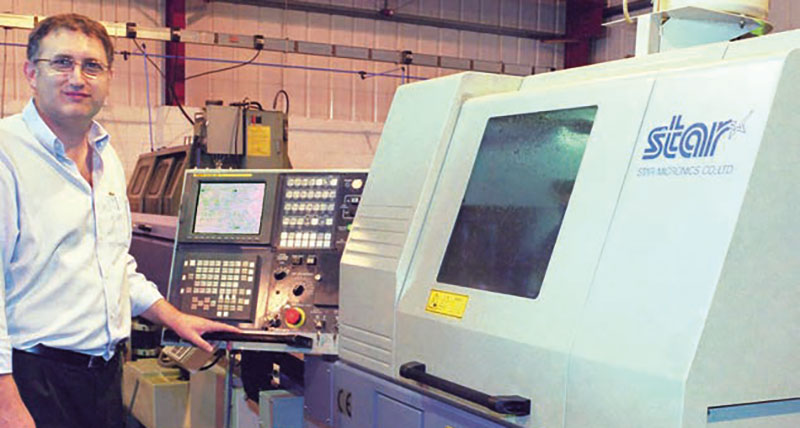
The equipment should prove popular with OEMs and subcontractors that specialise in unattended, close-tolerance machining of medium to large batches of components. Rugby-based subcontractor, Davromatic Precision, which uses a number of Star sliding-head lathes and helped m&h UK develop the inspection technique, reports a 20 per cent productivity increase, 10 per cent reduction in scrap and two hours’ extra unmanned running per day.
Particularly when hard material is being cut, insert wear can rapidly lead to parts drifting out of tolerance, requiring manual intervention to update tool offsets. The ability to inspect such components continually, avoiding subsequent handling, and to update offsets automatically, reduces manufacturing costs, increases output, improves accuracy and reduces scrap to virtually zero.
Absolutely reliable and accuracies of a few microns.It is no longer necessary, due to uncertainty as to when a tool will fail, to replace the cutter regardless of its condition after it has produced a certain number of components. With the m&h equipment fitted, the machine will shut down immediately a preset limit is exceeded, so a safety factor when changing inserts, for example, is not needed. Expenditure on tooling is consequently reduced, as cutters can be used until they fail.
The system is based on the type 41.00 probe manufactured in Germany by m&h Inprocess Messtechnik, which specialises in touch probing and data transmission solutions for workpiece measuring, datuming and tool setting on machine tools.
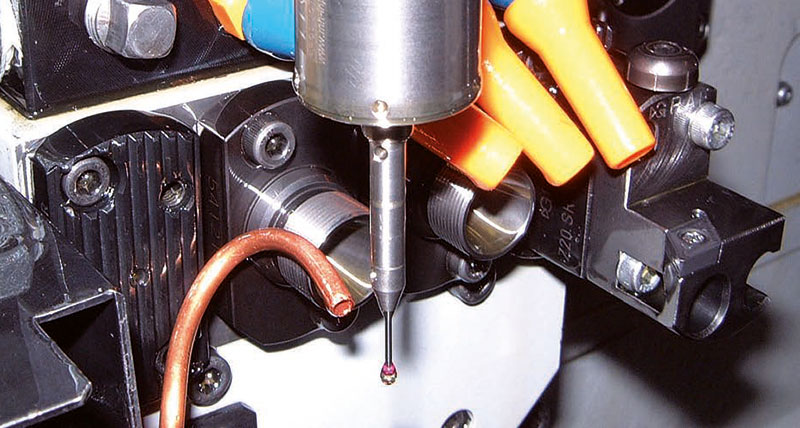 The probe is mounted on a bracket in a convenient, fixed position on the main headstock of the sliding-head lathe so that it can be accessed by the counter spindle carrying the parted off component whose diameter is to be measured. Tolerances down to plus or minus a few microns can be maintained. As part of the package, m&h supplies the interfaces and writes a measuring program to check each type of component to be manufactured. Tool wear offsets are automatically updated to maintain mid-limit dimensions. Measuring an outside diameter takes typically one second. If different or additional critical dimensions are included in the inspection cycle, such as component length and/or the width across a hexagon or milled flats, for example, measurement will take a little longer. However, as the entire inspection routine is built into the counter spindle’s program which runs concurrently with main spindle operations, no production time is lost.
Additional benefits of the system include a large reduction in patrol inspection, increased time available for unmanned running, and rapid payback on investment, which can be as short as three months. A turret-mounted measuring probe from m&h UK with infrared transmission to the control is an alternative for users of fixed-head lathes on which the counter spindle moves only in Z and cannot present the part to a fixed probe.
 The gauging arrangement, which employs a fixed probe mounted on the headstock, is also suitable for use on fixed-head, bar-fed, twin-spindle turning machines, provided that the counter spindle is able to move in the X-axis as well as in Z to effect the measuring cycle. absolutely reliable and do have accuracies of a few microns.
 The equipment should prove popular with OEMs and subcontractors that specialise in unattended, close-tolerance machining of medium to large batches of components. Rugby-based subcontractor, Davromatic Precision, which uses a number of Star sliding-head lathes and helped m&h UK develop the inspection technique, reports a 20 per cent productivity increase, 10 per cent reduction in scrap and two hours’ extra unmanned running per day.
Particularly when hard material is being cut, insert wear can rapidly lead to parts drifting out of tolerance, requiring manual intervention to update tool offsets. The ability to inspect such components continually, avoiding subsequent handling, and to update offsets automatically, reduces manufacturing costs, increases output, improves accuracy and reduces scrap to virtually zero.
Absolutely reliable and accuracies of a few microns.It is no longer necessary, due to uncertainty as to when a tool will fail, to replace the cutter regardless of its condition after it has produced a certain number of components. With the m&h equipment fitted, the machine will shut down immediately a preset limit is exceeded, so a safety factor when changing inserts, for example, is not needed. Expenditure on tooling is consequently reduced, as cutters can be used until they fail.
The system is based on the type 41.00 probe manufactured in Germany by m&h Inprocess Messtechnik, which specialises in touch probing and data transmission solutions for workpiece measuring, datuming and tool setting on machine tools.
 The probe is mounted on a bracket in a convenient, fixed position on the main headstock of the sliding-head lathe so that it can be accessed by the counter spindle carrying the parted off component whose diameter is to be measured. Tolerances down to plus or minus a few microns can be maintained. As part of the package, m&h supplies the interfaces and writes a measuring program to check each type of component to be manufactured. Tool wear offsets are automatically updated to maintain mid-limit dimensions. Measuring an outside diameter takes typically one second. If different or additional critical dimensions are included in the inspection cycle, such as component length and/or the width across a hexagon or milled flats, for example, measurement will take a little longer. However, as the entire inspection routine is built into the counter spindle’s program which runs concurrently with main spindle operations, no production time is lost.
 Additional benefits of the system include a large reduction in patrol inspection, increased time available for unmanned running, and rapid payback on investment, which can be as short as three months. A turret-mounted measuring probe from m&h UK with infrared transmission to the control is an alternative for users of fixed-head lathes on which the counter spindle moves only in Z and cannot present the part to a fixed probe.
