Precision measurement for high-performance components
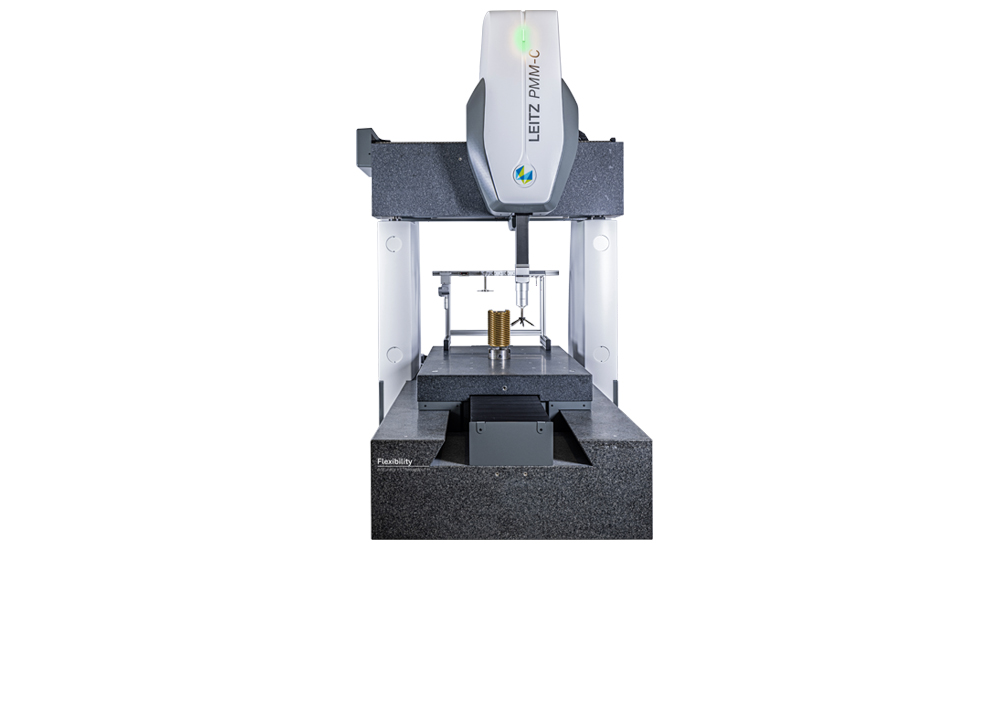
Leitz PMM-C Flexibility CMM is used for high-accuracy and high-throughput measurement
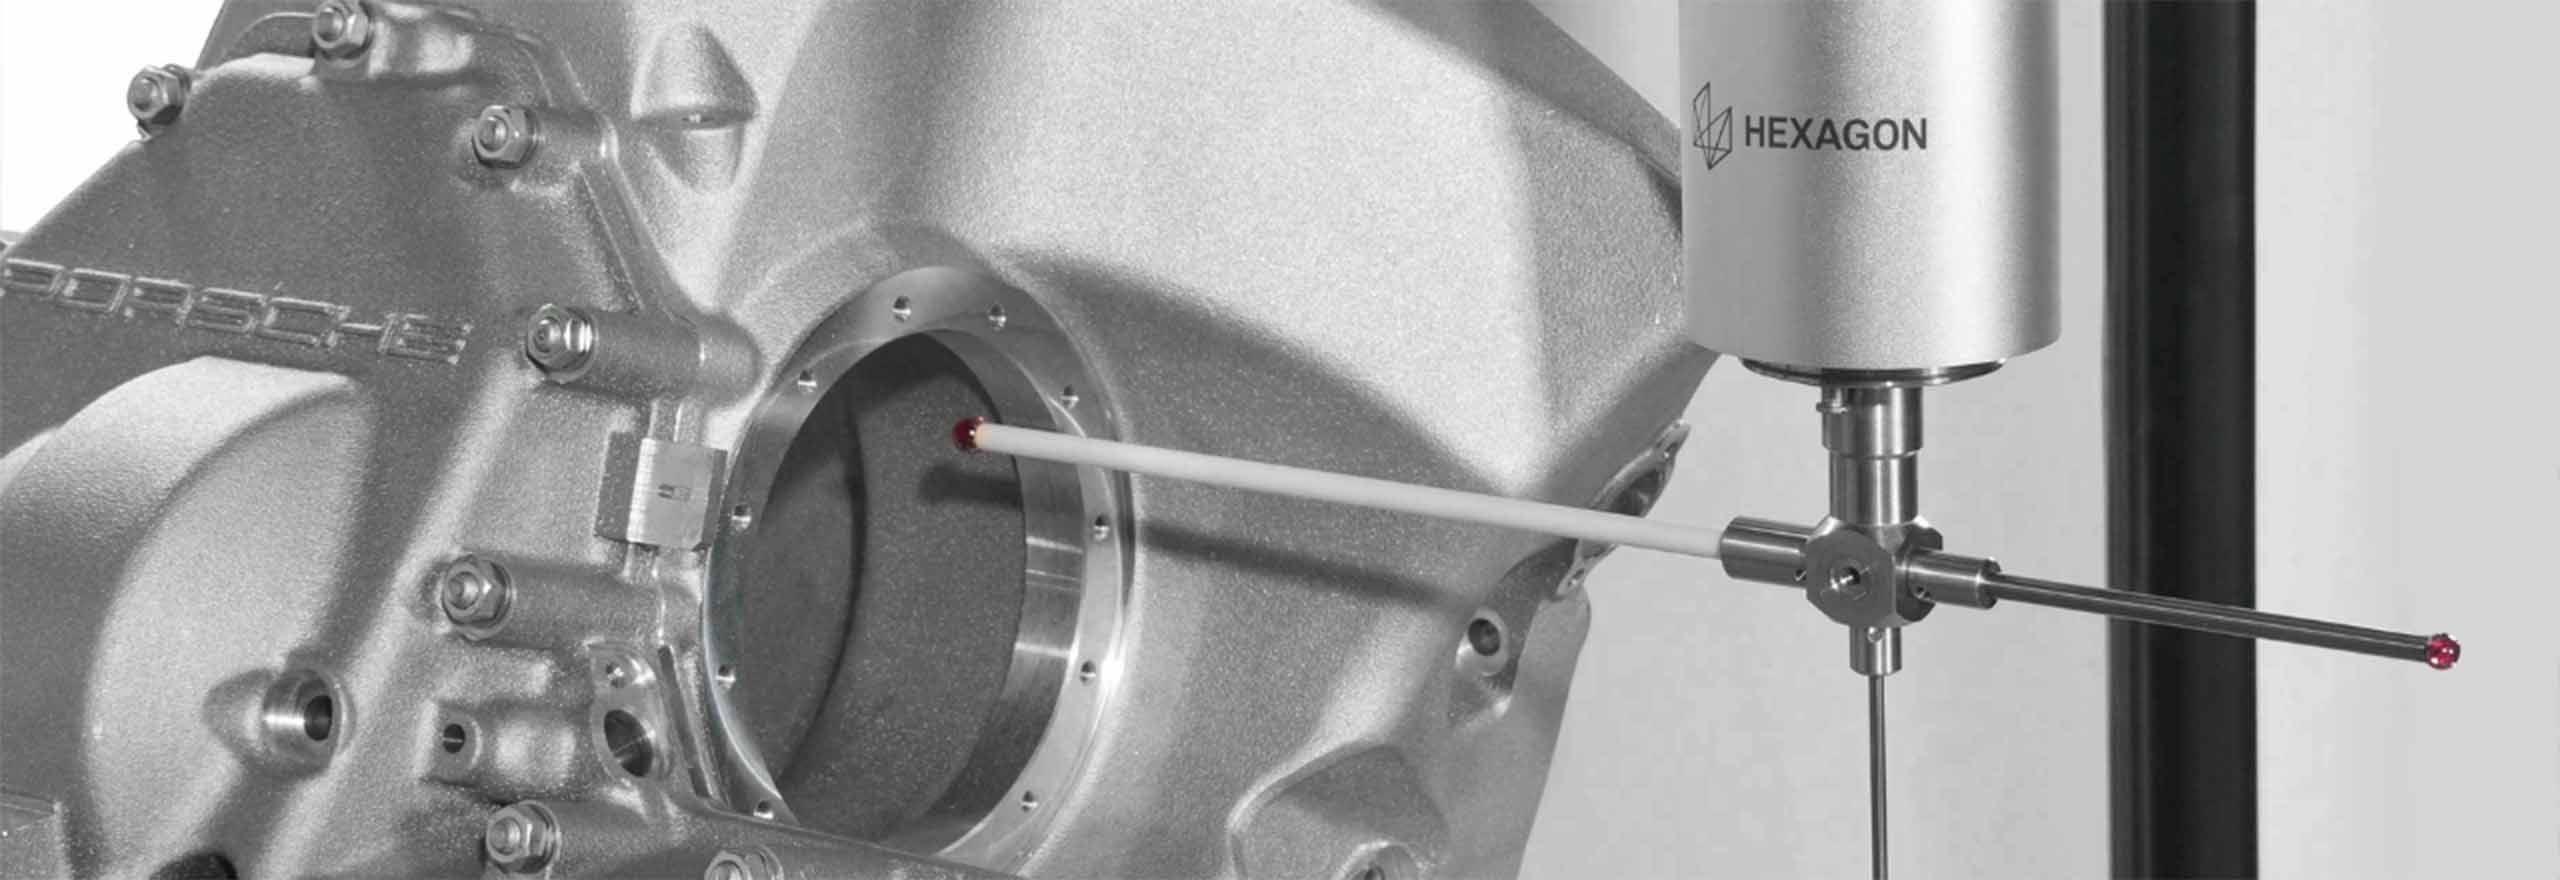
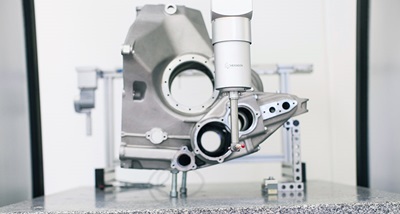 Components of the powertrain – the drive section – are subject to very stringent production requirements. The tolerances are tight and only allow deviations in the micron range. This is required for optimum use of these high-performance components. The precision with which engine blocks and shafts are made, for example, is applied again to an even greater degree in quality assurance. The Leitz PMM-C Flexibility coordinate measuring machine (CMM) from Hexagon’s Manufacturing Intelligence division, enables measurement with the required high level of accuracy.
Tight tolerances demand high measuring accuracy
As far as geometric product specifications go, a ratio of measurement uncertainty to tolerance of 1:10 should be sought. This means that a clearance with a tolerance of 0.01 mm requires measuring accuracy of 1 μm. This rule demonstrates how closely manufactured components must be scrutinised. In addition to the high accuracy requirements, measurement processes must also be carried out in a time-optimised way in order to correspond with the tightly synchronised production processes.
Absolute dimensional stability of the machine design guarantees maximum accuracy
The machine concept of the Leitz PMM-C Flexibility CMM is unique in following a closed frame design. The closed frame comprises of a solid granite base bed, fixed bridge with cast supports and a granite cross beam. The high level of stiffness of the axes is achieved thanks to the machine design. In addition to the fixed bridge is the moving table, a characteristic design feature of the Leitz PMM-C Flexibility. To ensure very high accuracy and outstanding reproducibility, the Leitz PMM-C Flexibility is outfitted with high-resolution steel scales with a resolution of 5 nanometres, and incremental encoders.
Choose the right measurement strategy with tactile or contactless measuring head systems
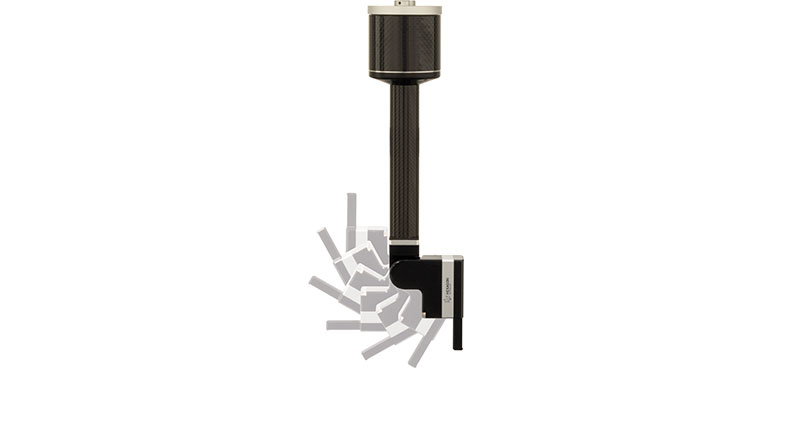
Tactile 3D measuring head systems enable optimum point measurement on any workpiece surfaces oriented in the space. The probing process, either single-point probing or scanning, is freely selectable by the user. There are also optical sensors that enable the measurement of surfaces of all types with sub-micrometre accuracy. The Leitz PMM-C Flexibility can be enhanced with a tactile roughness sensor, the PROFILER R. In just a single automated measurement process, not only are shape and position evaluations carried out, but a wide variety of roughness parameters are also determined in accordance with international standards.
Software options for the ideally-equipped measuring system
The software used determines the area of application to a considerable degree. By selecting different options, the Leitz PMM-C Flexibility can be optimally adjusted to suit the required range of applications. For powertrain components in particular, a host of different options in addition to shape and position evaluations are made available. Options for wear measurement and quality assessment of pistons, gearing and camshaft parts, and the measurement of valve seats, enable the measuring system to be used for a wide variety of different applications. This means that a Leitz PMM-C Flexibility isn’t just a CMM, but a gear measuring centre and shape inspection system as well.
