New spheres of coordinate metrology
Messtronik GmbH - Germany
Contact us
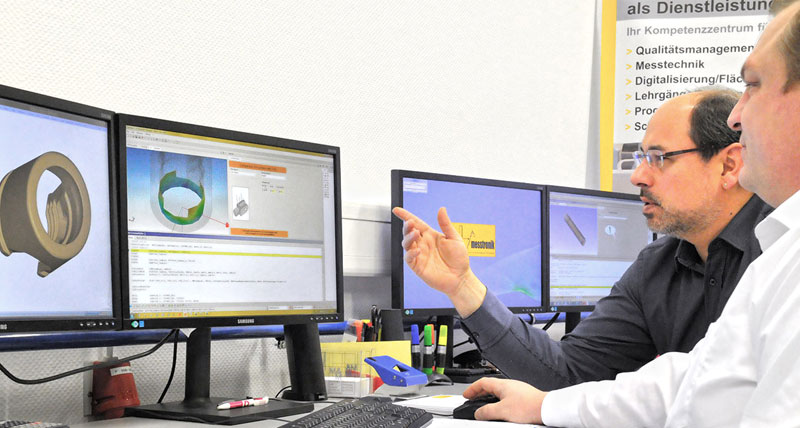
The Black Forest. Thanks to successful tourism advertisements, this name is associated with cuckoo clocks and the scent of pine trees, but the early birds in the forest aren’t the only ones to catch the worm. Traditionally, companies based in this region have also been among the most “bright-eyed” in the country, particularly the technology-oriented small to medium enterprises. A fine example of this is Messtronik GmbH in St. Georgen, Germany, a service provider that exemplifies how a vision can be transformed into new realities in measurement expertise. And QUINDOS Reshaper helps to make it happen.
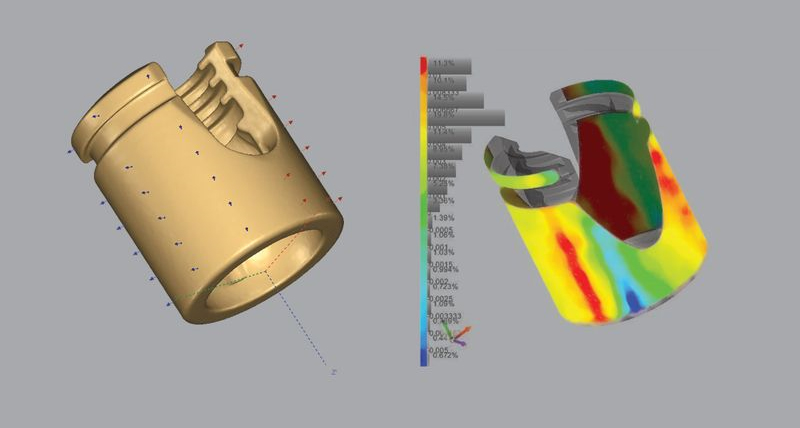 Founded in 1983, Messtronik GmbH has become one of the most experienced, versatile and innovative measurement service providers in Germany. Customers include suppliers and manufacturers in the fields of automotive engineering, aerospace engineering, model and tool engineering, mechanical engineering, injection moulding, microelectronics, energy systems and medical technology. Around 80 percent of the company’s measurement orders are in the particularly demanding fields of mechanical engineering and medicine.
As a centre of expertise, Messtronik covers an impressively broad spectrum of services, from measuring technology and digitalisation/reverse engineering, through quality management and measuring program creation, to on-site user training and support.
Interdisciplinary thinking is therefore an essential component of the entrepreneurial behaviour exhibited here, both with respect to the company’s diverse customer base and the broad product range covered.
A wide variety of measuring technology sources
“Combining expertise to develop new opportunities. Enabling every industry to utilise knowledge obtained from a variety of different sources. This ambition, Messtronik’s ambition, feeds our vision of future-oriented measuring technology,” says managing director Jörg Weisser about his company’s philosophy.
And the company’s modern headquarters in St. Georgen is indeed home to a variety of sources. It has the full range of measuring technology covered, including tactile coordinate measuring machines (CMMs), contour and surface measuring devices, laser scanners, white light scanners, profile projectors, measuring microscopes and, since 2006, computed tomography.
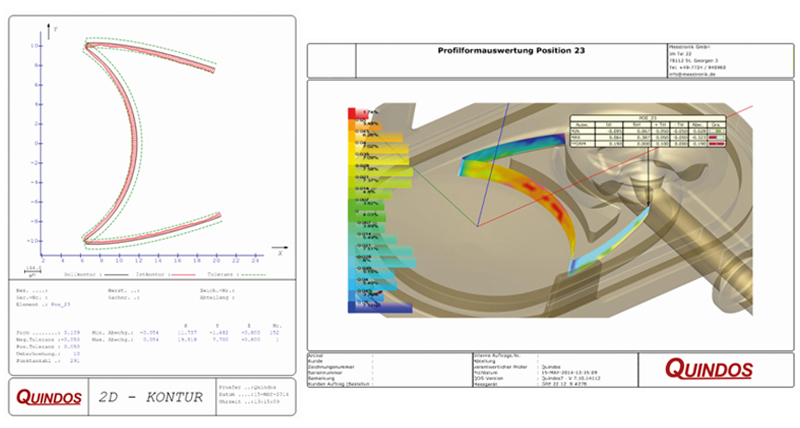 By expanding its machine floor to include computed tomography, Messtronik could also guarantee complete non-destructive digitalisation of plastic and lightweight metal components. It can carry out X-ray image analyses, capture internal geometries and inaccessible features, and generate 3D CAD models from the CT data obtained.
Computed tomography measurement is also ideal for technical components which are unsuitable for tactile measurement or clamping for optical measurement due to their complexity or material sensitivity. These include, for example, plastic parts for the medical industry and connector housings.
“Laser scanning and CT technologies represented an enormous advantage in measurement potential, but they also came hand-in-hand with enormous volumes of data, that is, point clouds,” explains Jörg Weisser. The great challenge was in analysing and evaluating these large data volumes in accordance with the measurement positions and functional characteristics involved. But a very exciting idea came up alongside this challenge.
Direct, sensor-independent 1:1 comparison of measurement data
“From the very beginning, we were fascinated by the idea of one day comparing this enormous body of data 1:1 with the measurement results of our other sensors, such as tactile sensors for example. Or maybe even to be able to process
…at a single workstation, using a single program and with immediate 1:1 comparison…measurement data from different sensor and device sources with a single program! This would save us from having to consider the plethora of software tools available for individual measuring processes,” says Messtronik application engineer Ralf Neubauer of the company’s vision at the time.
This vision has since become a reality thanks to the ‘Reshaper’ option of the QUINDOS measuring and evaluation software from Hexagon Manufacturing Intelligence.
Messtronik has relied upon the QUINDOS application software since the early 1980s, making its team some of the most experienced users of this high-performance measuring technology platform in Germany. With the QUINDOS Reshaper option, Messtronik is now able to implement a fully consistent measuring and analysis approach.
The Reshaper option enables users to process large point clouds from laser scanning sensors and measuring devices with white light scanning technology, as well as STL computed tomography data sets.
From point cloud to polygon mesh – Using the Reshaper option in measurement work
Reshaper converts the point cloud captured by the measuring system into a mesh, which is then effortlessly measured and evaluated with the QUINDOS software package using the digital map of the actual component.
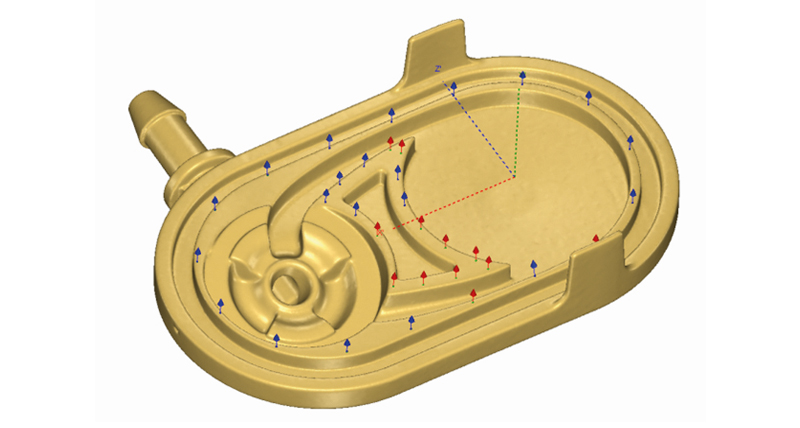 QUINDOS and 3D Reshaper communicate using the standardised I++ DME interface. Data exchange between the packages occurs in the same way as with a CMM.
“What this means for us is that Reshaper has suddenly given us the ability to uniformly evaluate and analyse components digitised using different sensor technologies – at a single workstation, using a single program and with immediate 1:1 comparison,” says Jörg Weisser enthusiastically.
“And what’s more,” adds application engineer Ralf Neubauer, “We are now able to take measuring programs created for tactile CMMs and use them to measure virtual components from a CT scan with no problems whatsoever. All it costs us is two additional program commands and less than five minutes to make the adjustment, and it doesn’t constrain the measurement strategy in any way. Not only that, but this transferability works in every direction between the measuring processes. This is flexibility on a whole new level.”
This quantum leap towards an integrated, cross-sensor measurement concept is highly advantageous not only for Messtronik, as it enables end-to-end workflows and considerably faster throughput as well.
Immediate customer benefits
Thanks to QUINDOS Reshaper, the individual advantages of different measuring processes come together in a cohesive way for Messtronik customers. For example, it is possible to determine the ideal measuring points of a virtual component created via CT for subsequent serial tactile testing, with immediate creation of the tactile measuring program based on the CT point cloud or the mesh (STL) generated from it.
Manual single-point probing is carried out on the screen using the mouse. Reshaper returns the actual points, and the defined probing points are immediately sent to the tactile measuring program and processed there.
“This moves us into the range of 10 μm accuracy. With certain workpieces – glass cylinders for example – we are even able to achieve accuracies of 2 to 3 μm, depending on the sensors. This is generally much more precise than our customers’ specifications require,” says Ralf Neubauer.
Time- and location-independent evaluation
It doesn’t end there though, as yet another of Messtronik’s visions has been made a reality: freedom of space and time thanks to time- and location-independent evaluation with professional measurement strategies and traceable measurement results.
“The decoupling of measurement from subsequent evaluation in QUINDOS Reshaper gives us enormous freedom,” explains managing director Jörg Weisser, who sees this as an extremely important factor. “Consequently, this means that we can move measurement and analysis from the measuring room to the conference room or anywhere else in the world. The only thing we need for this is a virtual map of the workpiece from the CT or scanner and QUINDOS Reshaper.”
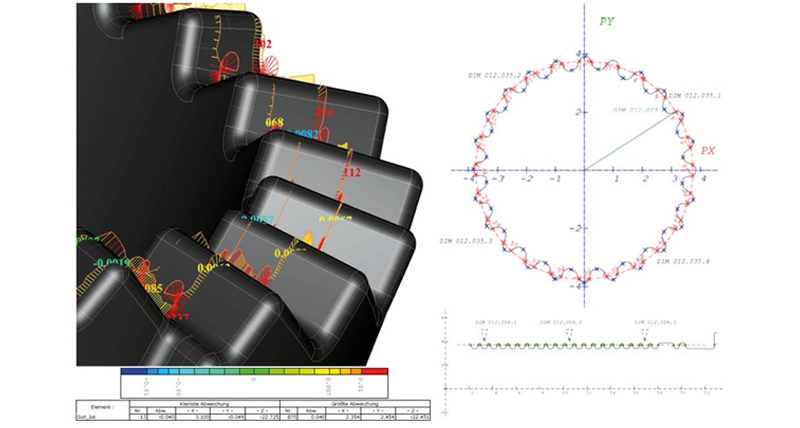 “The time factor has also taken on a whole new dimension,” continues Jörg Weisser, looking towards the future. “Theoretically, a digital part can be ‘stored’ on a hard disk for an unlimited amount of time and potentially re-evaluated again years in the future using newly developed evaluation strategies.”
Even the ravages of time, like ageing caused by environmental influences on real components, diminish when it comes to digital workpieces. They have the advantage of indefinitely retaining their shape, geometric form and surface texture in the original condition as measured.
Jörg Weisser sees his company as being ideally equipped for the future with Reshaper: “From gearing measurement to turbine blade evaluation, the software can be expanded with over 50 different options. This opens up an array of interesting prospects. Against this background, you can expect plenty of pioneering new services from Messtronik in the near future.”
As much as Black Forest folk may insist on the precision of their cuckoo clocks, it seems they are very much ahead of their time when it comes to measuring technology.
