A highly efficient metrology team
Siemens AG Steam Turbines - Germany
Contact us

To run efficiently, machines require optimised throughput times and freedom from bottlenecks. As a part of quality assurance, this means optimising setup and measuring times and, in particular, reducing the programming time for measuring programs which enable the 3D coordinate measuring machine (CMM) to operate as efficiently.
The solution for Siemens: I++ Simulator from Hexagon Manufacturing Intelligence
The turbine factory in Görlitz is the centre of Siemens AG’s steam turbine business. At 11 locations around the globe, Siemens produces industrial steam and gas turbines, delivered as turbine sets or mechanical drives.Turbines and turbine sets from 45 kW to 250 MW are developed and produced in Görlitz. They are used as generator drives for electricity production and as mechanical drives for compressors, blowers and pumps. They play critical roles in many industrial applications, for example in the oil and gas industries, the paper, pulp, food and metal industries, and in power plants. Around 20 000 Siemens steam turbines have been installed around the world, most of which came from Görlitz.
Almost none of these 20 000 turbines are alike. Virtually every one is distinctively unique. “Every turbine is made to order,” explains Ulrich Maywald, head of turbine blade production at Siemens AG in Görlitz. “Two of them may look similar on the outside, but their design details almost certainly differ on the inside, as each individual turbine is designed to meet the individual parameters specified by that customer. The only small-batch production we engage in with regard to turbine engineering is blade production.”
From raw part to finished part in a single step
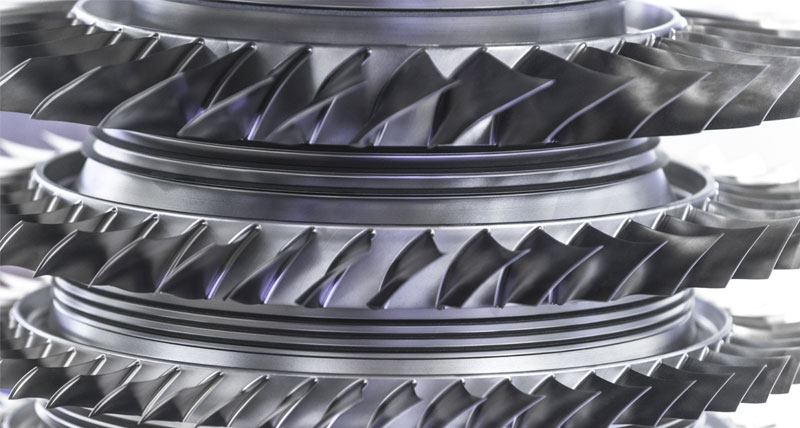
To an observer, the blades are doubtlessly the most striking and impressive parts of a turbine. A large turbine can contain up to 200 blades arranged on ring-shaped bearings of different sizes. The small, high-pressure (HP) blades located at the steam inlet of the turbine give way to larger, lower-pressure (LP) and increasingly twisted blades towards the back as the steam expands.“The smallest HP blade we produce is 45 millimetres high and 12.5 millimetres wide. Our largest LP blade is an impressive 1.2 metres long and weighs a substantial 43 kilograms. This blade is milled from a forged blank originally weighing 76 kilograms,” says Ulrich Maywald in reference to the complex production process of the low-pressure blades.
All sizes of twisted LP blades, which have a Christmas tree-shaped base, are carved from a forged blank just like the largest blades made to date. State-of-theart 5- and 4-axis CNC machining centres stand ready to handle this task in Görlitz. “Using a machine like this, all machining can be handled in just two steps, transforming a blank into a 95% complete blade,” explains Ulrich Maywald, who heads up production.
He adds: “Naturally, this depth of production is also an enormous challenge when it comes to quality assurance. We are confronted with a large number and very wide variety of influencing factors which affect throughput. This includes setup times and, most importantly, measuring times.”
Production schedule and project timetable risks
Should difficulties arise when entering a new NC program or while measuring a blade for the first time, the production schedule and project timetable have to be adjusted quickly.
“Using simulation software greatly reduces the risk of error in these areas,” says computer scientist Sebastian Frinker, an application engineer involved with blade production in Görlitz.
For simultaneous collision monitoring and axis optimisation on the milling machines, it is especially important to know the precise contour of the forged blanks. Siemens is able to completely digitise the blanks using the ROMER Absolute Arm 7-Axis SI measuring arm. The 3D model generated is then used as the starting point directly in the NC programming software of the milling machines.
“More importantly, however,” according to Sebastian Frinker, “is that we can also measure the results of the production virtually via simulation before a single chip falls from a real blank! This not only identifies collisions, but also allows the programmed dimensions to be measured and checked as well.”
This is a quantum leap in production planning and quality assurance for blade production at Siemens. Using simulation software greatly reduces the risk of error in these areas because the respective processing stages of the blade profiles can be converted into a digital 3D map, conclusions about correction parameters for the production process can be verified. The only way for this to be done efficiently, however, is if the blade profiles can be measured and evaluated in the usual way without ‘burdening’ the actual measuring machine.
A quantum leap thanks to measurement simulation
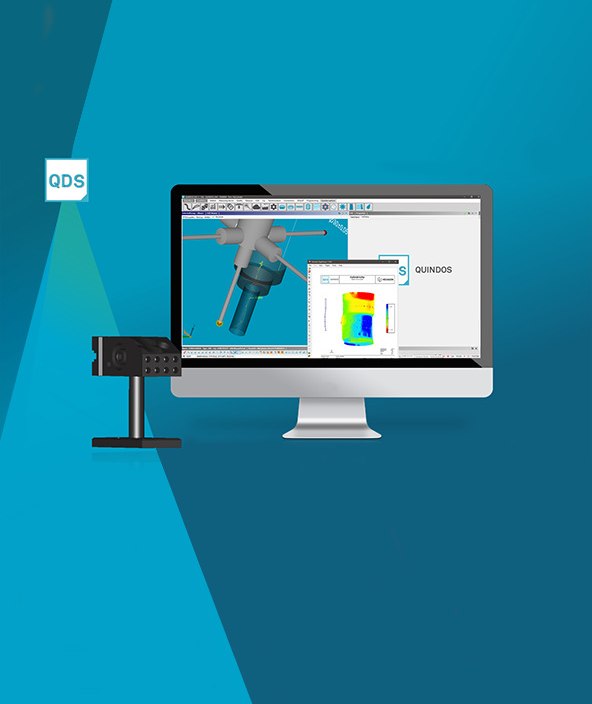
This quantum leap was made possible through the use of I++ Simulator from Hexagon Metrology (the virtual measuring room) in combination with the QUINDOS measuring software and I++ DME, which Siemens had already been using for several years.Thanks to the innovative solution of simulated measurement, the earlier time-consuming procedure involving multiple setup and measurement steps when introducing new blade variants has become a thing of the past.
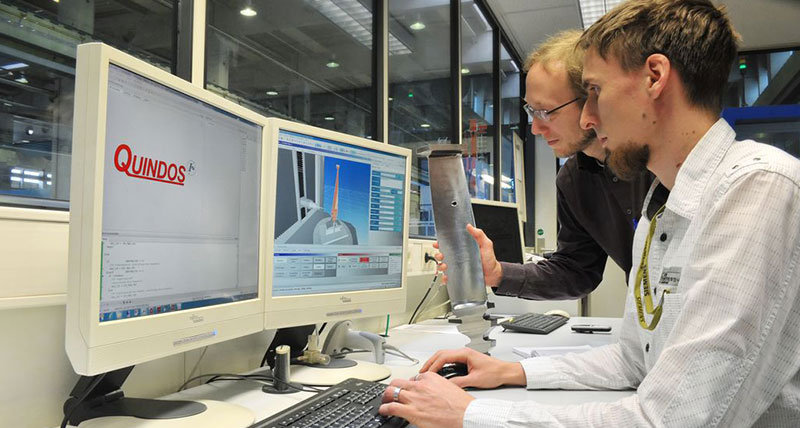
As a standalone program package, I++ Simulator enables an entire measurement process to be simulated. Siemens application engineer Sebastian Frinker uses it to program measurement processes across the entire spectrum of parts as if he were operating his actual measuring device, a Leitz SIRIO 6.8.8.
This means that he is working with the virtual target measuring device and is programming with his familiar QUINDOS measuring and evaluation software. The only difference is that the virtual measuring device is controlled manually using a common gamepad instead of the conventional control panel.
Effectively, programming is carried out exactly the same as it would be on the actual machine. This turns offline programming into ‘barrier-free’ online programming.
For optimum effectiveness when creating measuring programs, programmers at Siemens in Görlitz use the ‘MeBladeProf’ QUINDOS application. The performance range of MeBladeProf (measurement/evaluation of the profile of a turbine blade) covers everything from simplified measurement to the evaluation of blade profile cross sections.
Profile characteristic target values are entered using a simple screen with a visualisation of a blade profile. The instruction calls up a subroutine which, using the required unobstructed traversal paths, automatically measures the profile and carries out radius compensation, adjustment, actual-target comparison and presentation of the results as desired.
The instruction can be carried out directly with the target profiles generated in QUINDOS CAD, whether it’s for the virtually measured blade blank or the actual measured finished part.
The CAD model previously created through digitisation is used for the profile cross sections of the blank. The advantage here is that evaluation can be carried out to a mean value so as to verify the process correction for production in this way.
The reliability of parametrised measuring programs Application engineer Sebastian Frinker brings another aspect into play, namely that of measuring program adaptation. “With parametrised measuring programs, which are always valid for an entire family of components, detail changes to a special blade design can cause problems. This is due to the fact that these changes will always affect the rest of the family, possibly in ways you just won’t consider. You don’t realise it until difficulties arise during production.” Difficulties like this can be ruled out by a measurement specialist using I++ Simulator.
“With I++ Simulator, I can easily run through a variety of different scenarios virtually to identify any problem cases in advance. If I couldn’t do this, I would have to actually clamp and test each individual blade in that family of blades after a change has been made to the parametrised program, which is absolutely impossible – simply due to the time required.”
Head of production Ulrich Maywald is also more than pleased with the combination of QUINDOS, the MeBladeProf instruction and I++ Simulator: “NC or measuring program errors are thus identified before the raw material is delivered, and production can begin without delay. Thanks to fully visualised production and measurement, we are optimally positioned to quickly develop new blade geometries and introduce them into products.” This represents a step toward the technology of the future and the fourth industrial revolution.


