Effective combination
Contact us

In the mould making shop of the German company Reum, they do universal machining and measuring with m&h touch probes and software on a HURON K2X10. Daily use in various operations has fulfilled all expectations.
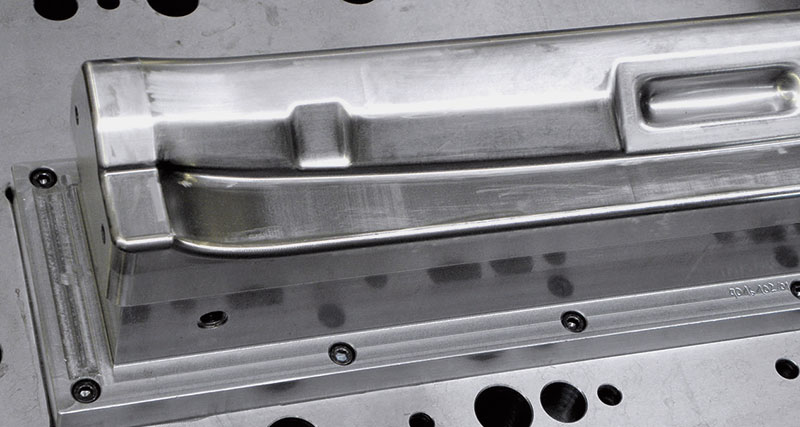
The REUM group is one of the leading mediumsized manufacturers of high-quality components and systems for interiors and boots in the automotive industry as well as making control elements for consumer products. Reum supply a range of products in metal, plastic and composite specialising in highquality surfaces with kinematic and other functions and this has made Reum an important and sought-after partner. In the company’s own mould making shop, injectionmould tools and press moulds are produced on various machines including machining centres and spark eroding machines from different manufacturers.
 To make the manufacturing process safer and to harmonise and speed up manufacturing cycles, they took great interest in measuring on the machine with touch probes some time ago. In particular they wanted to check certain dimensions, especially in the “Z” axis, and surface offsets while the workpiece was still clamped on the machine. The crucial point for their decision to purchase a HURON K2X10 at that time was not only the shortterm availability and construction of the machine, but also the recommendation that the combination of the HURON machine with m&h probes and 3D Form Inspect software worked very well and had proved its worth in daily operations at many companies. Although the decision was subject to time pressures at the time, all expectations were met.
The machine is mainly for finishing hardened workpieces but is used for a broad range of tasks including roughmachining. Thanks to its wide speed range with impressive torque, the K2X10 is very cost-effective on any work. Its portal design gives high rigidity to mill critical surfaces without vibration and absorbs high cutting forces. Also, the machine construction provides excellent dynamics for high speed machining. At Reum, the machine is used as a real all-rounder with milling cutters 16mm diameter and 8 mm diameter mould cutters using spindle speeds between 8,000 to 10,000 rpm. Also their smallest milling cutters have a diameter of 0.6 mm and a spindle speed around 18,000 rpm. They do some soft machining with speeds around 4,500 rpm. Frequently they finish injection moulds and inserts with a hardness up to 52 HRC plus forming tools and inserts with a hardness up to 62 HRC. Typical workpiece sizes are around 800mm in length with tolerances of +/- 1.5 hundredths being required.
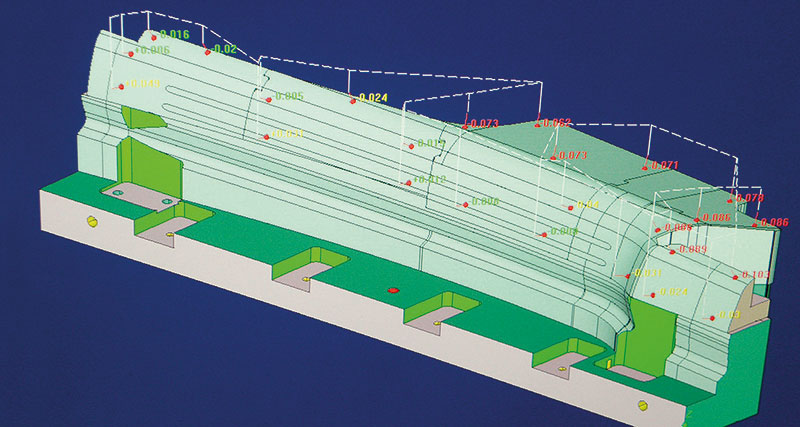
Reum gladly confirms that the HURON machine combined with the m&h touch probes and 3D Form Inspect software is really an effective combination.After machining, predefined points on the workpiece are measured and checked while the component is still clamped on the machine. These are mainly setup dimensions for eroding. Special importance is attached to precise determination of dimensions in the “Z” axis. Additionally, offsets on certain surfaces can be checked at a glance with 3D Form Inspect software. By doing this, additional reference measurements which are usually standard practice, are rendered obsolete. Measuring with m&h 3D Form Inspect software is based on CAD data delivered by the engineering department. Points requiring measurement are determined by a few mouse clicks on the graphic representation and corresponding measuring functions are assigned. Measuring points can also be established from the CAD drawing to ensure that the same points are always checked. The software automatically generates the program for the touch probe on the machine. Collision monitoring, allowing for the touch probe’s actual size against the contours of the workpiece, is automatically run in the background. This gives safety to the operator. Each measuring program is preceded by an automatically generated brief calibration routine against a sphere in the working area. This determines the current thermal and static conditions inside the machine. The corresponding correction values are included when evaluating measurement results. This means there is always a reliable and precise measured result, the same as achieved on the measuring machine, which is repeatable at any time.
 Naturally, Reum was sceptical at first. They made comparative measurements on some workpieces on their measuring machine. The results were almost exactly the same except for a few deviations that were within a couple of microns.
Encouraged by this positive experience they have now extended the amount of measurement depending on the workpiece. Occasionally contours are also measured, usually limited to a few points in critical areas such as steep mould inclines or multiplecurved surfaces. If the evaluation shows unexpected deviations, this area is measured again with additional measuring points while the workpiece is still clamped and immediately reworked, if required. Following the positive experience with the HURON K2X10 they now intend to measure workpieces while still clamped on a DMG machining centre next to the HURON.
This extension of applications is facilitated by simple and intuitive handling of the software, which is eagerly confirmed by the staff in the workshop. The first answer to the question about the effects of this investment is the noticeable reduction of the work load. They have been able to achieve considerable time savings in the manufacturing cycle. Particularly emphasised, however, is the process reliability that is achieved by measuring at an early stage and the avoidance of time-consuming reworking.

