3D quality inspection of crankcases for four-stroke engines
Contact us
Highly complex engine crankcases containing components rotating up to 10.000 revolutions per minute (rpm): This is where precision down to the millimeter is required!
Weber Motor GmbH in Markdorf (Germany) is a member of the Weber Group and for more than 40 years has been a competent and reliable partner for their global customers for the development and production of engine components, engine systems, complete engines as well as fibre reinforced composite components. Quality is considered a key factor for the competitiveness and success of the company, which is why the entire production process has to comply with very high quality standards. In the production of aluminum cast parts used for the manufacturing of Weber’s powerful four-stroke engine, the exact adherence to these quality requirements can be verified by CAD comparison with the help of an AICON SmartScan.
Detailed measurement of complex blanks
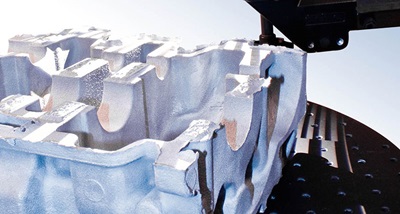
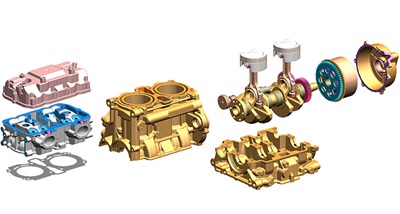
The crankcase to be measured in this particular project has been manufactured using the sand casting method and fulfills a number of various functions: It is here where the crankshaft and the balance shaft are connected with the bearings and are being subjected to the ignition forces of the combustion engine (axial and radial). Furthermore, the crankcase accommodates the oil pressure pump with the pressure relief valve and it is here where the compressed oil is channeled to the relevant bearing points. Finally, it also serves as a cover for the timing driveshaft and gears. The cast aluminum crankcase therefore constitutes an important category ‘A’ component; depending on the application, the internal engine components contained in a crankcase can reach rpm ranges of up to 10.000 rpm.
Because of the increased likelihood of possible shape deviations as a result of the chosen casting method, it is vital that the crankcases are measured and examined with regard to any potential deviations from the specified requirements. Given the complex geometry of the unfinished components, the surface acquisition carried out by means of a coordinate measuring machine has proven to be rather time consuming and labor intensive: In addition to comprehensive programming tasks, also significantly more time for the generation of the drawing as well as the documentation has to be accounted for. A variance comparison based on the precise three-dimensional data sets generated by the AICON SmartScan therefore provides the perfect time and resource saving alternative.
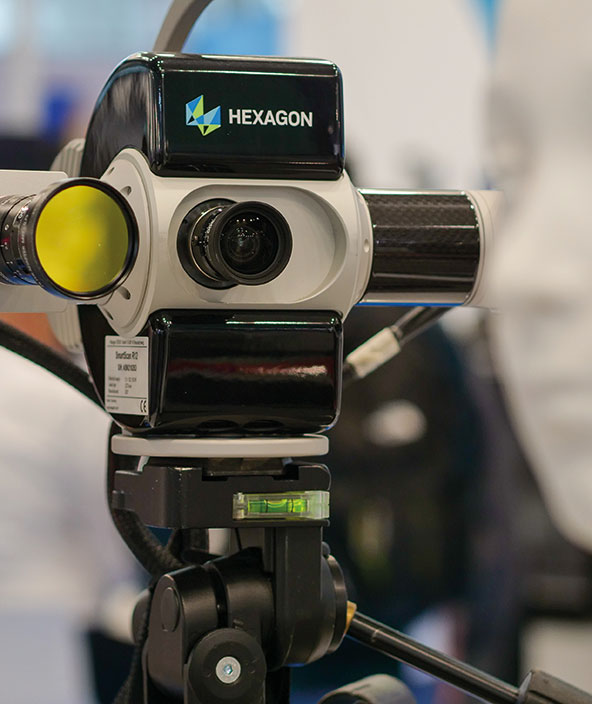
The inspection of the unfinished components is carried out with the AICON SmartScan, in this case configured with a small field of view. In order to achieve a partially automated data acquisition process, the measuring setup also employs a turntable.
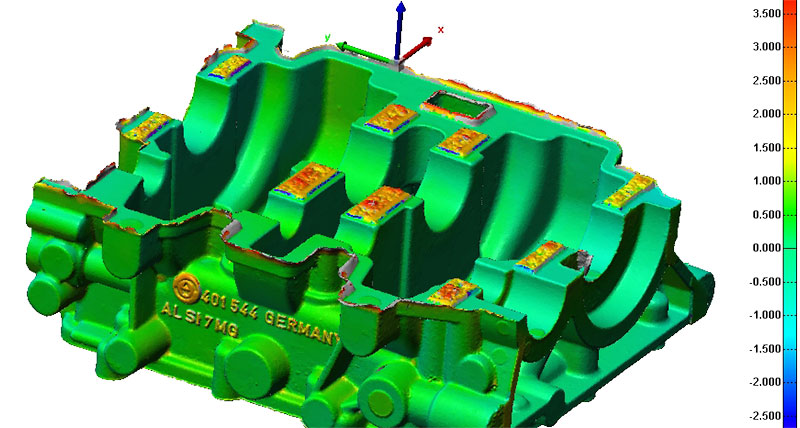
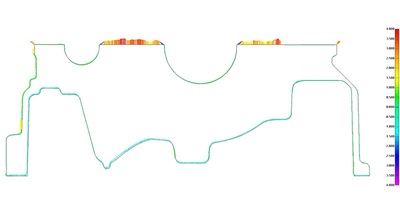 With the aid of the AICON software OptoCat, the scanning process firstly produces individual data recordings of the crankcase, thereafter aligns them and then joins them to a homogeneous triangulated mesh. In a second step, the generated data sets are evaluated with the aid of a special inspection software (in this case PolyWorks/Inspector™ by Innovmetric Software Inc.) in order to assess the geometry.
Area measuring optical sensors using only standard triangulation angles are often not able to capture deep serration textures at the required level of precision. The flexible sensor configuration of the AICON SmartScan series enables scanning procedures at triangulation angles of 30°, 20° and 10°, thus allowing even very difficult accessible object areas to be measured at a high degree of detail and accuracy.
Efficient manufacturing of high-quality products
The high-precision data of the AICON SmartScan provides Weber Motor GmbH with the necessary support to ensure compliance with their demanding quality standards. In order to perform conclusive inspections of the crankcase production, the caster has access to a 3D data set which within a certain shape deviation tolerance complies with the respective DIN 1680 GTA guidelines: After the casting process is completed, the crankcase is digitised with the AICON SmartScan system and compared against the CAD reference data.
The time consuming procedure using the tactile measuring sensor of a coordinate measuring machine is no longer necessary; not only can every smallest shape deviation be identified faster, easier and at higher accuracy, also the overall digitisation process together with the subsequent data comparison gives valuable time and cost savings.
The measuring results are instantaneously interpretable and immediately channeled into the optimisation of the process parameters. In doing so, the AICON SmartScan serves to support and ensure the consistent efficiency required by the Weber Motor production department in order to manufacture top quality crankcases.
We would like to take this opportunity to thank Weber Motor GmbH for their kind support in compiling this application report.
