Harvesting quality
Driving quality and productivity with nearautomatic high-speed tube measurement
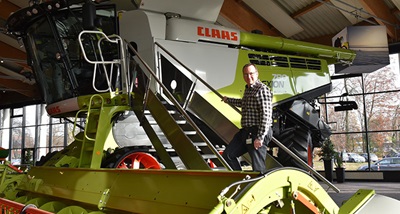
The strategy that has driven over a hundred years of development at agricultural equipment manufacturer CLAAS has been oriented towards innovation from the very origins of the business.

August Claas, the company’s founder, first registered the company in 1913 and originally produced powerful straw binders together with his brothers Franz and Theo. Subsequently, an improved knotter enabled a secure knot to be tied even with the poor-quality baling twine that was available at the time. By 1936, CLAAS put into production its first combine harvester suitable for European harvest conditions. Since then, the combine harvester has been inseparably linked with the CLAAS name and has allowed CLAAS to reach its present international size and significance.
This range of harvesters produced by CLAAS is pieced together from more than 50 000 individual components, all of which must meet the company’s standards of quality and resilience.
Different types of pipe and railing represent a large portion of those components. In the past, all railing and hydraulic pipes were measured with bending jigs or templates; typically, a sheet pattern was created and the tubes were applied to this template.
Modernising the Production Process
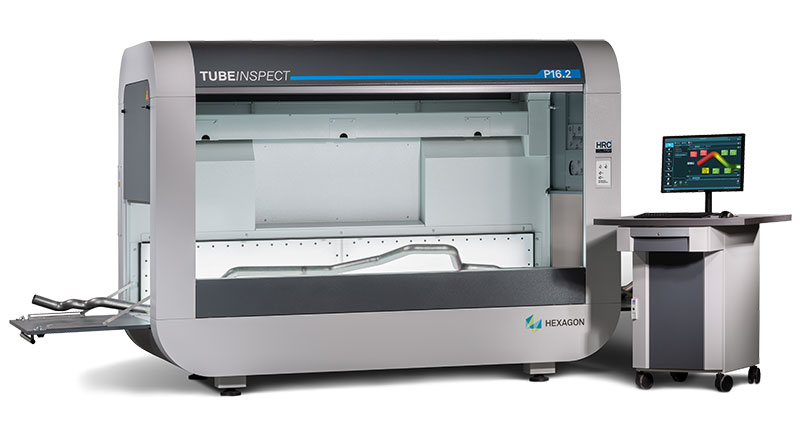
 In 2007, in parallel with the development of new products and driven by a desire to improve its processes and production speed, CLAAS began looking for a new state-of-the-art measuring system. The company considered both a handheld measuring device and an AICON TubeInspect optical measurement cell. The short setup time, ease of use, contactless functionality and near automatic operability of the TubeInspect P16 quickly settled the debate in its favour.
"The fact that the high-resolution digital cameras accurately measure the geometry of our tubes in just a few seconds was a decisive factor. We can generate a bending model or correction data so quickly, and with the help of simple programs that are very easy to use”, recalls Thorsten Dammann, Advisor in Technical Service of Assembly Manufacturing at CLAAS.
TubeInspect is today used in the measurement of every kind of tube geometry at CLAAS. Those tubes vary in size, in the range of 4 to 150 millimetres in diameter and from 50 to 5000 millimetres in length, and can feature up to 20 bends. These tubes are vital carriers of oil, water, gas or air, or otherwise form railing tubes. The measurement results produced by the TubeInspect at CLAAS are also an integral part of the ISO certification process.
A Seamless Smart Factory Process
New hydraulic pipes are among the important components very often designed and planned at CLAAS. They are generated and drawn in the CATIA V6 program. Upon completion of the design process, a program will run over the design to generate and display a coordinate set. The construction team then creates a bending table that is uploaded directly from the design department to the TubeInspect tube measuring cell.
 “We no longer need to enter the bending coordinates manually which represents a clear source of error. And the check corresponds one-to-one with the construction requirements. We can directly program the bending machine and when the stretched length of the first component is determined, the component is sawn or cut chipless. As the bending process on the bending machine is carried out, the initial sample is then measured with the measuring cell, the bending data are printed and the possible deviations evaluated.”
“We’ve been able to abolish all contour gauges. The TubeInspect is not only measuring but also setting the first reference standard. Thus, we could also get rid of all sample tubes. We are keeping very few welding fixtures that are used both for testing and later for welding” says Mr. Dammann.
Using TubeInspect Every Seven Minutes
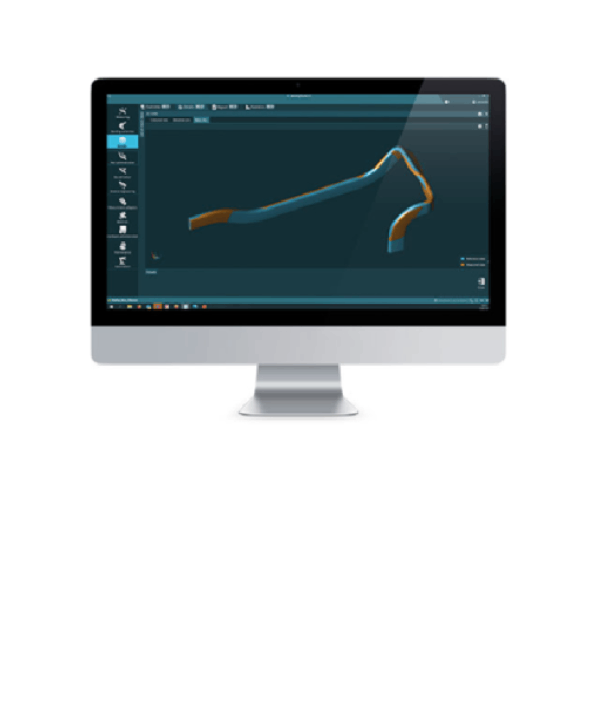
The first check of the bent tube is done on the measuring machine, as the data can be directly visualised on the screen and any possible deviations immediately detected and evaluated via the correction data exchange program.
All bending machines at CLAAS are now networked with TubeInspect measuring system allowing correction data to be quickly and easily exchanged. Once the first pipe is measured with no correction needed, the production process can start immediately and the entire order is bent in one run with the guarantee of constant quality.
“Our AICON TubeInspect P16 measures batches from just a single piece – being just a sample pipe – up to those of 150 pieces. We add around 50 to 60 parts per month, which we also reprogram as new parts. Approximately 7000 pipes are bent each day, which represents approximately 200 measurement tasks per day, in a three-shift operation, representing a measurement taking place every seven minutes,” says Mr Dammann.
The TubeInspect P16 is the second such model acquired by the Haserwinkel company. For more than 10 years, the first machine delivered excellent service and fulfilled all the demanding measuring requirements at CLAAS. However, the company was interested in an upgrade to the improved BendingStudio software, which was complicated with an older measuring machine.
“We got a nice offer which convinced us to invest in a brand new measuring cell, with the latest software, the latest cameras, LED technology and a slightly enlarged measuring space, not to mention full support,” recalls Mr Dammann.
 Making the Change to New Software
In the past, all employees working in the tube bending department at CLAAS were trained on the old system. With the upgrade to the brand new BendingStudio software, the company decided to first train four experts in order to ensure every shift was covered. Those four will go on to train the other employees step-by-step, on-the-job. Hexagon included a comprehensive 12-month support contract in the offer, which was very well received and used by CLAAS, especially in the first weeks after the installation.
“The service and support that we are getting from the AICON team at Hexagon is great,” said Dammann. “Their expertise in the tube production world is very unique and extremely valuable”.


