Premier-class calibration
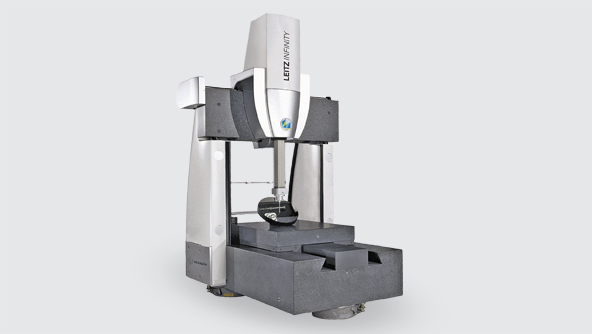
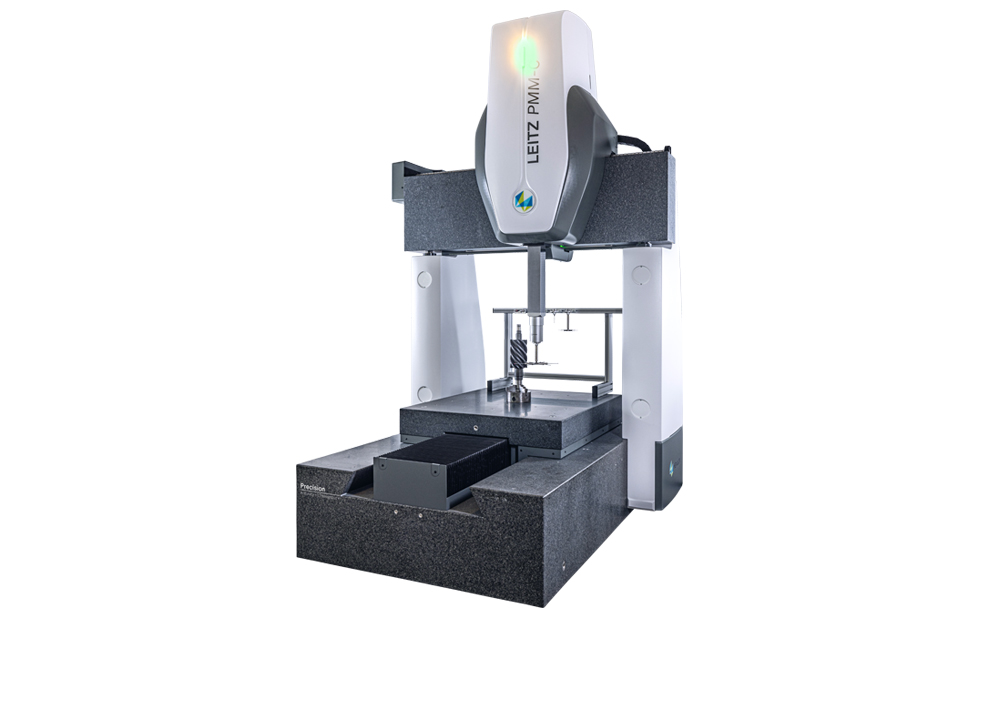
The closed frame design of the Leitz Infinity and Leitz PMM-C Precision CMMs enables high-precision measurement

Gauges and master parts must be calibrated on a regular basis in order to be used efficiently. The continuing return to national standards is a guarantee for reliable, standard-compliant and reproducible measurement results within every manufacturing company. The high-accuracy Leitz Infinity and Leitz PMM-C Precision coordinate measuring machines (CMMs) provide the ideal bases for these highly-complex measuring tasks.
Maximum accuracy and reproducibility require high-end calibration
Without using a wide variety of different testing equipment, no manufacturing company could produce products with any reliability. The use of these kinds of gauges and master parts determines product quality. This is why their calibration is of extremely high importance.
Measurements for calibration must be carried out under completely controlled conditions. The requirements on the measuring system are high, where absolute maximum accuracy and reproducibility must be ensured. The measurement environment is also very important, with a Quality Class 1 measuring room absolutely indispensable.
Absolute dimensional stability of the Leitz PMM-C Precision guarantees maximum accuracy in the sub-micrometre range
The Leitz Infinity and Leitz PMM-C Precision were designed for high-accuracy laboratory applications. They are built in accordance with the closed frame design and feature a movable granite table. The design enables an absolutely dimensionally stable machine concept, guaranteeing accuracy in the sub-micrometre range.
Another important aspect is the reproducibility of the measurement results. The Leitz Infinity, for example, is equipped with glass ceramic rods with a resolution of 1 nanometre. To achieve this high resolution, the process of electronic interpolation is used. This makes reproducibility of less than 0.1 μm possible.
These basic machine properties are essential for the measurement of gauges and master parts. Sufficiently high accuracy and reliability of the measurement results can only be achieved in this way.
Impact-resistant measuring head system makes for precise measurement results
When measuring with these high-accuracy CMMs, 3D measuring head systems are used. Thanks to the minimal contact force used, influences from probing are almost completely eliminated. The probe head is designed as a scanning probe, which works with unclamped axes during the complete measurement. This enables any workpiece surface oriented in the space to be probed from any spatial direction with consistent accuracy.
Offline simulation of measurement uncertainty calculations achieved in measurement software
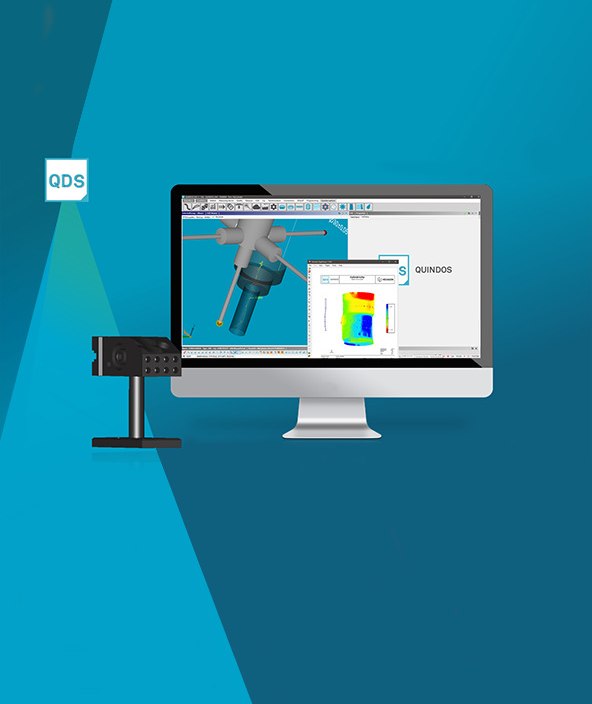
The measuring system is completed by the QUINDOS measurement software. A host of different options enable an ideal system configuration for the respective application. The ‘virtual CMM’ option is used in many measurement laboratories. Simulations for measurement uncertainty calculations are carried out here, and the measurement uncertainty determined is listed on the report sheet for each individual measured calibration feature. QUINDOS offers adaptable, ready-to-use solutions for the measurement of standard gauges. Standard gauges can be checked quickly and without added complexity with the ‘Automatic gauge checking’ and ‘Automatic tolerance generation during gauge checking’ options.</strong">


