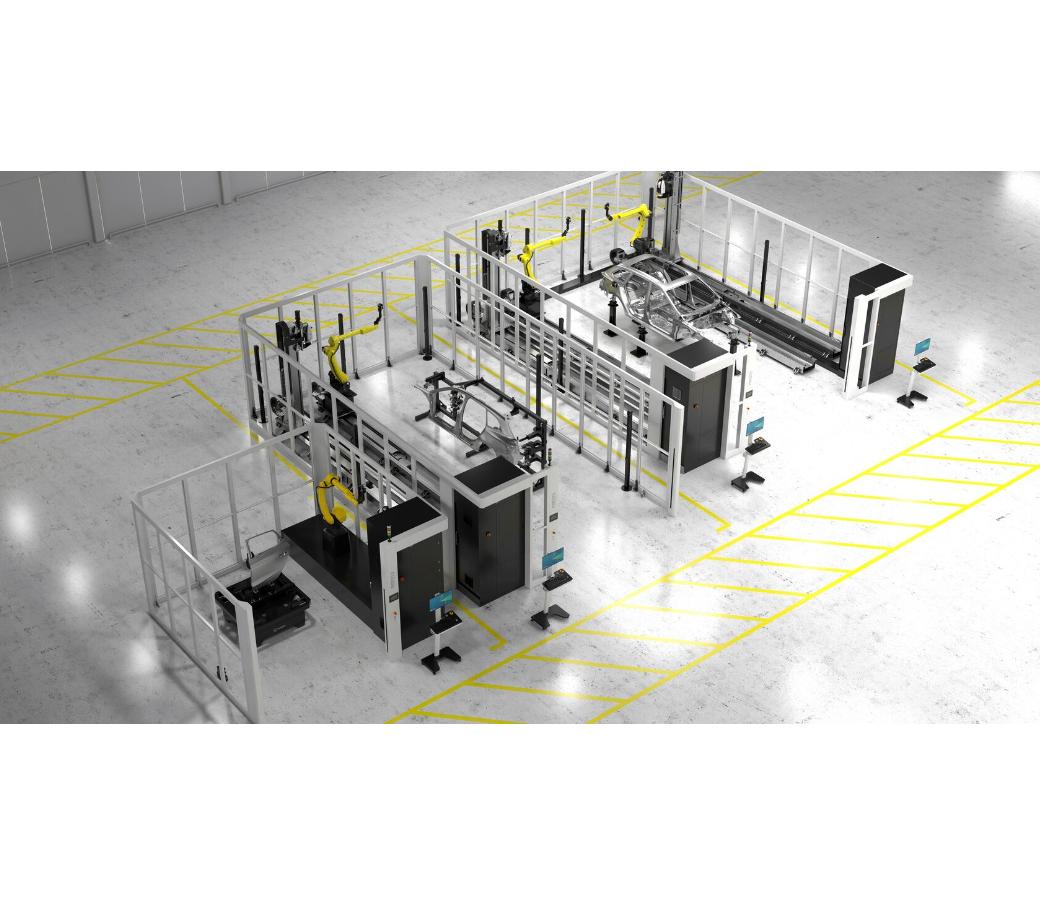
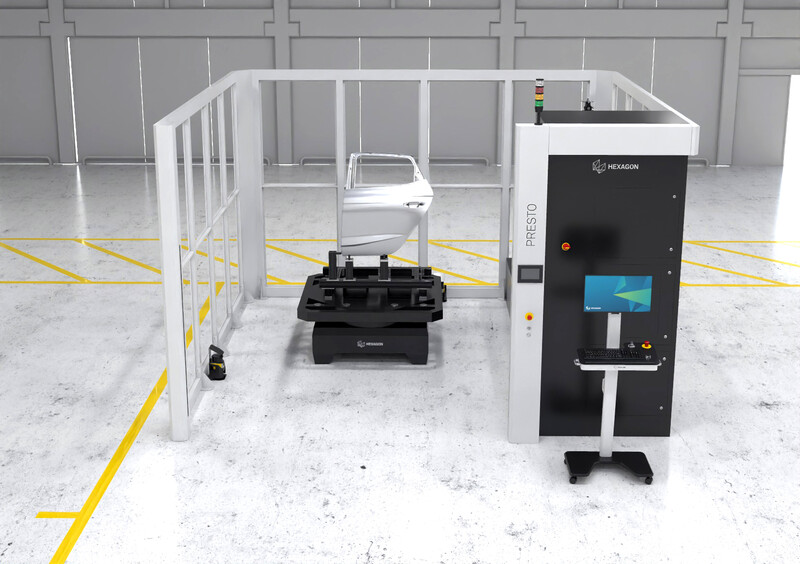
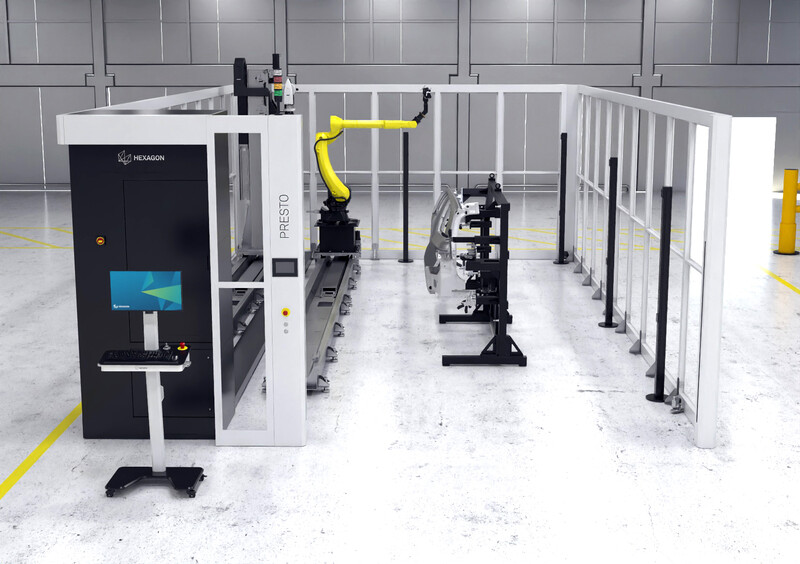
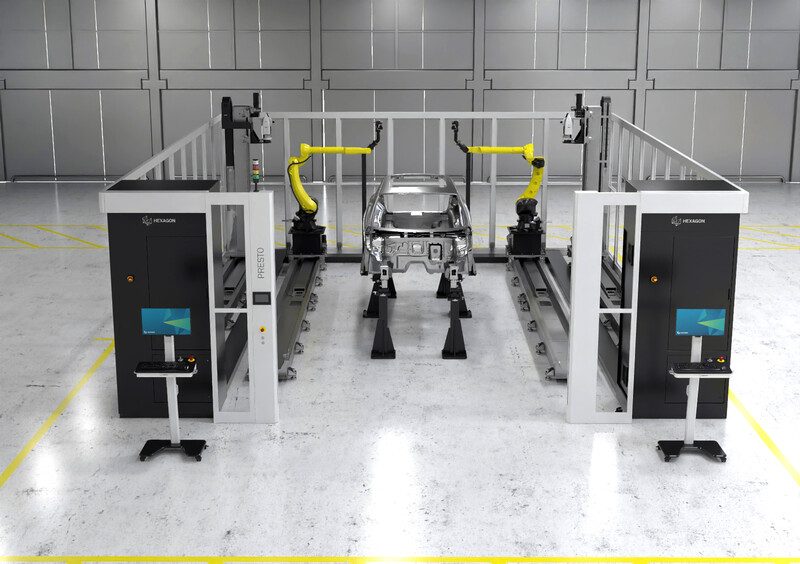
PRESTO System
Speed, quality, accuracy. The launchpad for all possible futures.
Redefining the mission of quality excellence
Seamless integration, adaptability and ongoing evolution to effectively meet the evolving demands of modern manufacturing.
Start the journey now !
Automate. Scale. Repeat.
Experience the new benchmark
Inspiring a human-centric approach
Transform bottlenecks into gateways
Enhance, don’t replace
Automate. Scale. Repeat.
Experience the new benchmark
Inspiring a human-centric approach
Transform bottlenecks into gateways
Enhance, don’t replace
Automate. Scale. Repeat.
Automate. Scale. Repeat.
Experience the new benchmark
Inspiring a human-centric approach
Transform bottlenecks into gateways
Enhance, don’t replace
Automate. Scale. Repeat.
Experience the new benchmark
Inspiring a human-centric approach
Transform bottlenecks into gateways
Enhance, don’t replace
Automate. Scale. Repeat.
Built on leading scanning technology
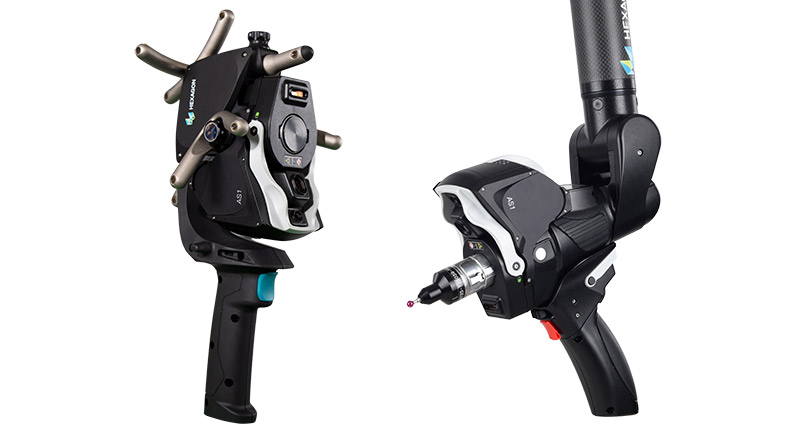
The AS1 scanner, combined with AT960 tracker, delivers something extraordinary:
- Utilises SHINE technology to scan a wider range of surfaces than conventional scanners.
- Doesn’t place reference points on parts.
- Uses affordable, simple fixtures to scan.
No need to purchase, maintain, or implement cumbersome tasks related to:
- 3D scanning sprays.
- Reference marker rolls.
- 3D scanning frames
- Adjusting settings
- Shielding from light variations
Robotic inspection made accessible for all.
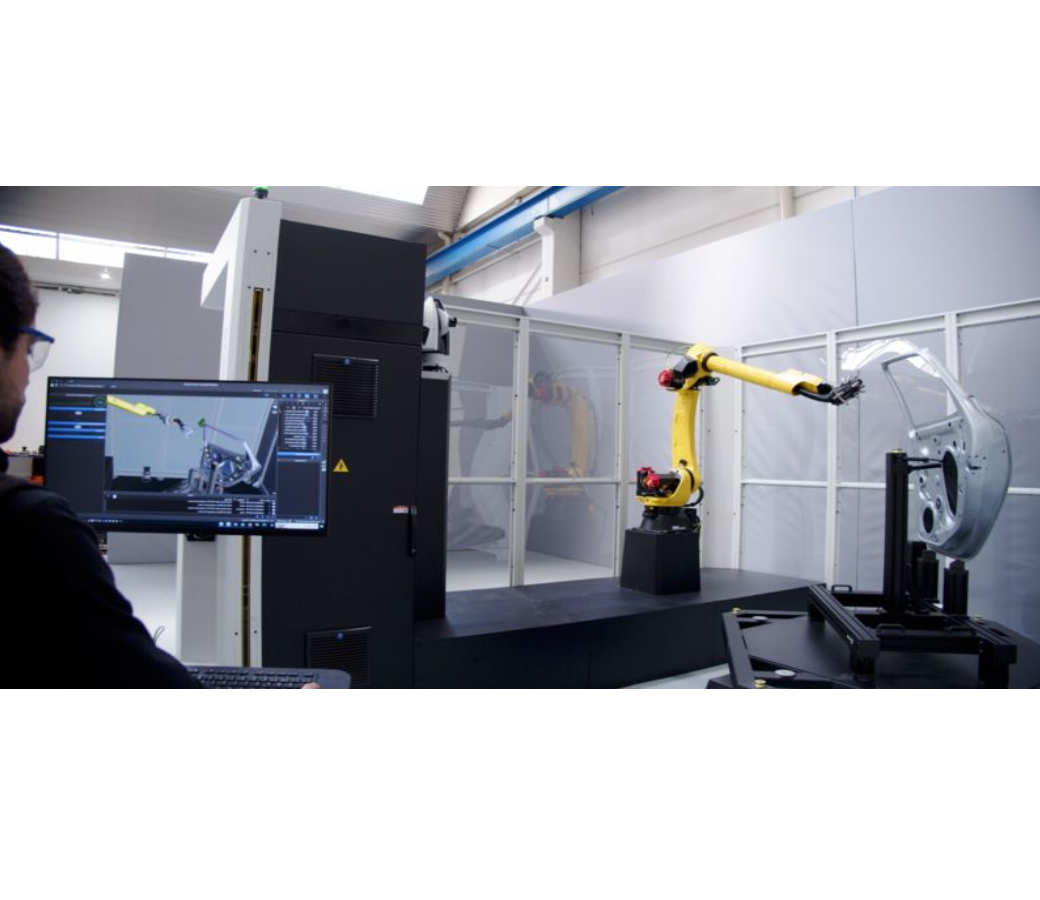
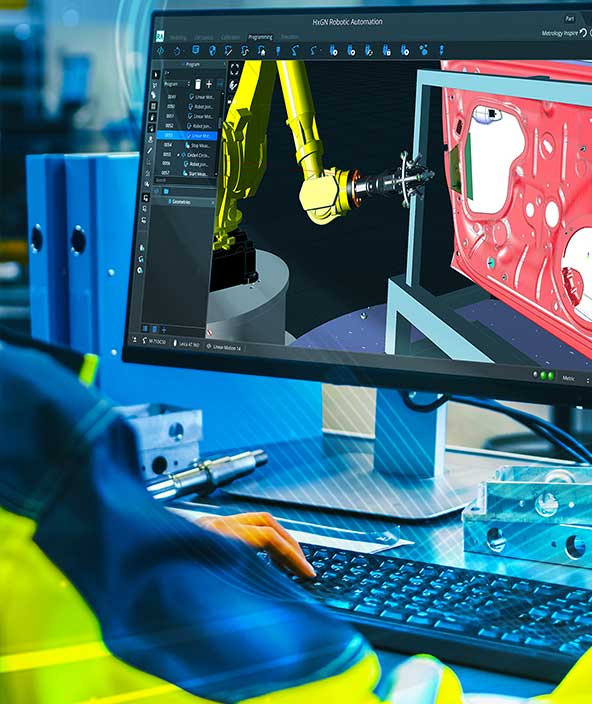
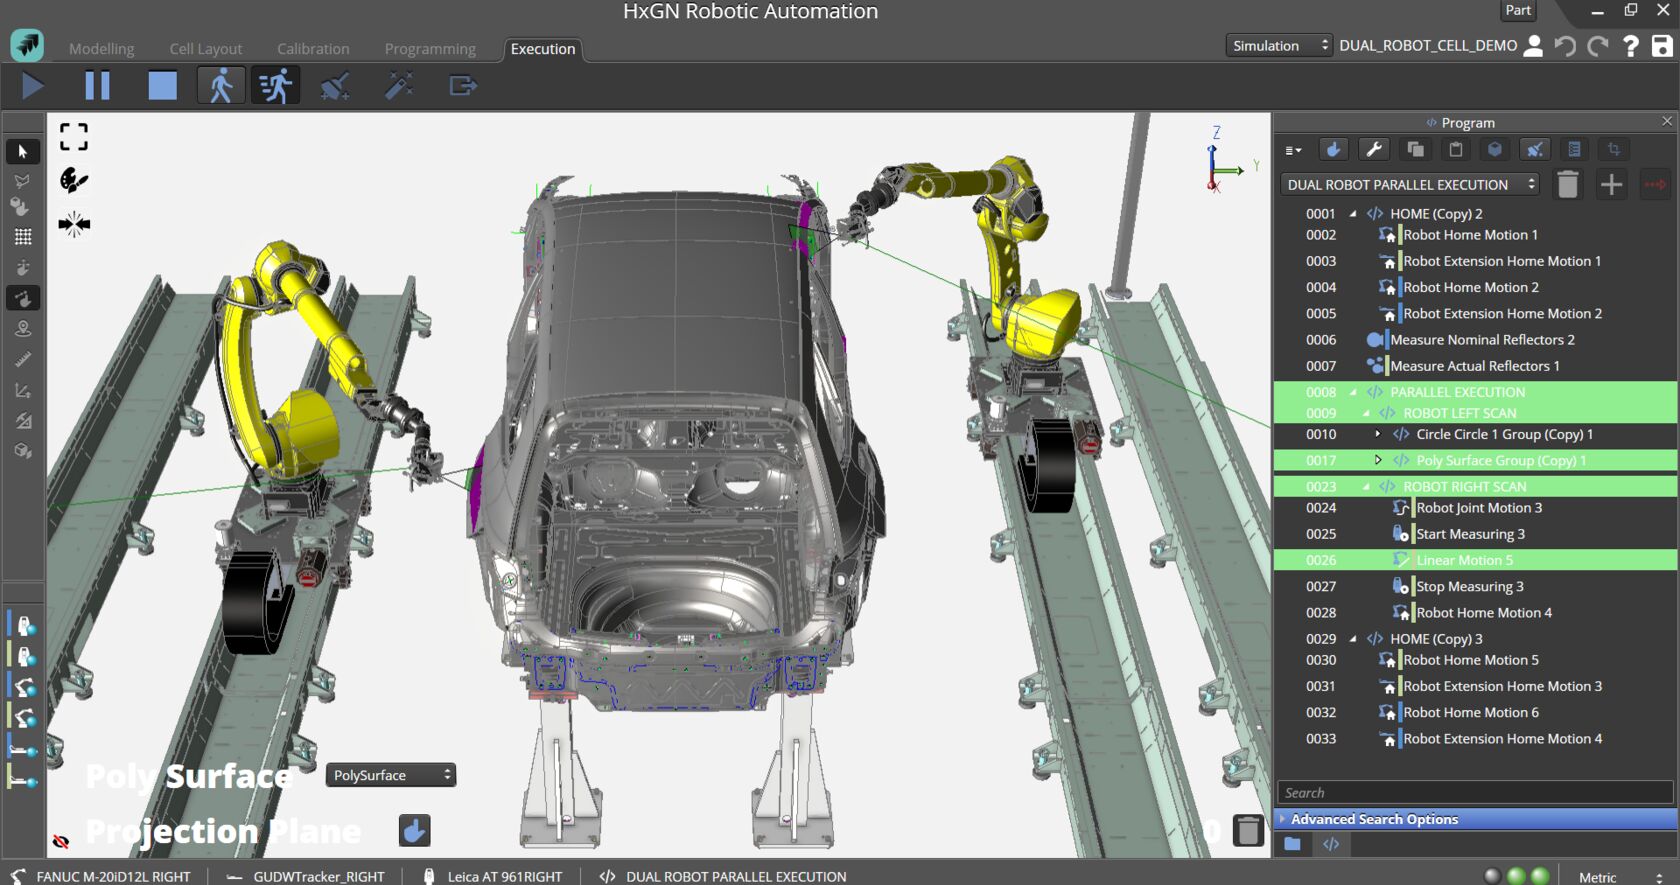
The cell is delivered with HxGN Robotic Automation already installed, only needing the operator to load the CAD / PMI file of the part to be inspected.
- Automatic robot path generation making programming easier than ever
- Real-time collision detection and avoidance tools to ensure safe robot path generation
- While the engineer is programming the path (manual or auto) at their desk, the cell at the shopfloor can be working on inspecting other parts – both operating independently and simultaneously.
Ring-fence existing knowledge
Embrace PRESTO and eliminate the need for additional expenditure on software re-training.
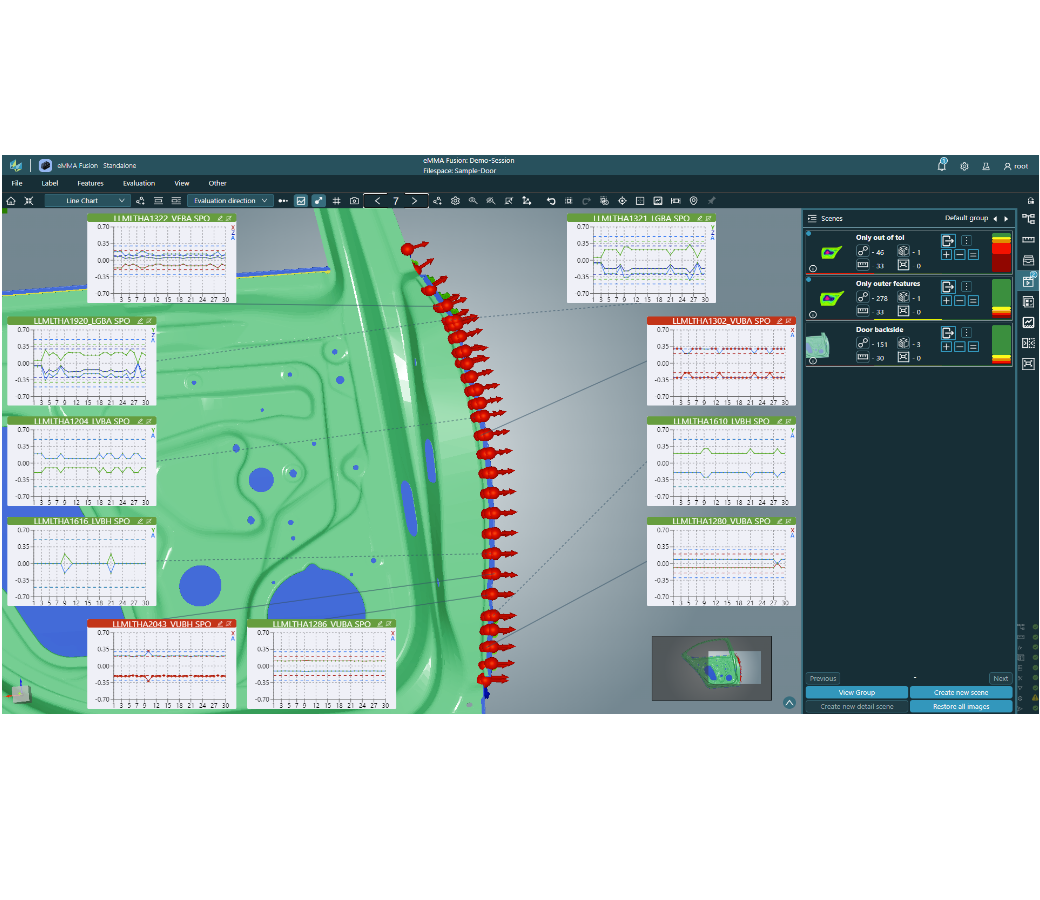
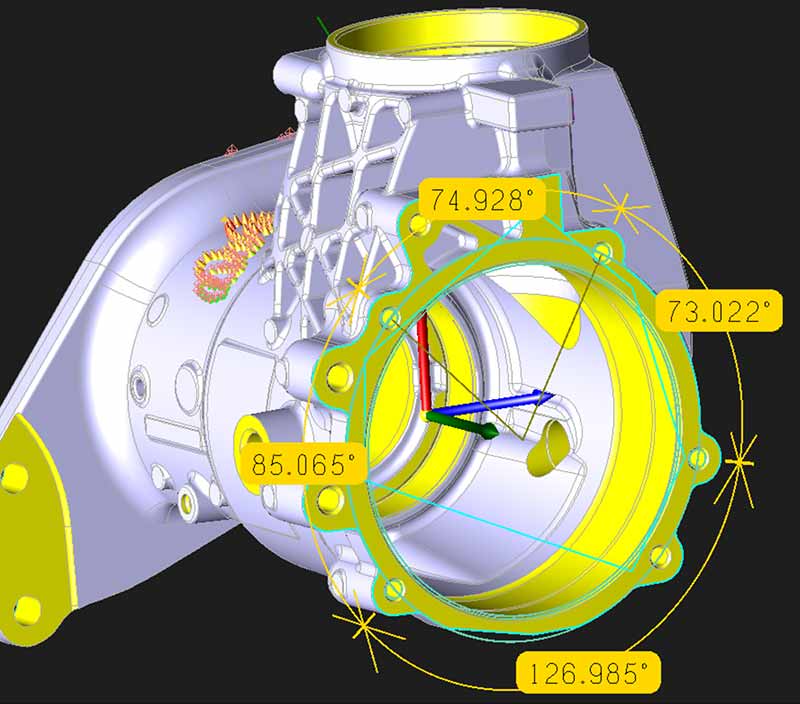
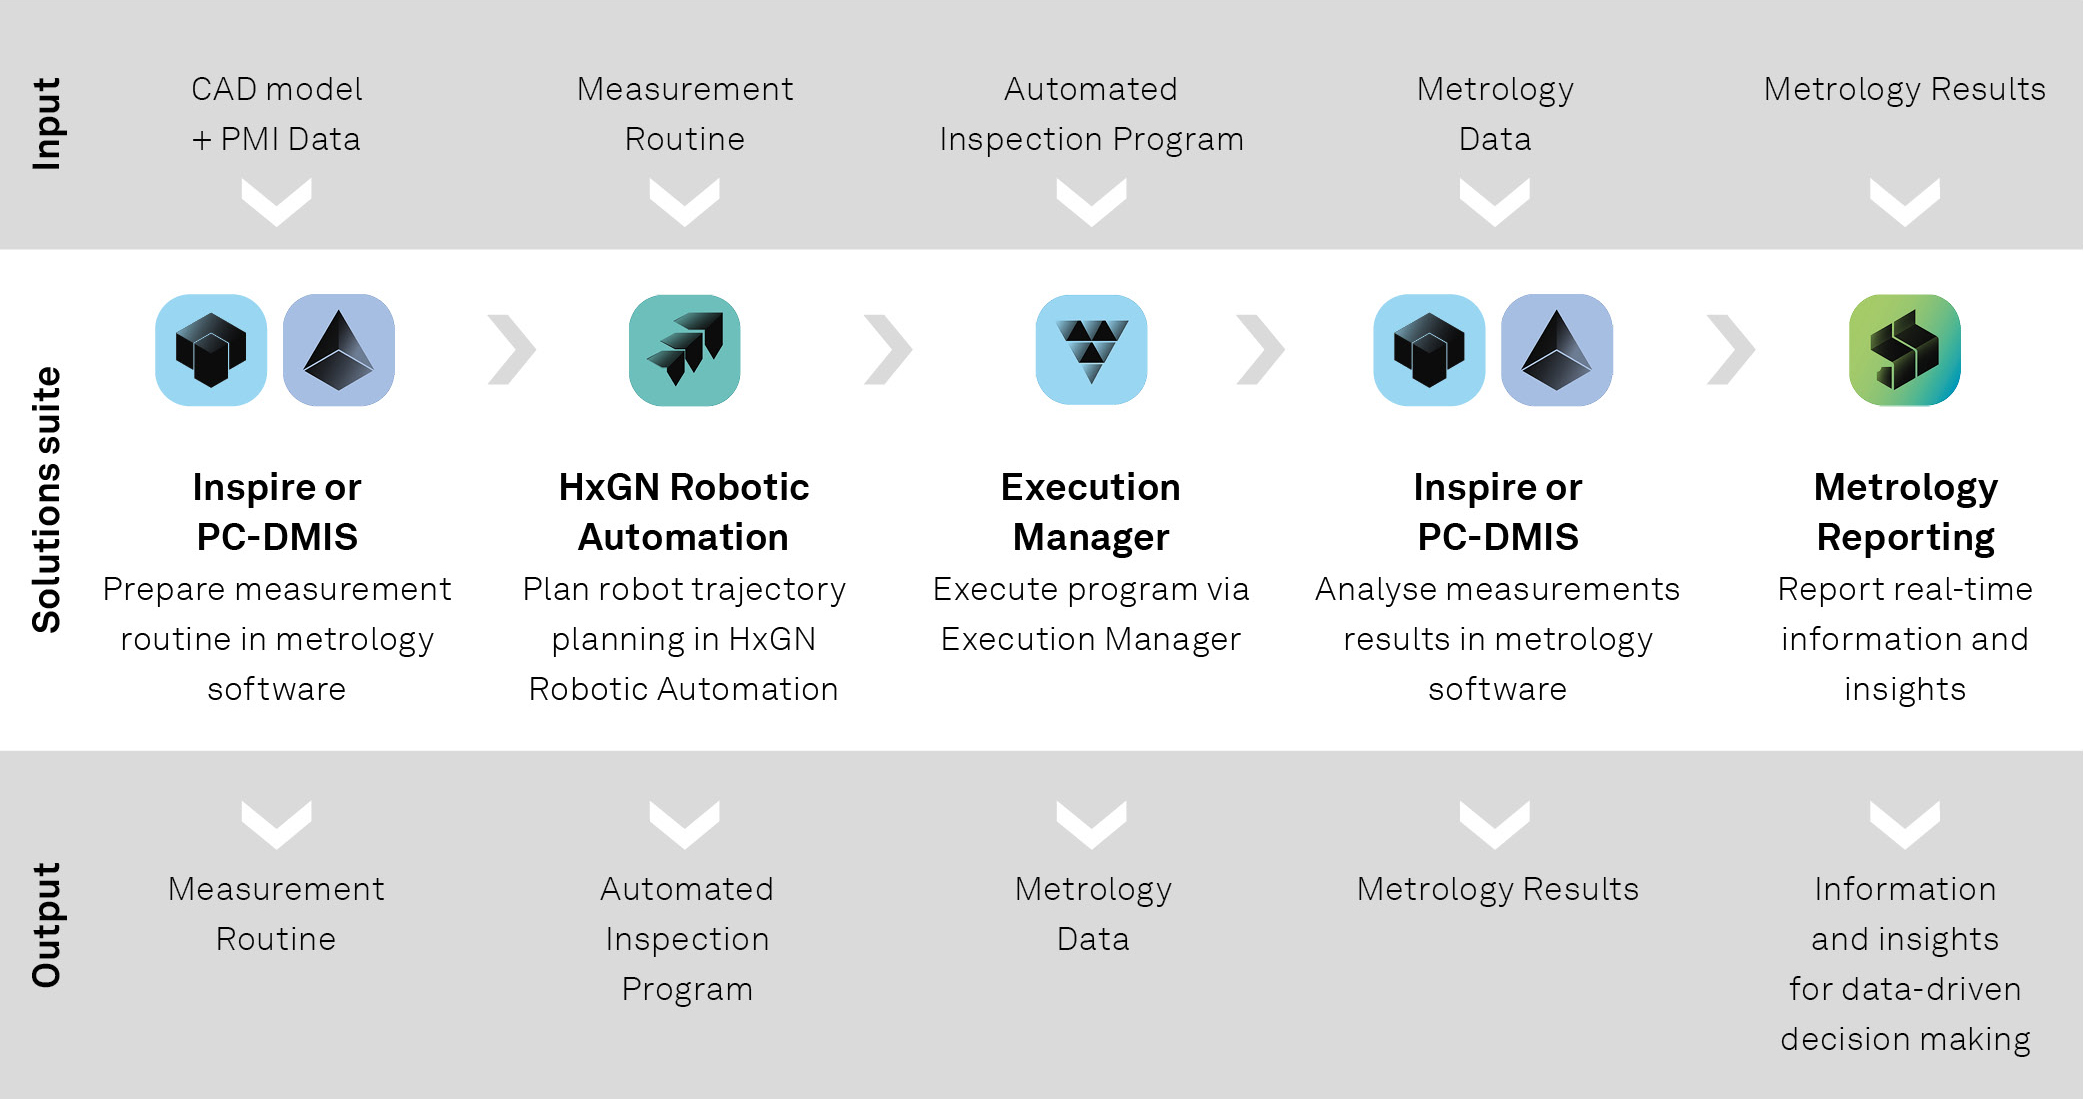
PRESTO seamlessly integrates with leading metrology software packages like PC-DMIS, Inspire, and PolyWorks right from the start.
Data to shift left
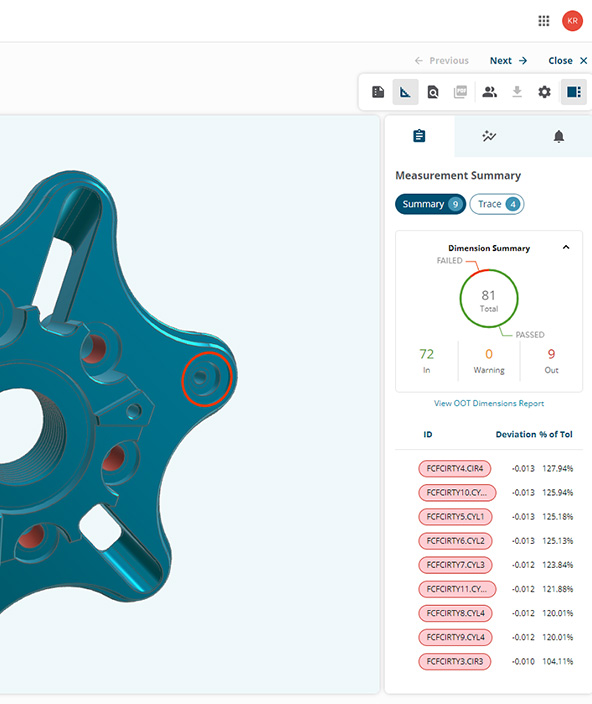
PRESTO System’s invaluable data assets can unlock untapped potential within your organisation.
Explore Hexagon’s wide range of software solutions, opening doors to faster decisions and earlier corrective actions.
Enhance your PRESTO towards future applications
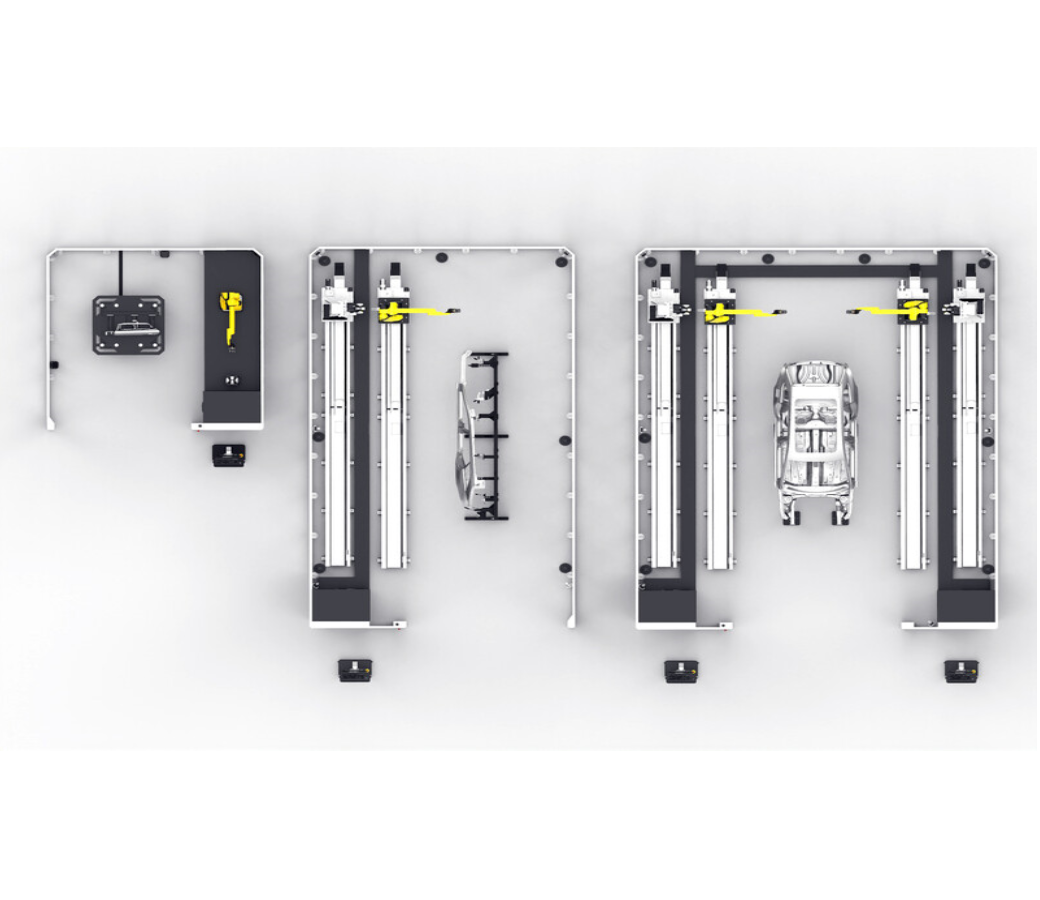
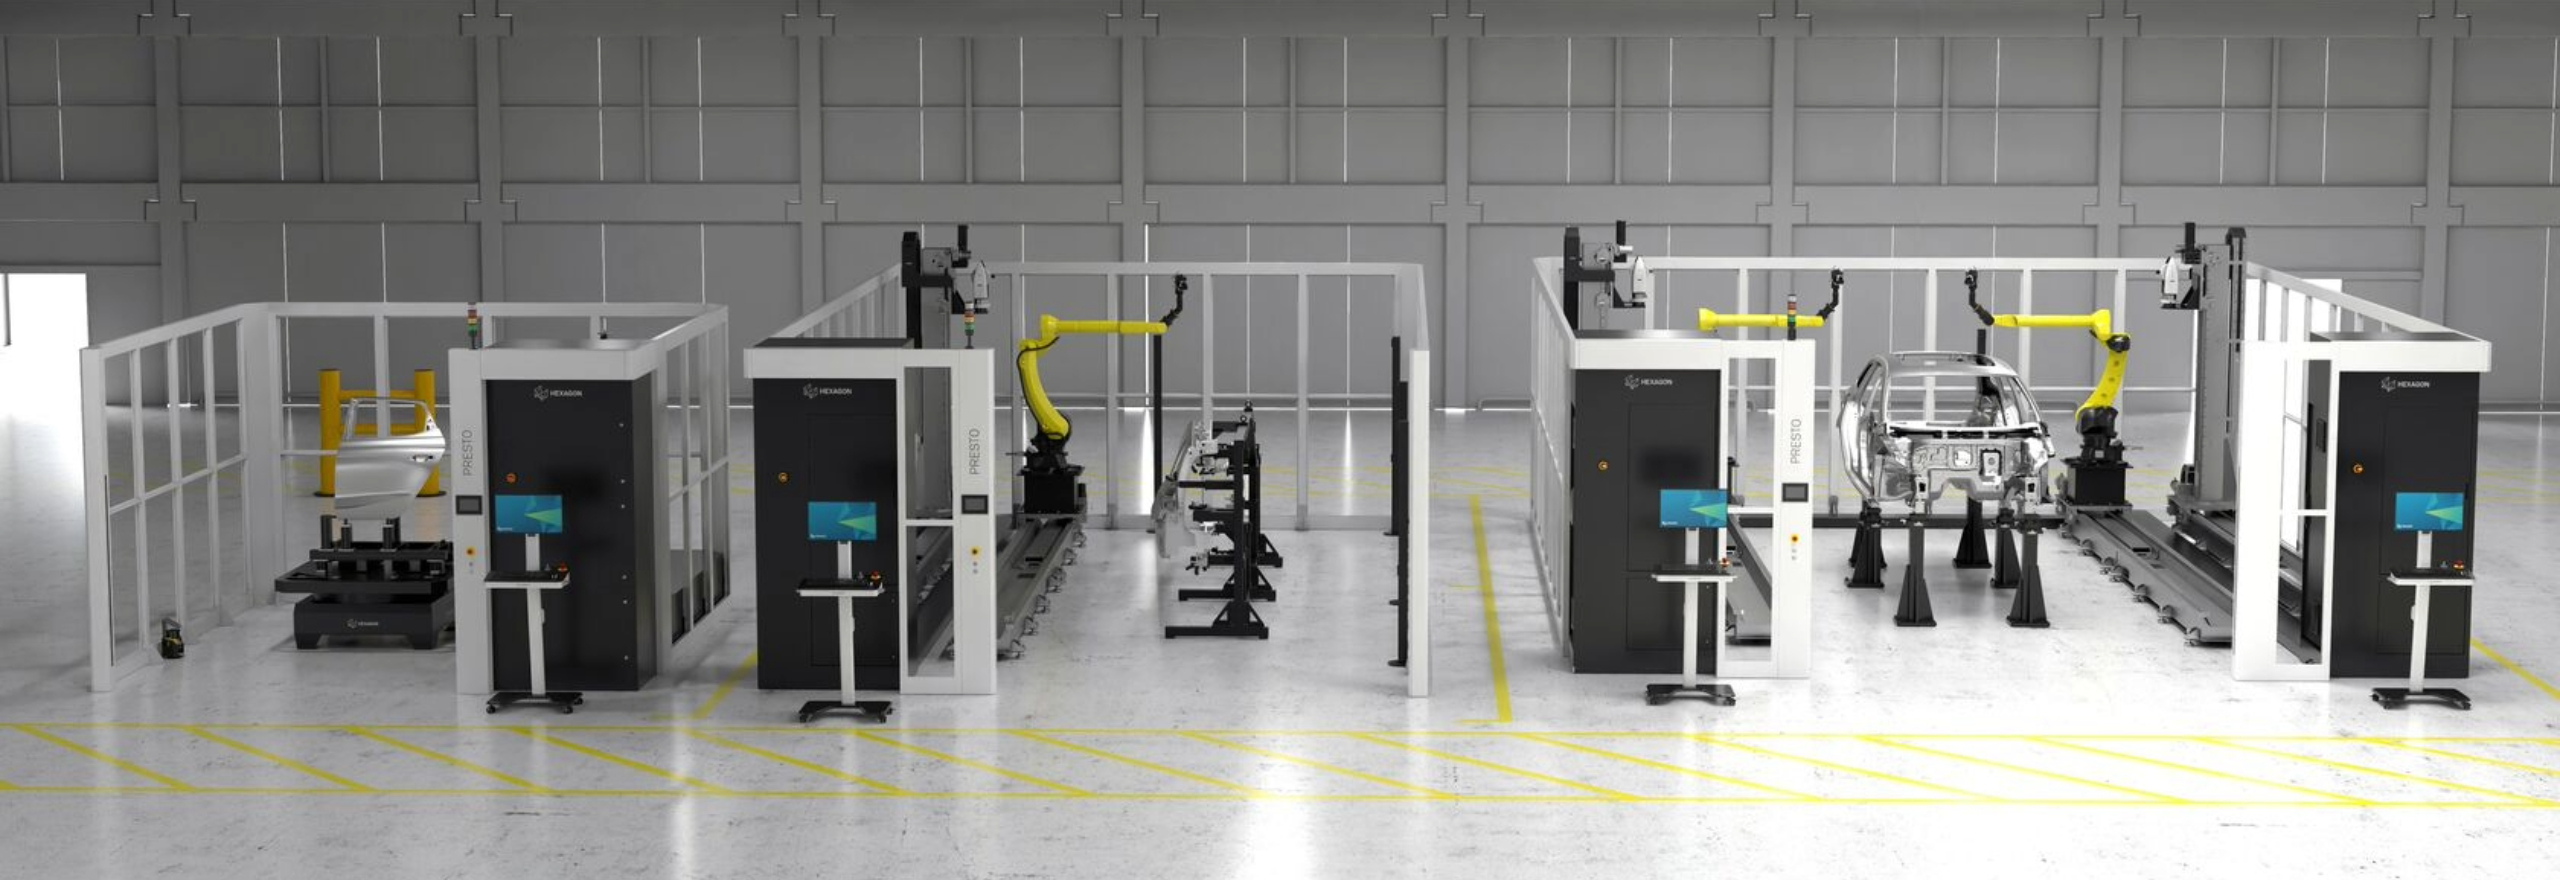
The modularity of PRESTO Systems allows you to consider upgrading to capabilities that were not possible to imagine at the point of purchase.
This built-in scalability is one of the solutions that Hexagon provides to support sustainable and responsible manufacturing.
Choose today the PRESTO that is right for you.
-
PRESTO System Brochure
-
BrochurePRESTO System Brochure
-
- Learn more
-
Success storyTwo new robotic measuring cells from Hexagon represent a new generation of innovative automated optical 3D measurement across the entire Volkswagen Group.

