Pre-setting and measuring for semi-automated tool making with the DEA GLOBAL and PC-DMIS
Wild & Küpfer AG - Switzerland
Contact us

Showcases in the bright, spacious offices at Wild & Küpfer show off the business’s products in a favourable light. The exhibits provide a view of the varied industrial landscape of Europe: here there are plastic gear wheels for gearboxes, as well as displays for home controllers, complete optics carriers, electricity meter housings, sockets, parts for coffee machines, housings for electrical tools, surgical instruments for eye surgery... Wild & Küpfer is at home in countless industries.
“We have a wide customer base with the emphasis on medical technology. Cleanroom production is currently commencing”, says Daniel Wild, Head of Technical Division. “We offer our customers everything related to plastic injection moulding – from development and design, through mould building and injection moulding, to component assembly. A series starts with a few 100 pieces and can be as large as several million pieces.”

Coordinate metrology right in the middle of the action
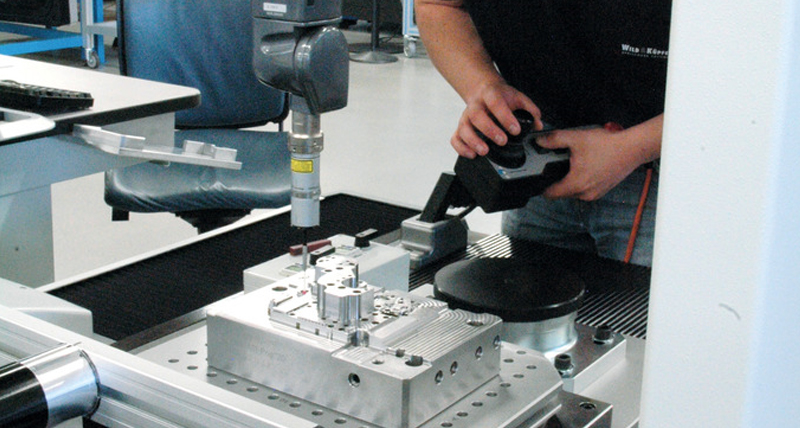
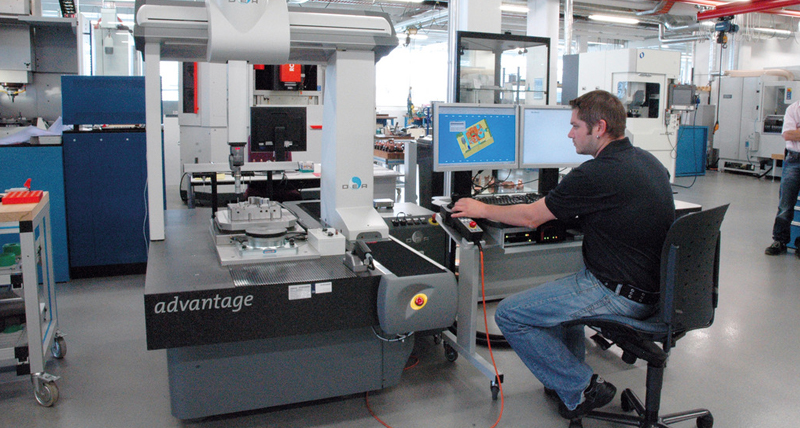
However, before it is possible to get started with the core business, injection moulding, the toolmakers must do their bit. In its semi-automated tool making facility, Wild & Küpfer has everything to make the heart of a passionate toolmaker race: milling, drilling, turning, grinding, wire cut EDM, die-sinking EDM, even laser cutting. In the middle of the fully air-conditioned workshop: a DEA GLOBAL Advantage series coordinate measuring machine with the software PC-DMIS plus software add-on PC-DMIS EDM Preset & Measure. The machine is integrated into the high level toolmaking data management system that is controlled by Workshop Management from System 3R.Wild & Küpfer AG uses the measuring machine to determine the offset data for the tools and the electrodes. The electrodes are subsequently used for die-sinking EDM. Using the DEA GLOBAL the team also measures the electrodes and workpieces after the individual machining steps. The coordinate measuring machine has a volumetric length measurement error of 1.5 + L/333 microns – and is therefore optimally suited to the inspection of workpieces at Wild & Küpfer where tolerances are a few microns. The DEA GLOBAL is also able to tackle the largest tool with dimensions of 600 x 700 mm thanks to its measuring range of 700 x 1000 x 600 mm.

The chip provides the link
Wild & Küpfer AG uses a palletising system from System 3R for the majority of the workpieces in mould building. Each pallet carries a chip that can be used to identify it. Obviously, this process involves countless bits and bytes. Among other tasks, the SIGMA software is responsible for the data transfer in the workshop using the chip system. Workshop Manager comprises a tree-structure in which each module represents a machining program. Data such as workpiece number, milling program number, item number,measuring program, CAD data etc. for each pallet are saved in the software. Each machine is therefore “fed” with data from a central point.
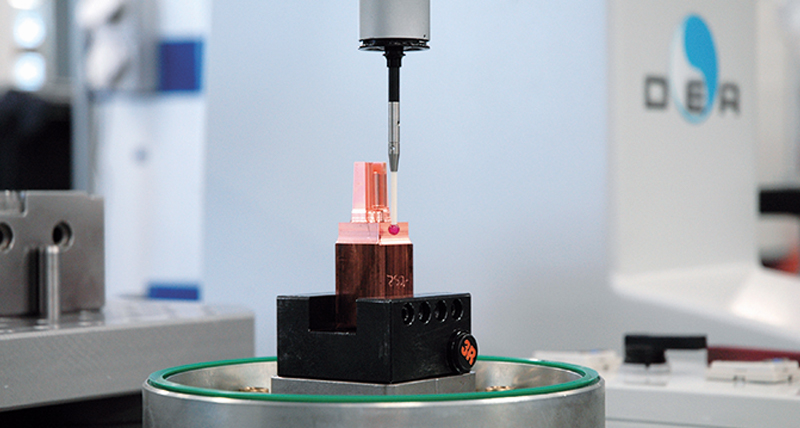
“First we clamp the pallet with the part on the measuring machine and identify the pallet using the chip reader. In this way the link to the tree structure in SIGMA is established“, says Daniel Wild. “During the pre-setting of the workpieces and the electrodes, we use the measuring machine to acquire the offset data using single point measurement. In this way we measure the displacement and twist in relation to the zero point of the clamping system. This data then flows back to the job management system and is saved centrally. The data can then be accessed later, for instance, by the machining centre. This process reduces the set-up times.“

Pre-setting and measuring with one software package
After pre-setting, the coordinate measuring machine also has direct control functions with the measurement of the electrodes and workpieces between the individual machining steps. The GLOBAL coordinate measuring machine with PC-DMIS offers both scanning measurements and also single point measurements. During the measurement of the workpieces and electrodes, the employees measure individual points that PC-DMIS subsequently combines into lines and geometries. The values measured are checked against the CAD model the designers prepared earlier using Unigraphics software. The toolmakers revert to the measurement of a large number of measurement points by scanning if the workpiece has free-form surfaces or inclined faces.
The tools from Wild & Küpfer AG are one-offs, there is no series production. Every day the team faces different machining geometries, a measuring program must be prepared for every tool. Nevertheless, the organisation has managed to simplify the preparation of the measuring programs for electrodes.
“With PC-DMIS EDM Preset & Measure we have been able to make the programming of the measuring processes for electrodes easier by utilising macros. For each electrode size there is now a standard program that the operator can open easily and run immediately.”
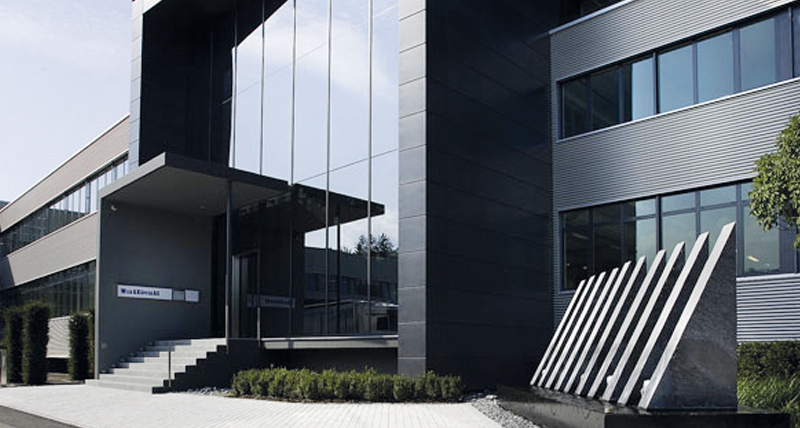
It is clear: tool making at Wild & Küpfer AG is as modern as contemporary art. Also thanks to the GLOBAL in combination with the sophisticated two-in-one measuring software from Hexagon Metrology. Wild & Küpfer AG has chosen not just the right metrology business, but also the right architects. The black cube makes a clear statement: we look forward.
