BRAVO HP
BRAVO HP – Sheet metal inspection at its best

Ready to get started?
Talk to an expert and discover what Hexagon can do for your organization.
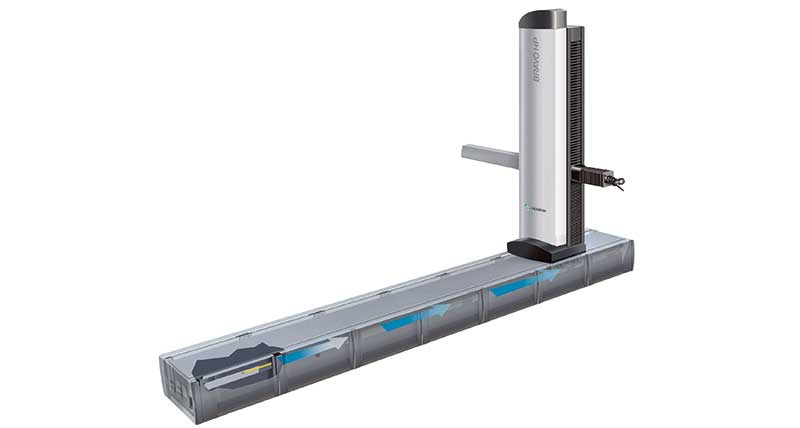
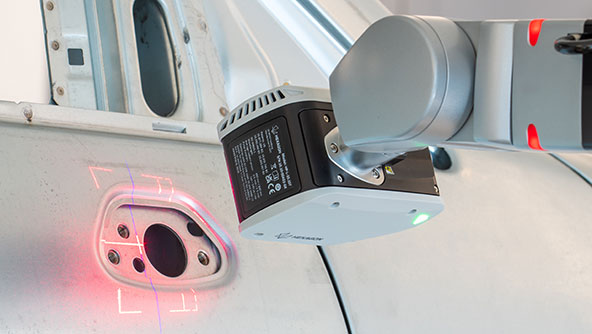
The BRAVO HP has been designed to meet in an optimum way the requirements of dimensional inspection and analysis of bodyshells, chassis and subassemblies on the shop floor. It is characterised by high dynamics and accuracy. BRAVO HP belongs to the BRAVO line which also includes BRAVO HD. The stable, precise mechanical structure, the integrated temperature compensation system, a wide range of probes, probe heads, wrists and accessories as well as a state-of-the-art software package make it an effective CMM that is particularly well suited for operation in shop-floor environments, metrology labs and QC rooms.
BRAVO HP is an automatic horizontal-arm system characterised by high performance, designed to optimally tackle a wide variety of metrology applications in the production environment. It is an advanced system offering a consistent and efficient approach to car-body inspection and integrates innovative industrial measurement technologies into single- and double-arm horizontal structures. It is the perfect combination of performance, accuracy, flexibility, dependability and user-friendliness. The open structure of these measuring systems, which can be installed flush to the floor, and the walkable covers along the longitudinal axes ensure the maximum ease of access to the measurement area, simplifying the part loading and unloading operations, programming and automatic dimensional inspection.
-
Features & benefits
-
Technical data
-
Downloads
-
Applications
-
Buy CMM accessories online
HxGN LIVE
HxGN LIVE is a digital solutions event series providing hands-on, face-to-face access to Hexagon’s latest sensor, software, and autonomous technologies.
Buy CMM accessories online
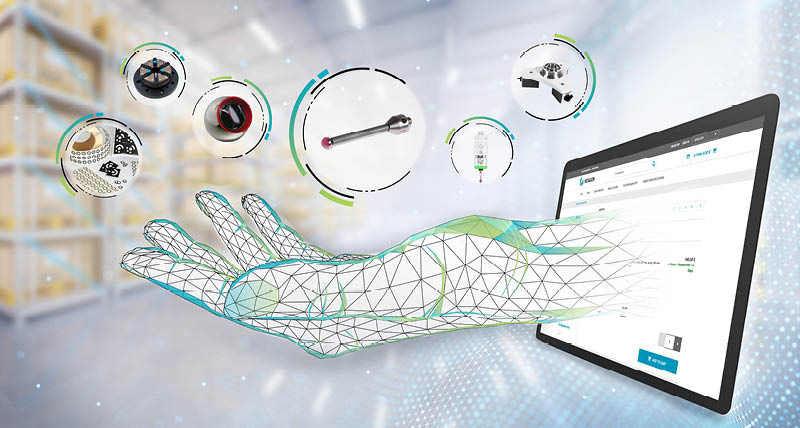
Identify your spare parts with confidence and benefit from fast UPS delivery.


