Increasing the speed and accuracy of first article inspection for plastic injection moulds
Plastic injection mould and tool manufacturers for the electronics sector use 3D CT to rapidly identify and address defects
Contact us

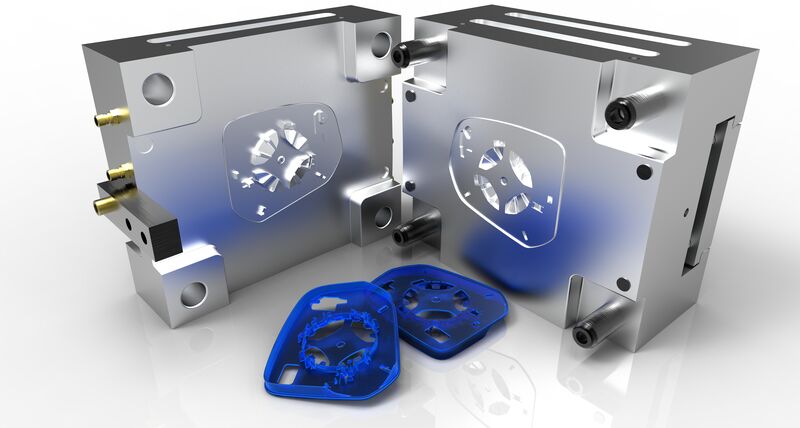
High-quality, mass-produced injection moulded plastic parts are integral to today’s electronic devices, and critical to their performance and cost-effectiveness.
Any deviation of injection moulded plastic components from their original design can impact assembly, performance and perceived quality of the final product, whether it is a smartphone cover, earphones, or housing for a game console or a PC.
This makes first article inspection (FAI) an essential step when producing injection plastic moulds and tools for the electronics industry. However, defects in injection moulded parts typically arise from entrapped air, porosity, sink marks, joint lines, deformation, and misaligned fibre orientations, inside the body and materials of the product itself.
This creates a challenge. Certifying a product at risk of internal flaws involves either taking the product apart, which apart from being slow, would destroy the ability to see defects, or finding an efficient way to inspect it internally while keeping it intact.
This is where modern computer tomography (CT) can help. With today’s CT scanning techniques we can see inside the products and the materials used to make them. This enables us to see what’s going on in tiny detail, and to do it at scale.
It’s the key reason why plastic injection mould makers rely on CT and 3D CT software to quickly and accurately detect, analyse and remedy injection moulding defects.
With CT it’s possible to inspect a wide array of complex electronic and electrical parts of range of sizes, shapes, and metal and non-metal materials. In addition to plastic housings, these include wet/dry batteries, ceramic insulators, connectors, PCBs, BGAs and semiconductors, with circuit board manufacturers using CT to inspect component positioning and soldered connections. Typically, this means CT’s use extends beyond first article inspection and pre-production inspection, into production inspection and part sorting, as well as failure inspections.
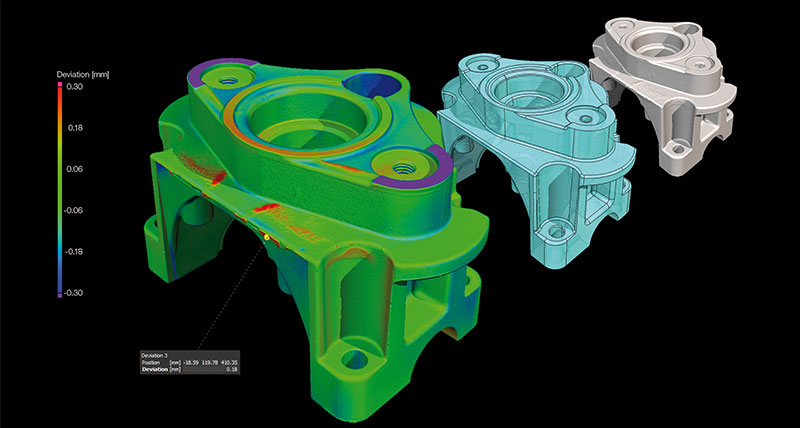
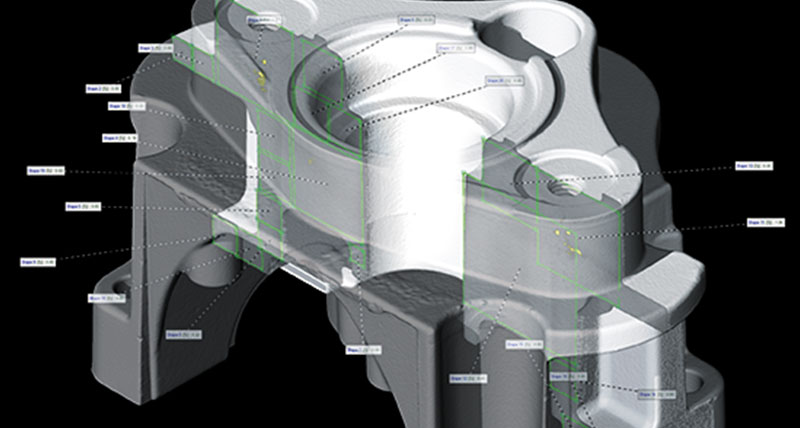
Hexagon's VG software is a market leader for quality inspection with CT. It not only guides tool geometry recommendations by making it simple to identify any deviations from the nominal guide tool geometry recommendations, it also provides analysis of internal structures, material properties and potential failure points.
In addition, a Manufacturing Geometry Correction Module connects the metrology department with the mould maker to deliver information about warpage, for example, and exports compensated geometry to the tooling department for mould correction. Finally, manufacturers can easily access parameters such as dimensions, wall thicknesses, and GD&T analyses, as well as porosity to guarantee 24/7 production.

