Flexibility and precision for the construction of prototypes
Ensuring an accurate fit of tubes and wires in test vehicles at Daimler AG
Contact us
All Daimler AG series of passenger cars are prepared for testing in the overall-vehicle test workshop. This is where designers’ ideas can be put into practice on actual prototypes. It goes without saying that maximum precision is essential for all components to be able to transfer the latest technologies and innovations from the drawing board to the road.
The packaging of a modern vehicle places high demands on the geometry of pipelines to enable the production of cars that ultimately tick all the boxes: energy-saving, cost efficient, high-performance, innovative and customer friendly.
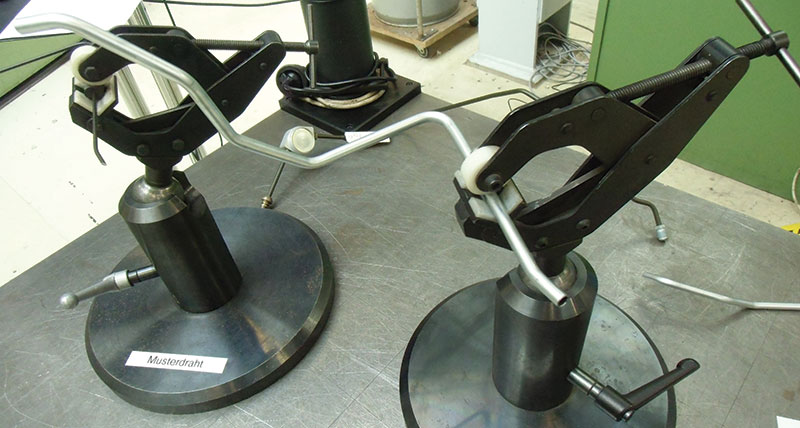 With a focus on pipe-bending and forming technology, the mechanical production team working within development at the Sindelfingen site produces test samples of all the tubes that convey media for each and every series of MercedesBenz Cars, Mercedes-Benz Vans and Smart at the test stage. These tubes are primarily used as coolant lines, brake pipes, hydraulic lines and measuring lines. Tubes are also produced for media-conveying test stands and for testing requirements across the site.
Intuitive and simple solution for complex pipelines
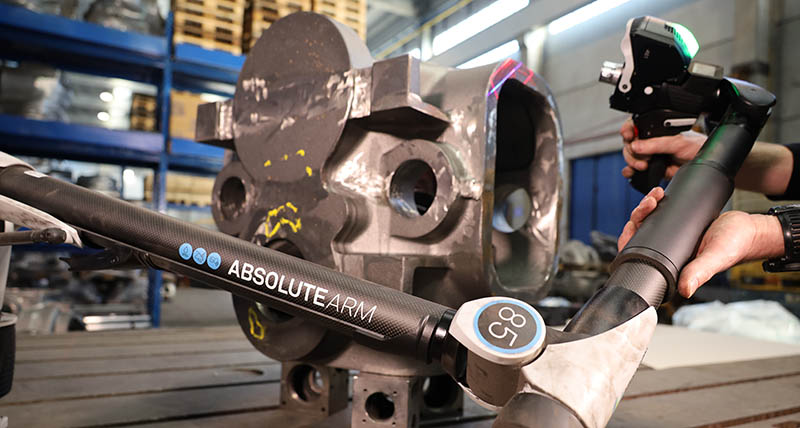
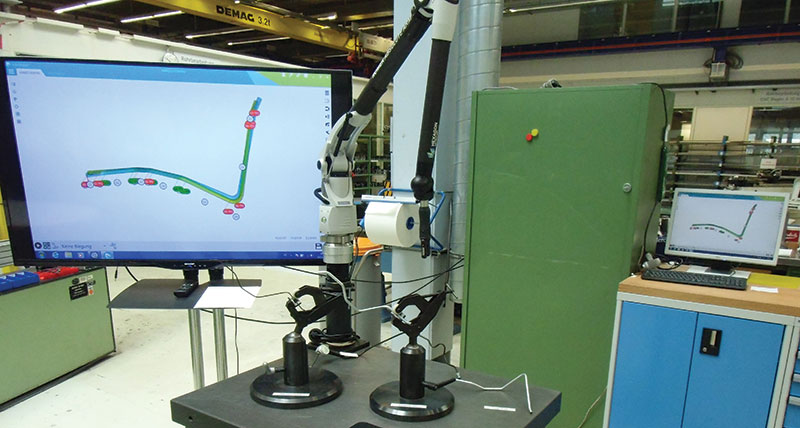
As such a wide variety of wires, tubes and tube components composed of a huge range of materials is involved, a flexible tube measuring solution is indispensable. The mechanical production staff have found the optimum solution to be a combination of an Absolute Arm with the corresponding non-contact tube probes and the TubeShaper software from Hexagon Manufacturing Intelligence. This department focuses mainly on reverse engineering using a sample wire and on the subsequent production of functional pipes and tubes.
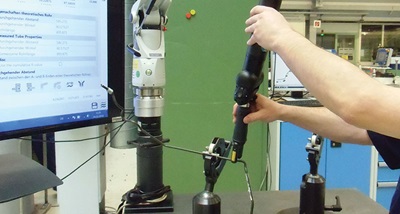 It is the process and requirements of the mechanical production team that determine the necessary measuring equipment. The first step is the manual adaptation of a flexible wire to the vehicle. Once this wire is optimally seated among all other vehicle components, it is measured using the Absolute Arm for a machine creation of an initial sample. The data is fed automatically from the TubeShaper software to the CNC bending machine to facilitate this. This initial example of the required wire or tube is measured again and then any correction data is fed back to the bending machine. The accuracy of the Absolute Arm tube measuring system renders multiple bending processes obsolete, saving both time and material. The resultant sample wire can then supply the setpoint data required for production.
The optimum solution: Absolute Arm with TubeShaper
The Hexagon portable measuring arm with TubeShaper brings together mutual benefits to ensure customers maximum productivity and accuracy.
One major advantage is the automatic, reproducible probe recognition offered by the Absolute Arm: it allows quick, intelligent changeovers of both non-contact measuring forks and contact probes and adjustment to the tube component in question without the need to repeat calibration. The non-contact measurement process is also a convincing selling point, as even malleable and flexible tubes and wires made of sensitive materials can be measured without restriction.
An optimally harmonised system: the Absolute Arm and TubeShaper.
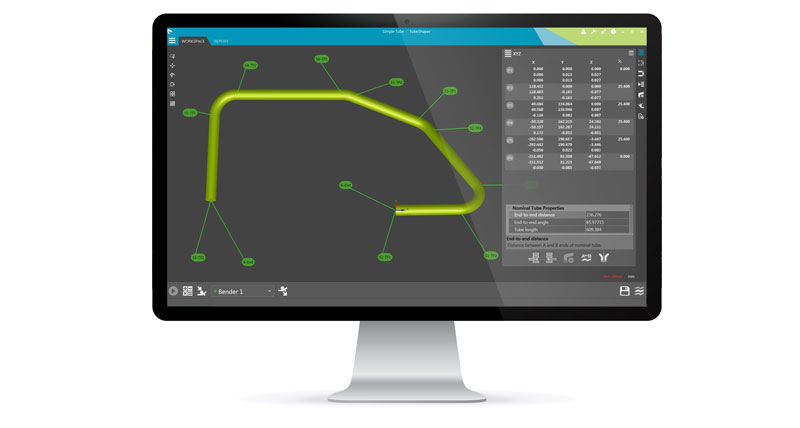
Developed especially for tube measurements taken with the Absolute Arm, Hexagon‘s proprietary TubeShaper software counts its intuitive user interface among its impressive features. Other benefits noted by the workers at Daimler AG include the ease with which they can switch between tube and geometric measurements, the self explanatory reporting process and the archiving of various pipe geometries such as diameters, bending radii and fixed attachments. The graphical layout of the tube in real time is another boost to user friendliness.
A single provider for a whole host of applicationspecific measurement solutions
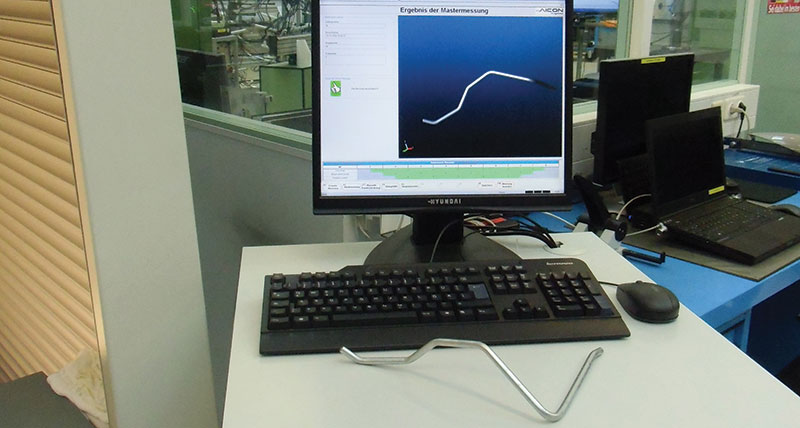 As well as the Absolute Arm, the mechanical production team at Daimler AG uses an TubeInspect P16. This form of tube inspection is employed primarily for standard tubes without attachments. The Absolute Arm, on the other hand, is used to inspect specialist tubes such as those with brackets or connectors attached.
Hexagon Manufacturing Intelligence supplied a harmonised package of hardware and software to offer an all-round solution that meets the maximum requirements demanded by the mechanical production team. Hexagon products can also be found within other departments at Daimler AG.
