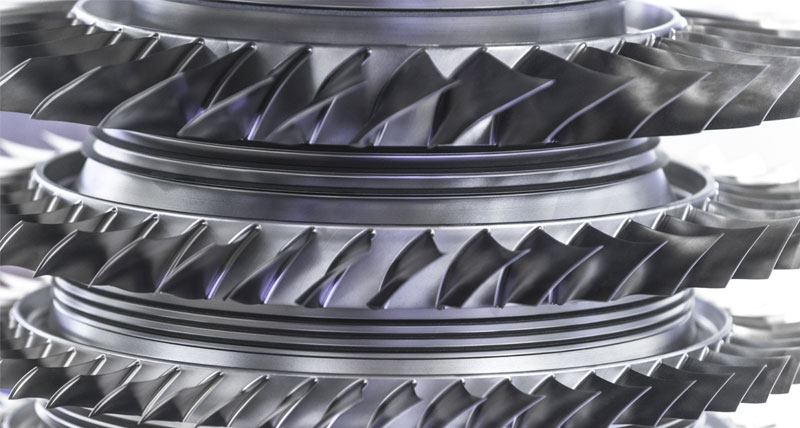
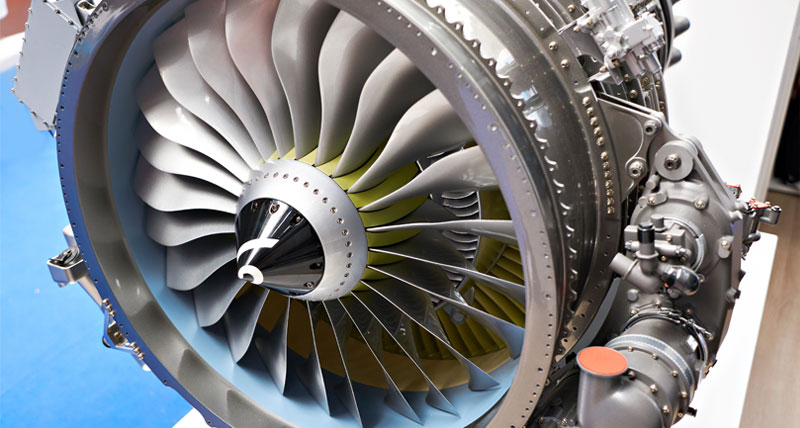
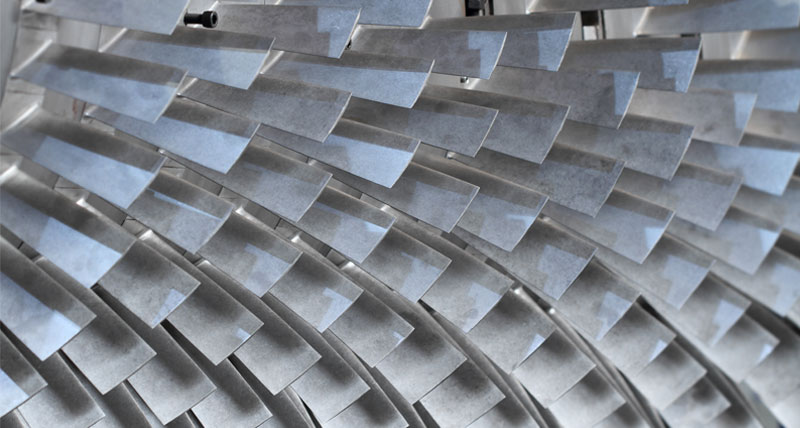
Aero engine fan blade inspection
Dimensional measurement solutions for ensuring the quality of aero engine fan blades.
Contact us
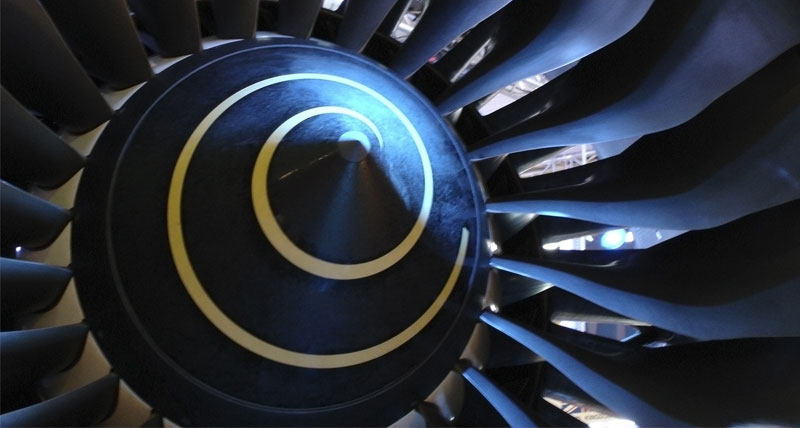
Directing air through and around the aircraft’s engine, fan blades are critical to producing the thrust that propels the plane forward, while also cooling and quietening the aero engine.
High-accuracy measurement is needed to ensure fan blades meet the required performance, reliability, and aerodynamic efficiency. Key features that have to be measured are the leading and trailing edges of the blade profile, the pressure and suction sides, and the blade root.
Fan blades provide some inspection challenges, primarily due to their geometrical complexity. The blades often have complicated curvatures, freeform surfaces, no axis of symmetry, varying thickness, and small radii at the edges. While reducing fuel consumption and improving engine durability, the use of integrated composite materials in new generation jet engines adds further difficulties for conventional inspection technologies.
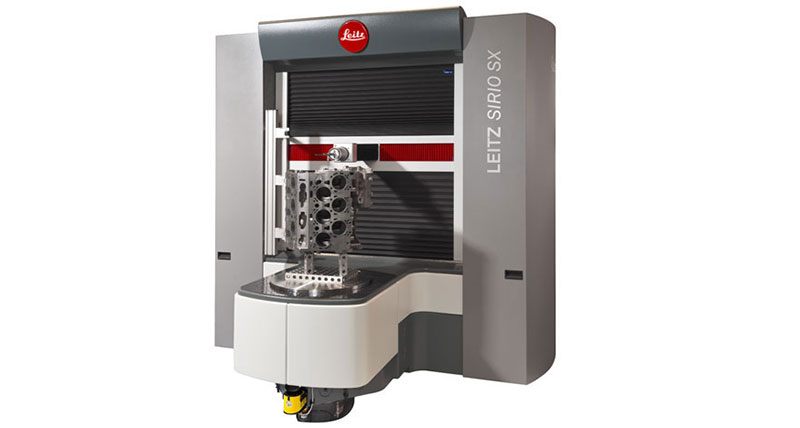
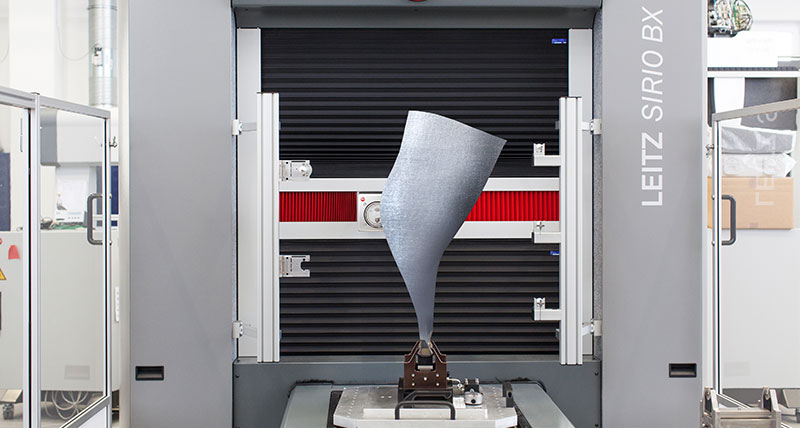
The time-sensitive manufacture of fan blades often means that fast measurement is required directly during the manufacturing process. Hexagon offers inspection solutions that deliver high accuracy and reduced cycle times. A coordinate measuring machine (CMM) with an automatic sensor changing system enables optical scanning for high speed profile measurements and high accuracy tactile probes for critical alignment of the blade’s root geometry, all in a short inspection cycle. The CMM’s temperature compensation system allows for inspection to be accurately executed in challenging shop-floor environments at temperatures of up to 40°C.
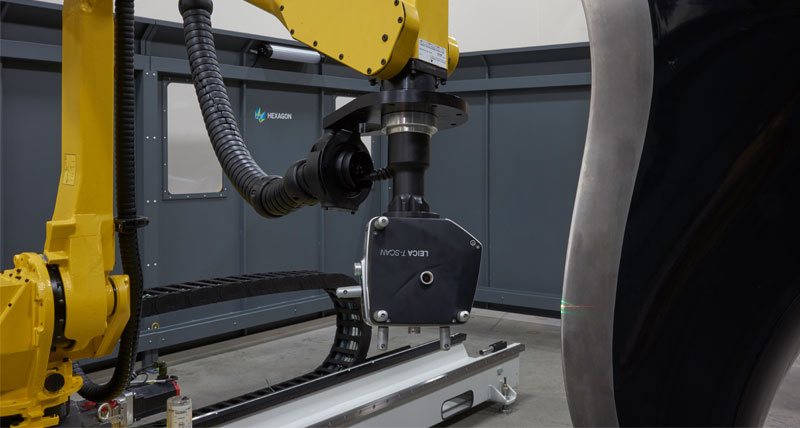
Alternatively, automated 3D laser scanning using a SCARA robot can enable fast, inline surface inspection for large and multi-material fan blades. This robotic solution is very flexible and requires fewer calibrations, making it an ideal solution for a range of large surface inspection tasks.
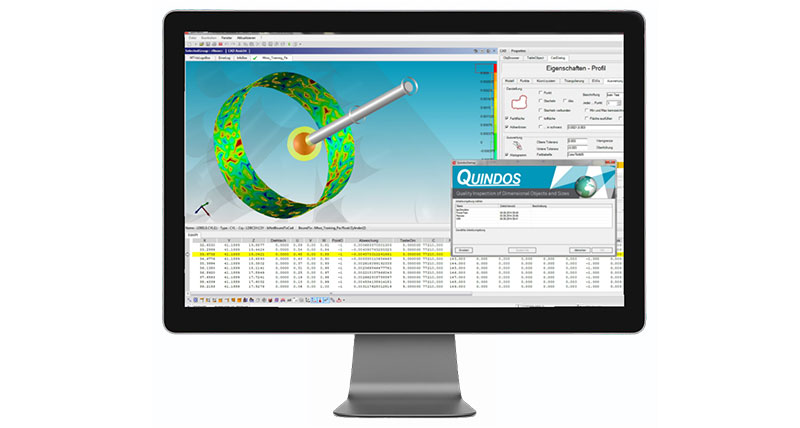
Specialised blade software enables users to generate automated measurement paths to scan and evaluate basic, complex, and customised blade profile characteristics in one measurement routine.
Our solutions
Explore Hexagon solutions for aero engine fan blade inspectionHigh-accuracy CMM inspection
Accurately align the blade root and measure its profile by combining a Leitz SIRIO BX CMM with the SENMATION...
Fast surface scanning
Quickly capture the complete blade surface using a robot-mounted Leica T-Scan 3D laser scanner.
Specialised blade software
Quickly perform complex customised aero engine fan blade profile evaluations with QUINDOS metrology software.
Case studies
See how Hexagon solutions support blade measurementAccelerated blade measurement
Read how the Leitz SIRIO BX with SENMATION can help speed up the inspection process for blades.
