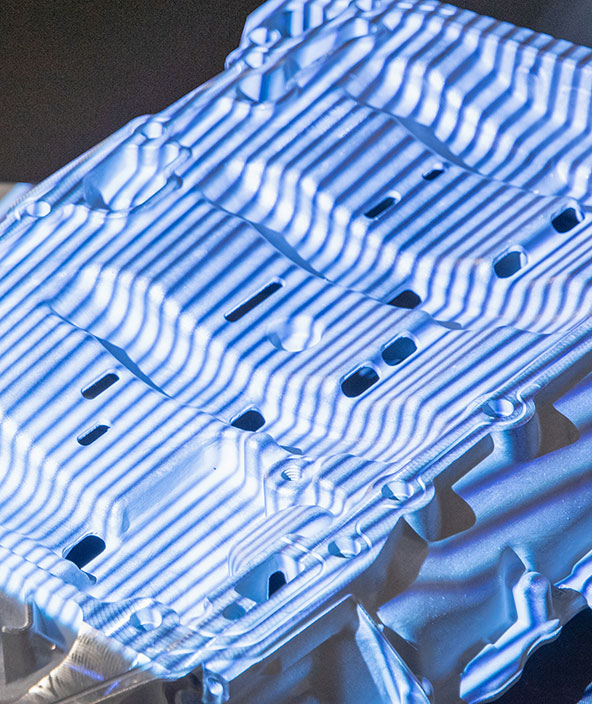
3D scanning meets 3D metal printing
Qualified Rapid Products applies enclosed measuring system for inspection of 3D-printed parts
Contact us
3D metal printing is a rapidly expanding manufacturing technology with unique strengths that open up more possibilities for flexible product development, enhanced performance, and shorter lead times. The big challenge: Relatively high costs combined with extra support structure. There is widespread lack of knowledge among potential customers on how to use this innovative technology to realize its potential.
Qualified Rapid Products (QRP) is a turnkey 3D metal-printed part supplier. The US-American company provides products made of Aluminum, Titanium, Stainless Steel, Tool Steel, Chromium, and Inconel, focusing on high precision, low-volume functional parts, i.e. honeycomb filters, robotic end effectors, tooling, or prototypes for stamped and pressed parts or adapters for various applications. Since 2015, QRP applies an enclosed measuring system from AICON for the inspection of performance-critical parts. For such parts, dimensional accuracy is essential. In addition, the company has carried out a tolerance trade study with the 3D scanner.
Provider, consultant and designer
 QRP provides its customers with an all-round-service and thus outperforms competitors. Besides the pre- and post-processing, and manufacturing of premium 3D-printed metal parts, the company also offers consulting and design optimization. QRP’s customers are mechanical engineers who need a product that has been qualified, is shape/weight optimized, and/or is a low-cost functional iteration. They take advantage of new geometric capabilities to get high strength, lightweight, small size, just-right designs; they produce fewer parts, get customized shapes, and do not need their own tooling. QRP’s customers also buy time: They get quicker feedback on iterative designs – all this leads to shortened development cycles.
 The applied 3D printer specializes in small parts with very fine resolution. Using a special welding process (Laser Powder Bed Fusion), it welds metal powder together. Layer by layer, it generates components from one-component metal powder using 3D CAD data as a basis. QRP places high emphasis on inspection and verification to ensure its products meet customer requirements.
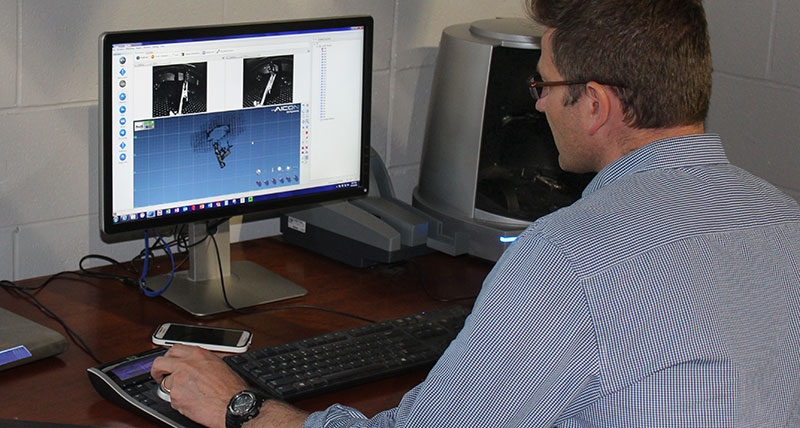
With the AICON 3D Scanner, the manufactured components are inspected regarding their dimensional accuracy. Alignments and deviations to reference CAD data are documented in the measurement report. Data analysis is carried out with the software PolyWorks® Inspector. The measured data in STL format are compared with the reference geometry. QRP’s customers attach importance to objective data and contour diagrams. Requirements vary from simple dimensional contour plots with a best fit to the original geometry to inspection reports showing results for all critical dimensions.
The 3D scans can both be used to replicate existing parts and to generate an STL for future CAD work or 3D printing.
The reliable system for small scanning objects
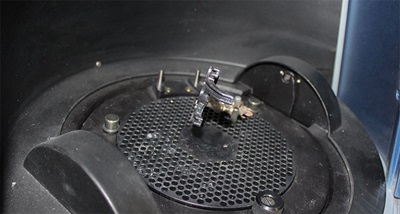
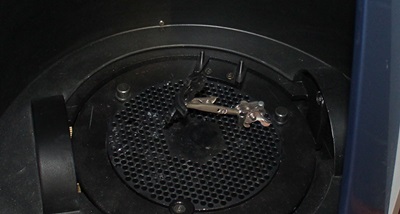
The enclosed measuring system is suitable for precise, automated three-dimensional data acquisition of very small technical objects. It is equipped with a two-camera-system and high-power LED lights. Its sensor design not only provides 10 times more light intensity but also results in a significant improvement of edge definition. Together with the optimized data acquisition and evaluation speed, the user is provided even more rapidly with prime precision 3D object data. Thanks to the freely positional biaxial turn-tilt unit, the scanner even captures complex object geometries. Furthermore, due to the enclosed system housing, the digitization system is well protected and therefore insusceptible to any surrounding interferences. The measuring data is generated in the STL format and can be used for further processing by any CAD or inspection software program.
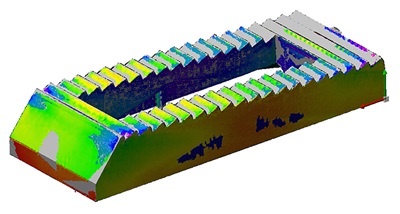
Tolerance trade study for metal 3D printing
According to QRP, one of the most common questions that comes up regarding metal additive manufacturing is what kind of tolerances can be held. The question is not easy to answer, as tolerance results depend heavily on build orientation and support structure. In addition, tolerances depend on the measurement method, datum reference structure, and type of measurement (e.g. form, position, etc.).
To answer this question more explicitly, QRP has carried out a tolerance trade study with the help of AICON’s measuring system. They took a simple mold half with explicitly defined GD&T and Plus/Minus tolerances. They fabricated and then measured the resulting part. Data were analyzed using PolyWorks® Inspector. The part was oriented in the same 3D printer as their regular inspection parts.
The result of the study proves that multiple variables need to be maintained and controlled tightly in order to ensure measurement agrees with print and requirements. For instance, the support structure on the part was machined too much, resulting in a thinner height of the part being inspected. Under an inspection, one could argue that the print was wrong or that the 3D inspection device was not accurate. In this case, it was the fault of the machinist, resulting in a part thinner than required.
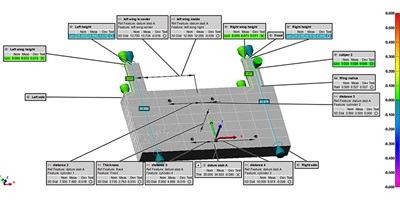 What the study provides is a look at how tolerances depend heavily on build orientation, support structure, and production of the part. They can easily identify how much these influence the final dimensions and could skew the results from the 3D inspection device dramatically.
In the past, QRP used to solve their measurement tasks with mechanical calipers. Increasing customer requirements regarding accuracy has raised the need for optical 3D metrology. QRP’s principal Robert Smith is happy with the decision for AICON. He wanted a system to capture many data quickly, and which is able to combine different images into a single STL file: “The measuring system has incredible accuracy – capable of qualified inspection and geometric verification. It is an integrated, simple to operate solution for getting highly accurate and thorough measurement results. The enclosed nature of it keeps things clean and keeps light and noise out.”
We give thanks to QRP for their friendly support during the creation of this application report!
