High-precision measurement of smartphone lens barrels
Achieving sub-micron accuracy for a small and fragile consumer electronics part

The lens barrel plays an important role in the effectiveness of a smartphone’s camera. Accurate measurement of the part is important to ensure that consumer electronics customers’ expectations are met. However, the size and tolerance demands of lens barrels makes it a challenging part for the quality department.
Smartphone lens barrels are small plastic components, typically with a diameter of around 7 mm and height of 4 mm. The primary purpose of these parts is to house and protect a number of key lens components and the mechanics for focusing.
A lens barrel can be complex in its shape. It typically features a variety of grooves to ensure the lens is securely in place and that its moving components operate smoothly. The tolerances of these parts can be very tight, even as small as 1-2 µm.
>These challenges are compounded by the relative fragility of the part. As such, it is crucial that inspection of lens barrels is carried out with a quality system that meets at least two key requirements: that it offers 1) the sub-micron accuracy required to ensure the part’s precise geometrical shape, and 2) a very low-probing force to avoid deforming the part.
Ensuring the lens barrel is measured accurately is essential. Directly influencing the position of the camera lenses, the lens barrel is vital in determining the robustness and performance of the lens and its ability to withstand elements its exposed to. If a poorly measured barrel causes misalignment of the lenses, then camera images can be distorted. Given the mass production of lens barrels, this could lead to costly rework or a negative perception of products.
Picture a higher quality lens barrel inspection
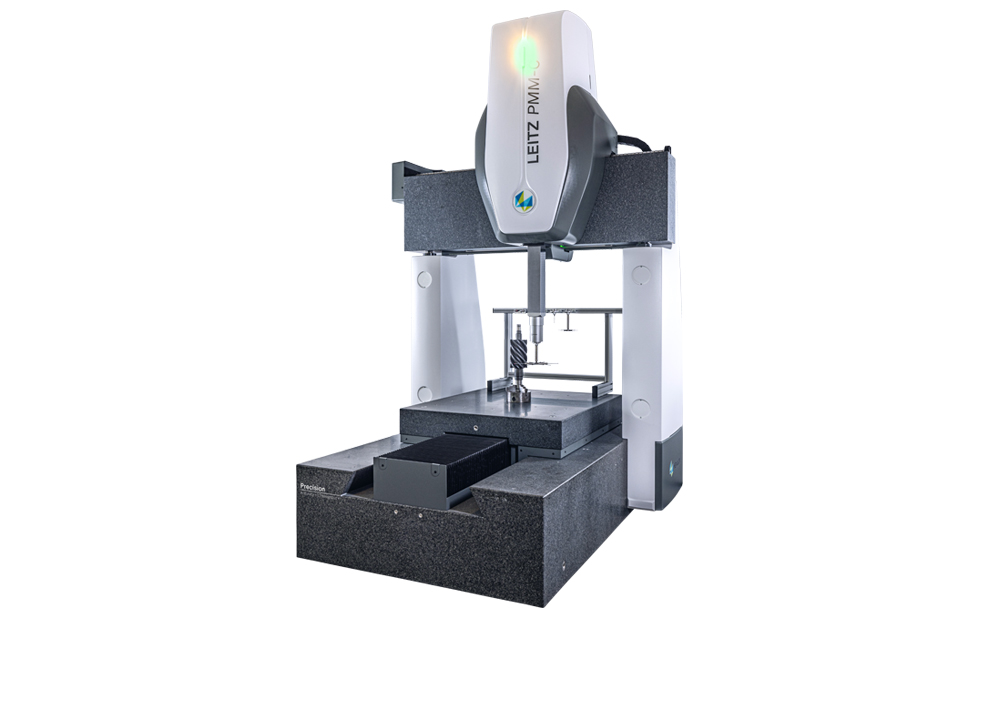
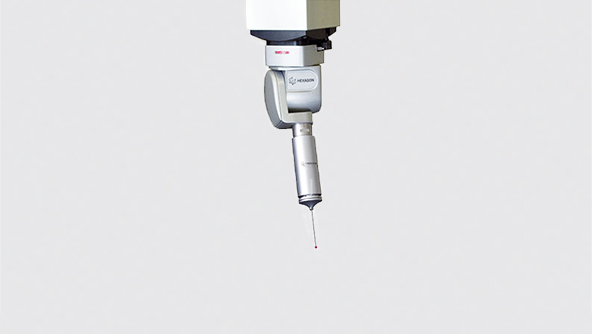
The optimum solution comes in the form of Hexagon’s Leitz PMM-C Precision 7.7.5. First and foremost, this CMM offers the sub-micron accuracy required for lens barrel inspection. It is specially designed to deliver the safest measurement, combining with a HP-S-X1LF scanning sensor to offer a stylus with a diameter as small as 0.3 mm and an ultra-low probing force, placing less pressure on the part surface and reducing the risk of deformation.
This Leitz PMM-C Precision 7.7.5 is relatively small for a machine of its sub-micron accuracy capabilities, saving factory floor space. In addition, this system is particularly advantageous for lens barrel production, as the machine offers excellent accessibility to support pallet measurement, enabling inspection of many parts in one procedure.
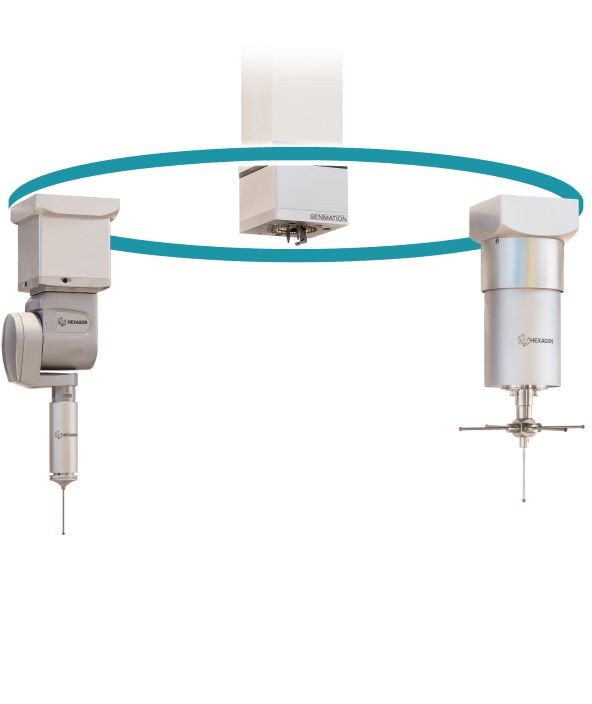
To drive further efficiencies in this application, the CMM is equipped with SENMATION SX. This automated exchange interface allows users to quickly and easily use the right tactile and optical sensors for the measurement task at hand, which offers ideal flexibility to cater for the sensitive materials and potentially varied geometries of the lens barrel.
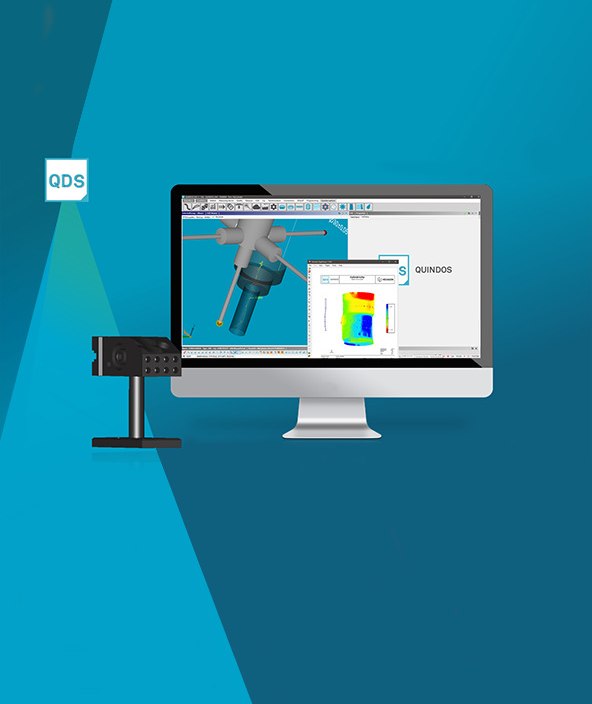
This potential complexity makes QUINDOS the optimum metrology software solution for lens barrel inspection. By offering a range of options to handle special part geometries, QUINDOS is a highly sophisticated analysis tool that delivers specialist functions to cater for more challenging applications like lens barrel measurement while driving efficiency.
