High accuracy measurement of mould assemblies for precision plastic lenses
Ensuring quality of casting moulds for important smartphone camera parts
Product enquiry
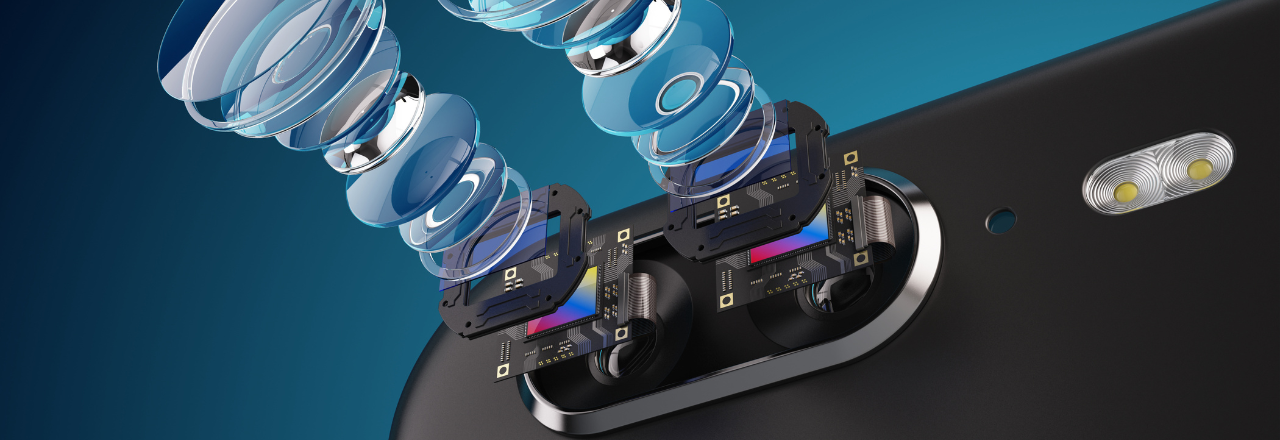
Plastic lenses are ubiquitous in the smartphone market, providing durability and affordability compared to glass. To produce lenses of the quality demanded by today’s consumers, manufacturers need to ensure that mould assemblies for production of these parts fit perfectly.
With every passing year, photographs and videos only become a more common feature of phone communications and social media behaviour. In the world of consumer electronics, cameras are taken for granted when purchasing a smartphone. The most important factor in camera performance are the lenses.
Accurately manufactured lenses are essential to ensure the quality of images. Measurement inaccuracies and optical aberrations can cause image distortion and in turn impact product perception. Of course, this means that the mould assemblies for plastic lenses play a critical role. The moulds, clamping plates and guide pins assembled for production need to fit perfectly. The smallest deviations will have a significant influence on the optical capabilities of the lenses.
This presents the most significant challenge for quality inspection of precision mould assemblies. The tolerances are extremely tight. For example, the guide pins have diameter tolerances of +3 µm and form tolerances of 0.5 µm. Clearly, the inspection solution for this application needs to offer sub-micron accuracy. Because lenses are produced at mass scale, driving throughput and reducing scrap are also important considerations.
Precision, flexibility, and throughput
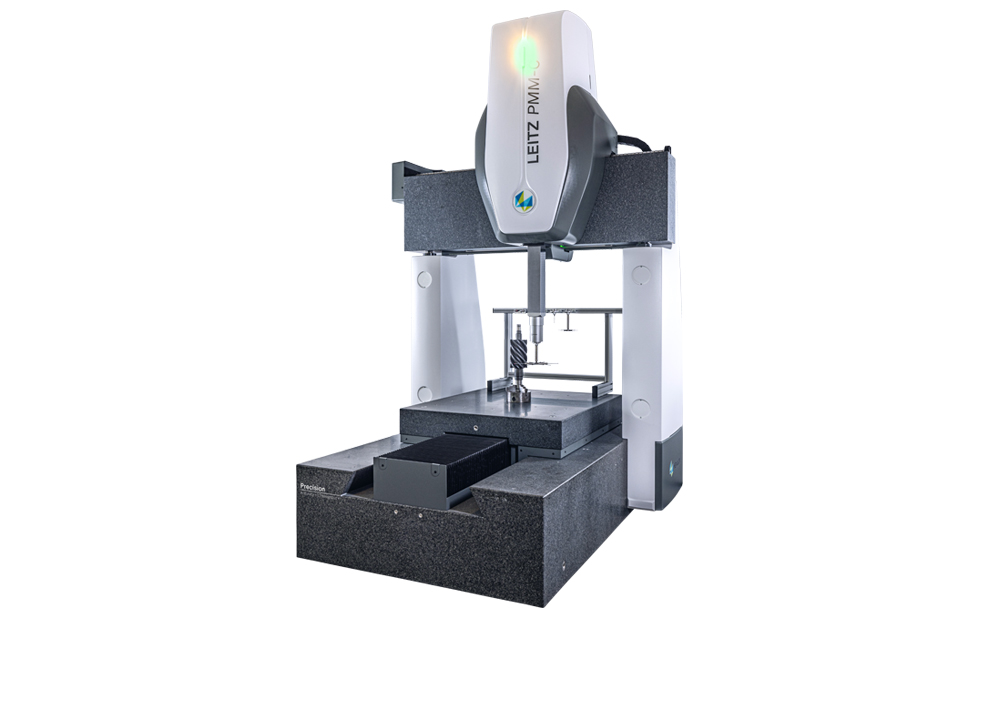
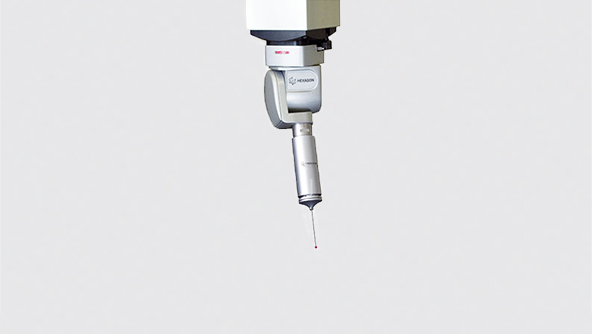
The Leitz PMM-C Precision 7.7.5 CMM is the solution that conquers all of the challenges associated with precision mould assemblies. Firstly, the Leitz PMM-C Precision 7.7.5 is specifically-designed for inspection where precision is key. The machine’s closed frame and moving bridge is purpose-built for the utmost measurement stability and repeatability. Combined with the HP-S-X1C fixed scanning sensor, Leitz PMM-C Precision 7.7.5 offers the precise scanning needed for these sub-micron tolerance requirements.
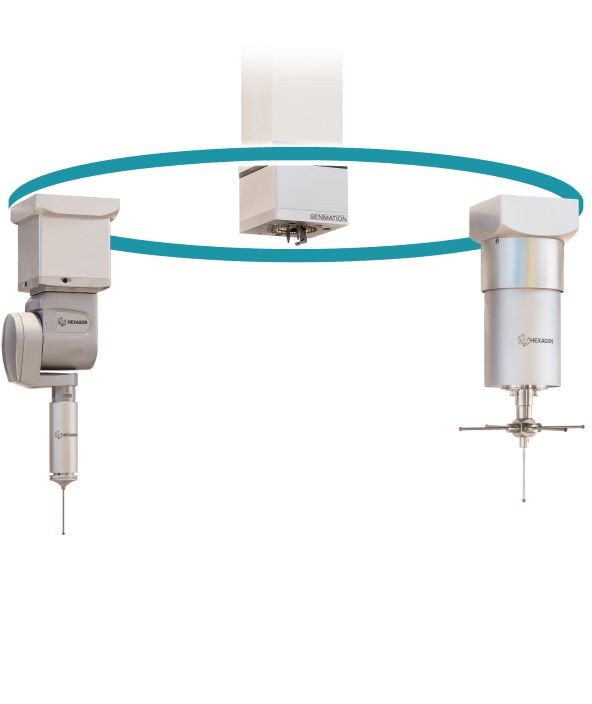
Some aspects of the mould assembly are more effectively measured with non-tactile methods. Leitz PMM-C Precision 7.7.5 is fully compatible with a variety of tactile and optical sensors so users can ensure complete measurement of every component of the assembly. A tactile, fixed scanning sensor can easily be changed to the Precitec S0.3 optical sensor, enabling non-contact measurement of highly reflective or transparent components. These sensors can be swapped seamlessly without the need for operator interaction. These sensors can be swapped seamlessly without the need for operator interaction. With the integrated SENMATION SX, sensors are exchanged automatically, enabling the efficient use of multiple types of sensors in a single measurement routine.
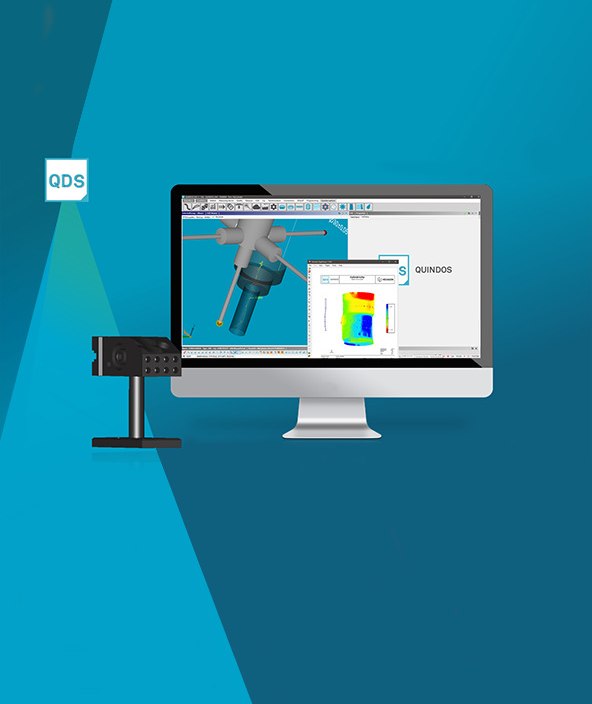
In addition to this measurement flexibility, the Leitz PMM-C Precision 7.7.5 enables manufacturers to increase throughput. The CMM’s optional rotary table delivers 4-axis scanning capabilities. This can increase throughput significantly, particularly when it comes to the form measurement of rotationally-symmetrical parts. QUINDOS is the ideal metrology software to ensure accurate inspection of precision mould assemblies. Given the relative complexity of this application, the software’s range of specialist functions provide a variety of options to drive repeatable and efficient measurement.
Keeping precision moulds close to production
Another time-saving opportunity is to bring the inspection of moulds as close to the line as possible. Leitz PMM-C Precision 7.7.5 makes this challenge easier in two ways. Firstly, the machine is characterised by a small footprint, ensuring that vital floor space is saved. Secondly, the CMM’s active vibration damping systems ensures that the machine is protected from the extraneous vibrations on the shop floor ensuring the integrity of measurement results. This makes the Leitz PMM-C Precision 7.7.5 perfect for integration into a metrology lab environment, bringing accuracy, flexibility, and throughput to lens precision mould production.
