BRAVO HD
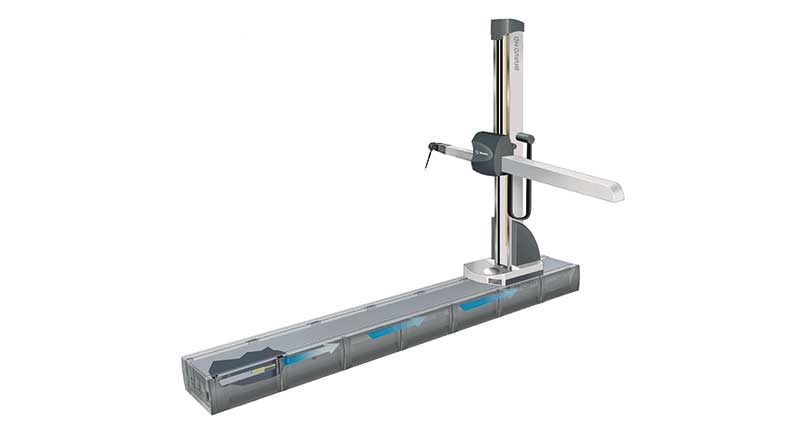
BRAVO HD – The heavy-duty horizontal arm CMM

Product enquiry
The BRAVO HD is a technically advanced and cost-effective solution for flexible and accurate dimensional inspection of thin-walled components like bodies-in-white and their subassemblies. BRAVO HD belongs to the BRAVO line which also includes BRAVO HP. It utilises a stable, precise mechanical structure, an integrated temperature compensation system, a wide range of probes, probe heads, wrists and accessories and a state-of-the-art software package, delivering an effective coordinate measuring machine that is particularly well suited for operation in metrology labs, QC rooms and Meisterbock rooms.
Just like the HP Series, the BRAVO HD is fully made of steel, ensuring high structural stability in all environments. All axes use recirculating ball-bearing pads sliding on high-precision guideways. The innovative backlash-free horizontal-arm counterbalance keeps the load centred on the mobile carriage and reduces the mechanical deformations of the carriage itself. The open structure can be embedded flush with the floor. The walkable covers on the longitudinal axes guarantee optimum access to the measuring area and simplify loading and unloading of parts as well as programming and automatic dimensional inspection.
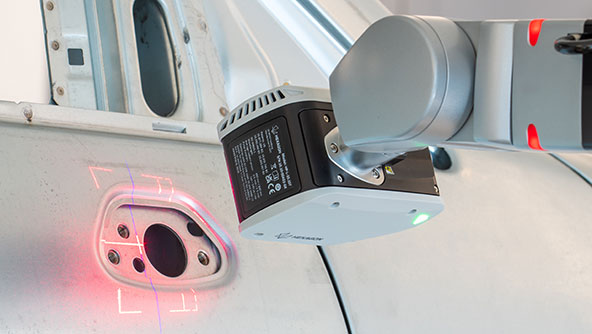
The system equipment of the BRAVO generation is complemented by a wide range of non-contact and tactile electronic probes and integrated tool racks. Continuous wrists and indexable probe heads accept extra-long extensions and automatically orient the measuring sensor to any position, optimising the dimensional inspection cycles of the most complex sheet metal artifacts.
-
Features & benefits
-
Technical data
-
Downloads
-
Applications
HxGN LIVE Global
Learn how our technologies can digitally transform facilities, assets and workflows to drive productivity.
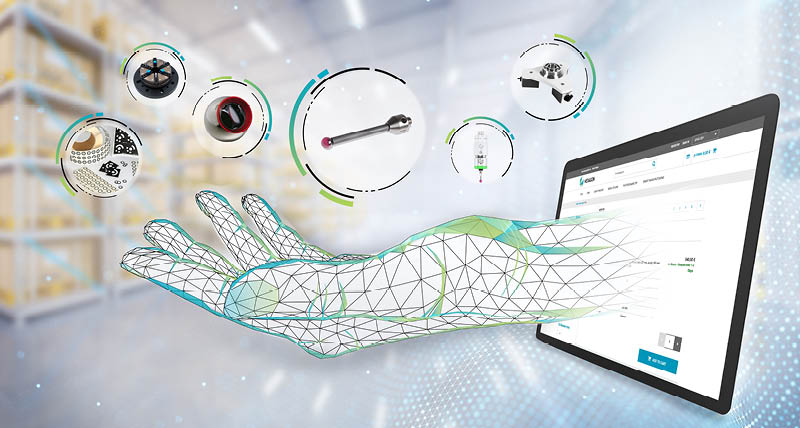
Buy CMM accessories online
Identify your spare parts with confidence and benefit from fast UPS delivery.


