Non-contact measurement of splined shafts
Analysing high-performance gearbox components without compromising production throughout

The industrial revolution brought with it the requirement to transmit power from a central location to individual machines via shafts and belts. While this problem was initially solved with the introduction of single-tooth keys and keyways, the move away from chain drives and axles to gearboxes and driveshafts called for a more elegant solution – the spline assembly. Whether involute splines or serrated splines, this innovation now comes in a variety of forms that have a key characteristic in common – complexity that demands high accuracy metrology to ensure quality.
The manufacturing process for creating both male and female splines involves broaching or hobbing using a form cutter.
There are three main features to be captured in order to determine the geometry of a spline: the tooth profile (straight or involute), degree of straightness along the length of the tooth and pitch of the teeth.
Tactile inspection of splines is an established method, based on conventional gear measurement. However, with inspection time taking significantly longer then production cycle time, tactile inspection is a suitable solution for sample inspection but is not a good fit for production control.
In an ideal world, the inspection process should keep in time with the process of production in a way that delivers better production control. The range of interferometric optical sensors introduced by Hexagon Manufacturing Intelligence has effected a step change in the way metrology can be applied to this quality assurance process. Where previously the individual features of part were targeted by the hardware, now the optical sensor captures the complete part and the individual features are targeted by the software.
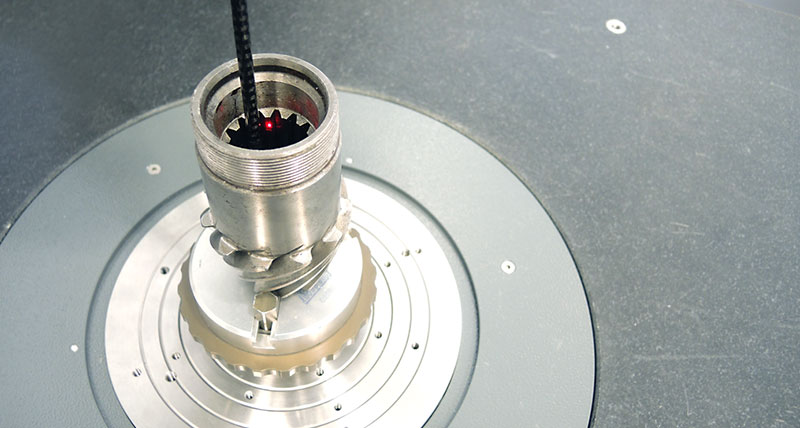
Hexagon’s HP-O Hybrid optical sensor allows for instant switching from tactile to optical measurement within a measuring programme. An interferometric distance sensor with a resolution of 0.003 microns and a Ø0.011mm spot, the HP-O Hybrid can measure shiny surfaces and is insensitive to changes in ambient light, making it ideal for capturing high-density data within a challenging production environment.
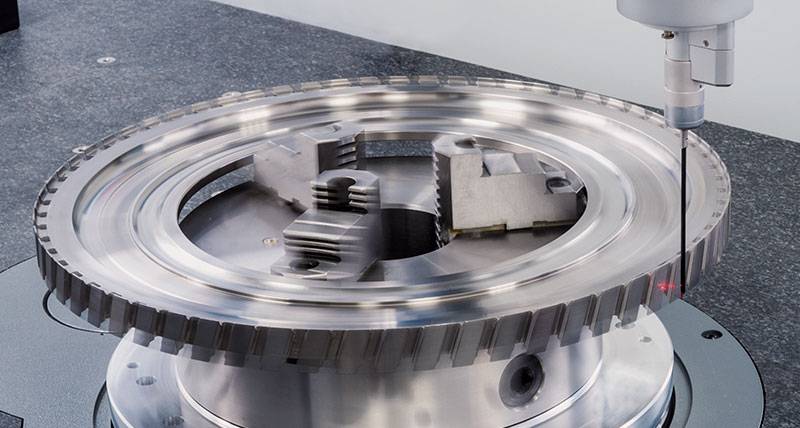
The new optical solution can instead capture the complete spline profile by spinning the part through one complete revolution. In comparison to tactile, the optical solution can capture more information in more detail and at a much faster rate. Both the tooth profiles and the pitch points can then be extracted from a single scan. With the optical system capable of capturing up to 1000 points per second compared to the one point per second of tactile, the time consuming pitch measurement part of the process has been all but eliminated.
Full utilisation of the potential of the HP-O Hybrid sensor requires a coordinate measuring machine (CMM) with appropriate accuracy, dynamics and 4-axis capability. The optical sensor can be used in single-point mode, continuous scanning mode or the sensor-specifi c ‘spin-scan’ mode for capturing rotationally-symmetrical features.
In continuous scanning mode, the CMM parameters are automatically adjusted to suit the surface being measured. Variable high-speed scanning (VHSS) is used to continuously modify the scanning speed across all four axes simultaneously. The machine slows down when it encounters a small radius of curvature and speeds up if the radius of curvature increases. The programmer defines the path to be measured and the CMM captures the points as fast as possible.
In spin-scan mode, the sensor remains stationary while the part is rotated at speed. A key advantage this technique delivers over a tactile solution is that only the surface points within the focus range of the sensor are captured. Part features can therefore be programmed and captured quickly and easily, minimising cycle times.
This unique combination of high-performance technologies – a Leitz Reference 4-axis CMM, HP-O Hybrid sensor with spin-scan and VHSS capabilities and QUINDOS metrology software – produces a high throughput and accuracy (HTA) solution with the potential to reduce cycle times by up to 80%. Such a fundamental change in the metrology method puts more precise metrology in time with production processes, delivering signifi cant throughput improvement with no corresponding decrease in part production accuracy.
